18 | 19
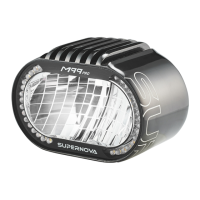
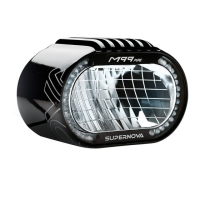
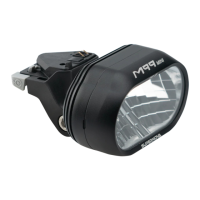
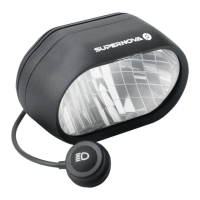
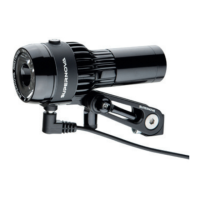
M99 MINI
Installation | Installation | Installation | Installatie
BOSCH
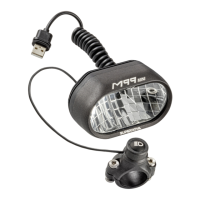
M99 MINI PURE (45 & 25km/h)
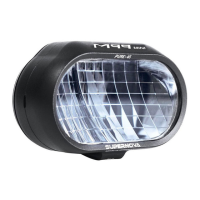
M99 MINI PRO (45 & 25km/h)
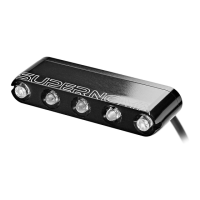
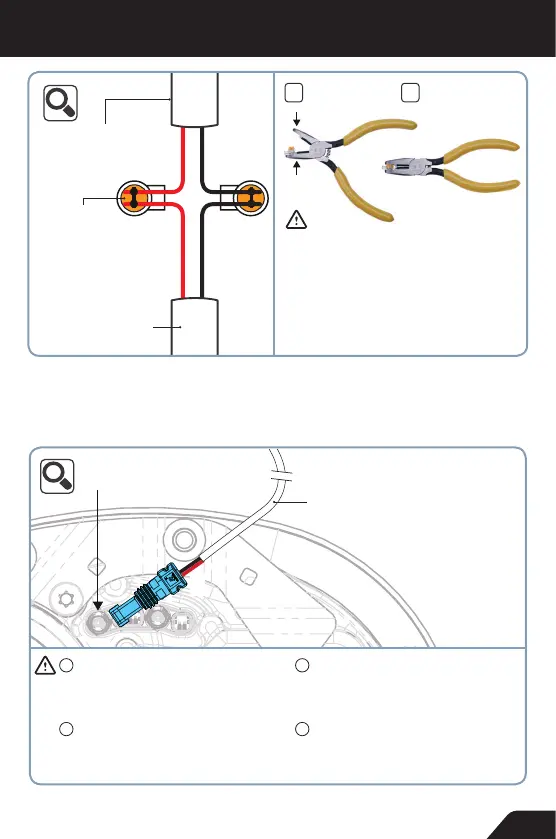
2-fach Verbinder
Double Connector
Répartiteur 2 sorties
Dubbele connector
A
Bosch Frontlicht-Anschlus-
skabel | Bosch front light
connection cable | Câble
de raccordement Bosch
du phare | Bosch-
aansluitkabel koplamp
B
Frontlicht Port | Front light port
Port du phare | Koplamp-poort
Bosch Frontlicht Anschlusskabel
Bosch front light connection cable
Câble de raccordement Bosch du phare
Bosch koplamp-aansluitkabel
Art. No: P-BC200F
DE
WICHTIG! Bitte prüfen Sie, ob der Lichtanschluss auf
6 V oder 12 V geschaltet ist oder ob er überhaupt aktiviert
ist. Das können Sie bei einem Bosch-zertifizierten Händler
tun. Falls vorher ein Licht montiert war, können Sie sich an
dessen Spannung orientieren.
EN
IMPORTANT! Please check if the light port is set to 6 V
or 12 V or if it is activated at all. A Bosch-certified service
dealer can check this for you. If another light was installed
before, you can use that as voltage reference.
FR
IMPORTANT ! Veuillez vérifier si le système d’éclairage
est activé et s’il est réglé à 6 V ou 12 V. Un détaillant certifié
par Bosch peut régler le système. S’il y avait un système d’é-
clairage monté auparavant sur le VAE, vous pouvez prendre
le voltage utilisé comme référence.
NL
BELANGRIJK! Controleer of de aansluiting van de lamp
op 6 V of 12 V is ingesteld en of hij wel is geactiveerd. U kunt
dit bij een door Bosch gecertificeerde handelaar doen. Indien
er eerder een lamp was gemonteerd, kunt u zich richten naar
de spanning daarvan.
1
2
WICHTIG! Kappe bündig zum Gehäuse einpressen.
Nicht tiefer! Empfohlenes Werkzeug: Scotchlok™
Schneidklemmzange (E-9Y) | IMPORTANT! Do not
press the tap deeper than the edge of the housing!
Requested tool: Scotchlok™ IDC crimping pliers (E-9Y)
IMPORTANT ! Veuillez presser le capot jusqu’au bord
du boîtier et pas au delà ! Outil recommandé : Pince
d’électricien Scotchlok™ (E-9Y) | BELANGRIJK! Druk
de beschermkap op de behuizing, maar niet verder
dan de rand! Benodigd gereedschap: Scotchlok™
krimptang (E-9Y)
M99 MINI
Installation | Installation | Installation | Installatie
M99 MINI
INSTALLATION | INSTALLATION | INSTALLATION | INSTALLATIE