1
EN
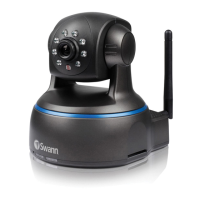
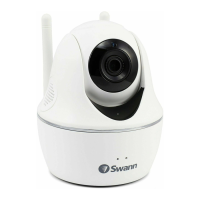
Cube IP
Wi-Fi HD Security Camera
Quick Start Guide
Welcome!
Lets get started.
Congratulations on your purchase of this Cube IP Wi-Fi HD
Security Camera from Swann!
This quick start guide will familiarize you with the features
and functionality of your camera and walk you through the
basics of:
• Connecting the camera to your network
How to connect the camera to your wired or wireless network
• Using the SwannEye HD software/mobile app
How to install the SwannEye HD software/mobile app on
your computer and mobile device, and create an account to
access and control the camera.
QHADS45303042014E | © Swann 2014
1 2
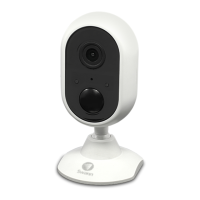
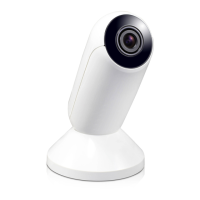
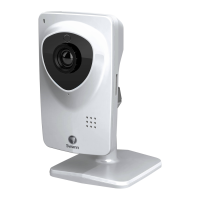
Introduction Getting to Know the Camera
4
A
B
Connecting to your Network
3
Installing the Camera
5
Installing SwannEye HD Pro Software
If your router doesn’t support WPS and you want to connect wirelessly then that’s ok, just connect the camera to your
home network through the Ethernet cable and then configure camera’s Wireless Network settings in the SwannEye HD
Pro software. For additional information, see the SwannEye HD instruction manual.
SwannEye HD is also available for Android and iPhone smartphones. Download this app for free from the Apple App
Store or Google Play Store and start watching your camera anywhere, anytime!
Front View
Back View Side View
Stand
1. Ethernet Port - For a wired connection, connect
this to a spare port on your wireless router.
2. Power Connector - For connecting the supplied
power adapter.
3. Reset Button - Press and hold while disconnecting
and reconnecting the power supply to reset the
camera’s settings to factory defaults.
4. WPS Button - For connecting wirelessly to a WPS-
enabled router.
5. LED Indicators - These display the current status
of the camera.
•
Wi-Fi LED - Lights up when the camera is
connected to your Wi-Fi network.
•
LAN LED - Lights up when the camera is
connected to your network using the Ethernet
cable.
•
Power LED - Lights up when the camera is
connected to power and switched on.
1. Micro-SD Card Slot - Inserting a Micro-SD card
allows you to capture snapshots and record
videos directly to the card. This is optional and is
recommended for advanced users only.
2. Bracket Mount - Attach the supplied camera
stand here.
Screw the camera stand to the bracket
mount located on the camera. Use a
clockwise motion to connect. Adjust
the stand accordingly.
Connect the supplied power adapter to the
power input on the camera and then plug the
power adapter into an electrical outlet. The
Power LED on the back of the camera lights
up when the camera is connected to a power
source.
1. Microphone - Allows the camera to hear nearby
sounds and stream them with the video.
2. Light Sensor - Detects the amount of incoming light
and turns on the IR LEDs for night vision when necessary.
3. Infrared (IR) LEDs - Illuminates targeted areas when
in near-total darkness.
4. Speaker - Display the menu system, or return to a
previous screen.
Wired Network:
Connect the camera’s Ethernet port to any available port on your wireless router
using the supplied Ethernet cable (see opposite). Make sure the computer that you
want to use to configure and/or access the camera is connected to the same router.
Wireless Network:
If your wireless router supports Wi-Fi Protected Setup (WPS), you can easily create
a WPS connection to the camera. WPS is a way of securely connecting devices to
a wireless network without all that fussing about with IP addresses or security
keycodes. To create a WPS connection:
1. Press and hold the WPS button on the back of the camera until the blue Wi-Fi LED indicator starts
blinking.
2. Press the WPS button on your router. This button is located in different places on different routers -
some might require that you press and hold the button and others might only need a momentary press.
Check your router’s documentation for assistance. The camera will automatically create a wireless
connection to your router and once this connection is established, the Wi-Fi LED indicator will steady.
SwannEye HD Pro is designed to enable
you to easily access and control your
camera that’s connected on your home
network from your computer.
All you have to do to get started is to
download and install the software from
www.swanneye.com then register for
an account using the ‘Device No:’ and
‘Verification No:’ which are printed on the
sticker on the back of the camera.
After you’ve set up a new account, you will be able to watch live video feeds from your camera,
simultaneously record and playback videos you have just taken while your current recording
continues uninterrupted and also configure various aspects of your camera such as video/
audio settings, wireless network and alarm.