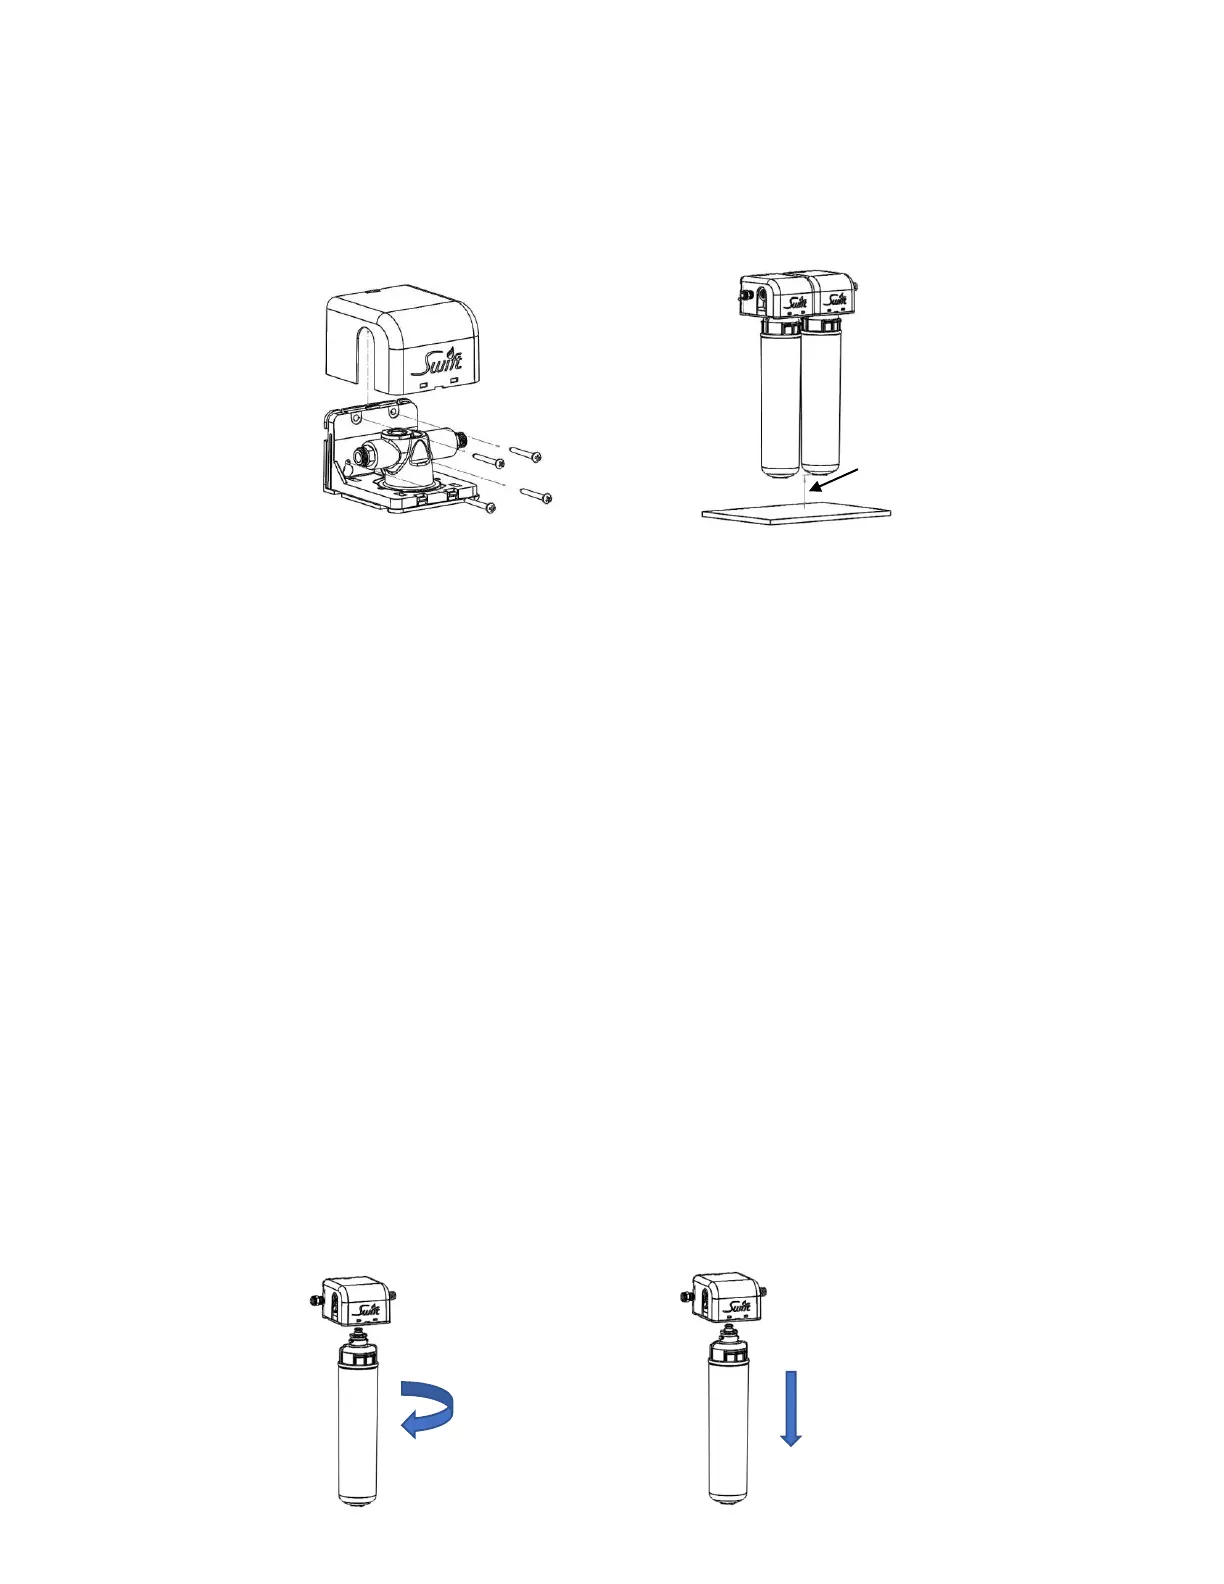
Use the holes in mounting bracket to mark four holes for the bracket with a pencil.
Mount the bracket to wall using the four screws provided in the packaging. Ensure the bracket is
securely mounted after fastening.
Pic. (a) Pic. (b)
Figure 2 (a) Receiver bracket should be mounted using four bolts (b) Leave a minimum clearance of 2 ½
to 3” for easy replacement of filter cartridge in future
Connect the water supply to the filter receiver
Connect the hose connectors to the RV filter properly and securely.
Connect the outlet hose to the corresponding faucet or valve, and then connect the inlet hose to the
water supply.
Install the SGF RV filter
The filter can be installed after ensuring all connection are secure.
Insert the RV filter cartridge in the receiver assembly and turn it towards right until the filter stops.
Cartridge replacement instructions
To ensure optimum filter performance the filter cartridge should be replaced every six months.
Hold the filter and turn it towards the left. Gently pull out the filter from the assembly when it
becomes loose. (Note: keep a towel in case of a water spill.)
Insert the new filter in the receiver and turn it towards right until it stops.
Run the water to flush 10-15 gallons through the system before you start using.
 Loading...