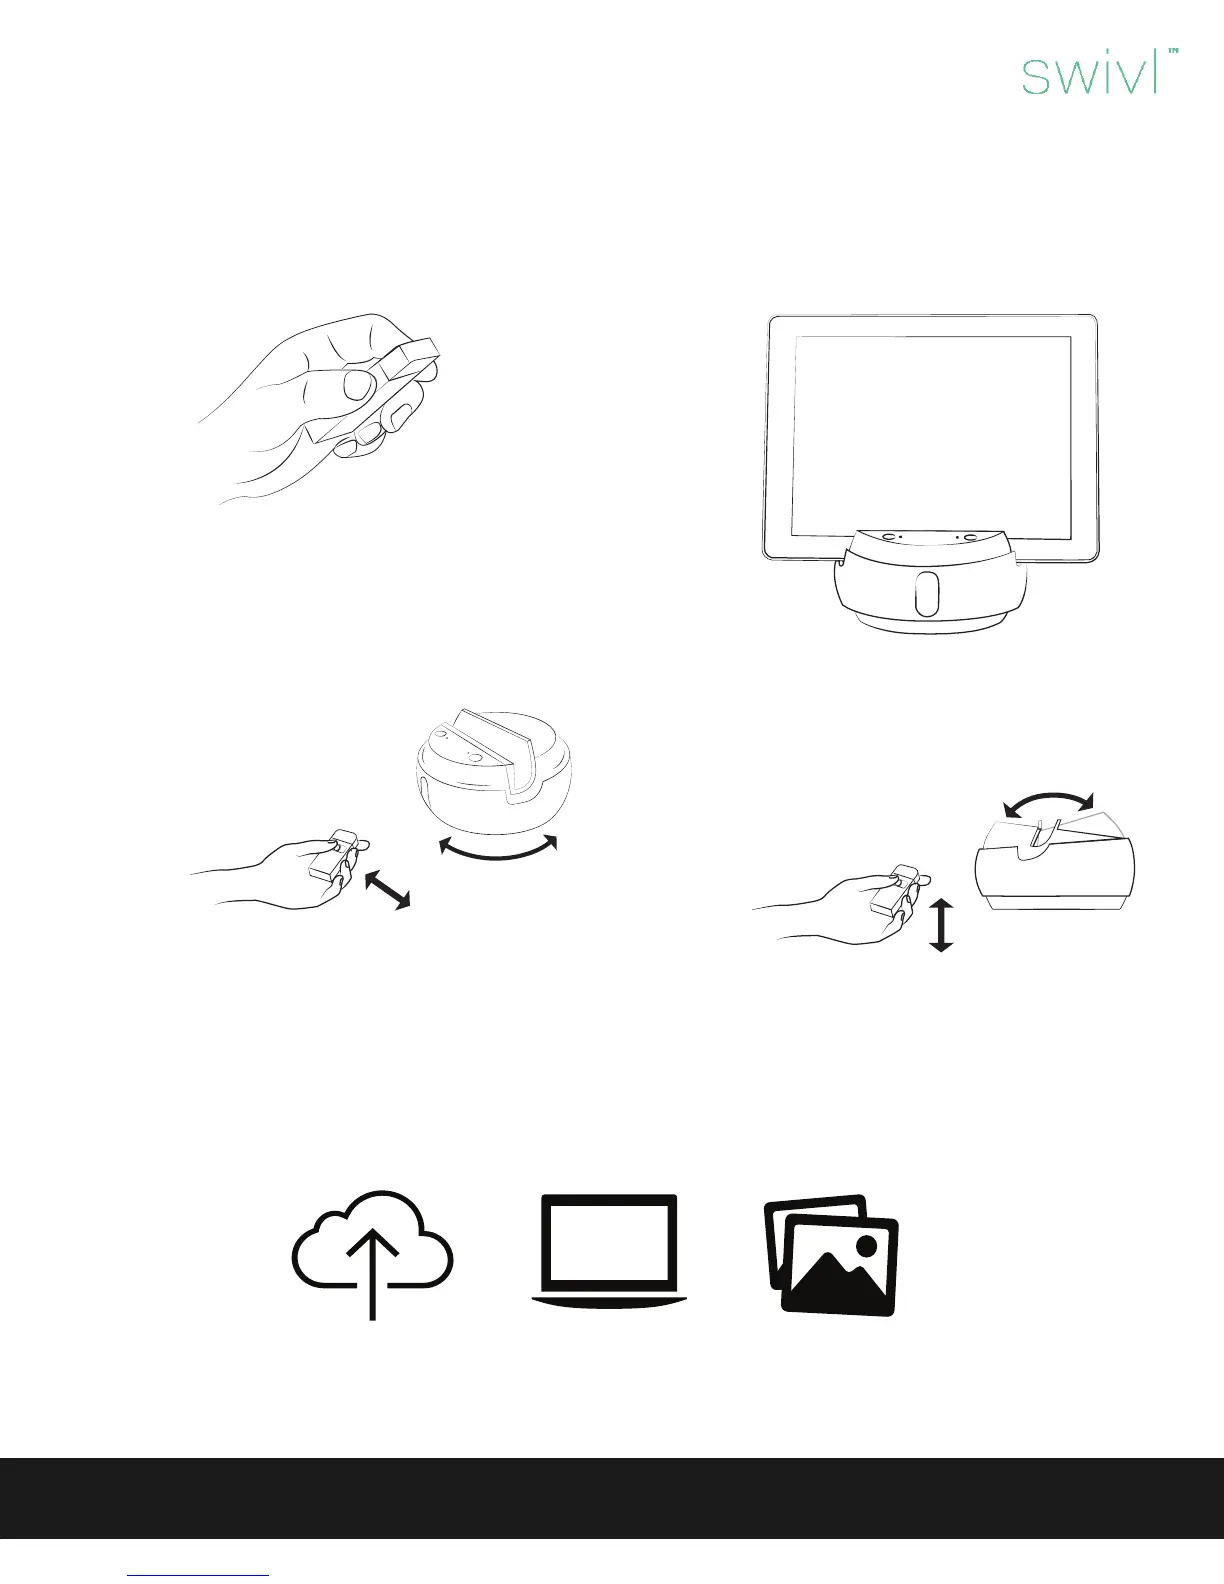
Horizontal motion
Stand back at least 3 feet. Move hand
from one side to another using deliber-
ate motions.
Vertical motion
The advanced settings within the Swivl
Capture App allow you to adjust the
auto-tilt feature.
7
Swivl User Guide
Step 6: Capture video.
The marker needs a clear line of sight to the base, so ensure that you don’t have any objects in front of the marker. When using the
lanyard, slide the marker into the lanyard and securely attach around your neck.
To capture video, ensure that the base and marker are both powered on, the Swivl Capture App is open, and the audio cable has
been connected. Choose ‘Capture’ within the Swivl Capture App, then tap the record button on the marker to begin recording.
A red light will illuminate above the record button on the marker and the app
will begin capturing audio and video. To stop recording, simply tap the record
button on the marker again.
It is recommended that you perform a few recording tests, lasting 30-60
seconds to increase your comfort level and familiarity with the device.
Videos stored within the app take up space on your mobile device, therefore it is recommended that you upload your videos to
Swivl Cloud where they can shared via email, URL or embedded. See the following pages to learn more about the Swivl Capture
App and Swivl Cloud.
1. From the Swivl Capture
App, upload your video to
Swivl Cloud.
2. Login at cloud.swivl.com
to view your videos.
3. Add presentation slides
to your videos and share
with others.
Step 7: Share video.
 Loading...