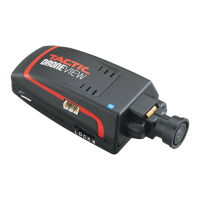
been in standby mode for at least 30 seconds so it can
save any new les that were created.
Picture Mode: A photo will be taken when the P/V button
is tapped. The Status LED will ash rapidly for 3 seconds
while image is captured and stored. The camera cannot
capture another picture until the Status LED stops ashing.
Video Mode: Holding the P/V button for 2 seconds will
start a video recording. The Status LED will ash slowly
while the video is being captured. To stop the video, tap
the P/V button.
NOTE:
The DroneView camera’s maximum video
length is 5 minutes. If video runs longer than 5 minutes
the DroneView camera will automatically close the
video le, save it to the memory card, and start a new
le. There may be a short loss of video footage during
this switch to a new le. The DroneView will continue
to create new video les every 5 minutes of continuous
recording until the memory card is full or the battery
voltage is too low for the camera to operate. Corrupt or
missing video les may result if the camera is stopped
for these reasons. When the camera has been on for
more than 40 minutes or the Battery Charge Meter has
had only one LED on for at least 10 minutes, the video
should be stopped so the le can be saved.
Receiver Cable: A receiver with an open channel that
uses a three position switch, a knob or a stick can be used
to make videos or take a photo. Connect the Receiver
Cable to the Receiver Cable port on the camera and to
the desired channel on the receiver. Insert a memory

 Loading...