10 11Quick Start GuideCMS 3.0 & CVS SERIES
Kit Components and Contents
Kit Components
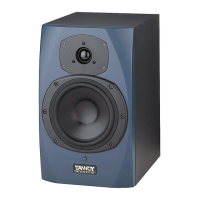
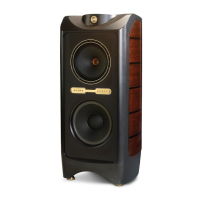
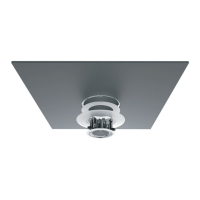
Adapter Ring Adapter Plate Clamp Extension Moulding
Kit A - Contents
2 x Adapter Rings
1 x Adapter Plate
3 x Clamp Extension Mouldings
Note: Screws for the adapter plate not included. Four 8/32 pan head screws are required for each loudspeaker installation.
Kit B - Contents
2 x Adapter Rings
4 x Clamp Extension Mouldings
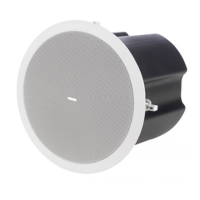
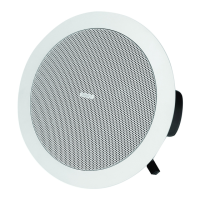
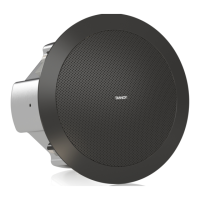
Installation Instructions: Kit A (for TANNOY CMS 5 and CVS 4 models)
Scenario 1: Fitting TANNOY Loudspeakers into existing third-party backcans
Note: Procedure is the same for PI and BM versions, though compatibility with backcans will di er depending on model.
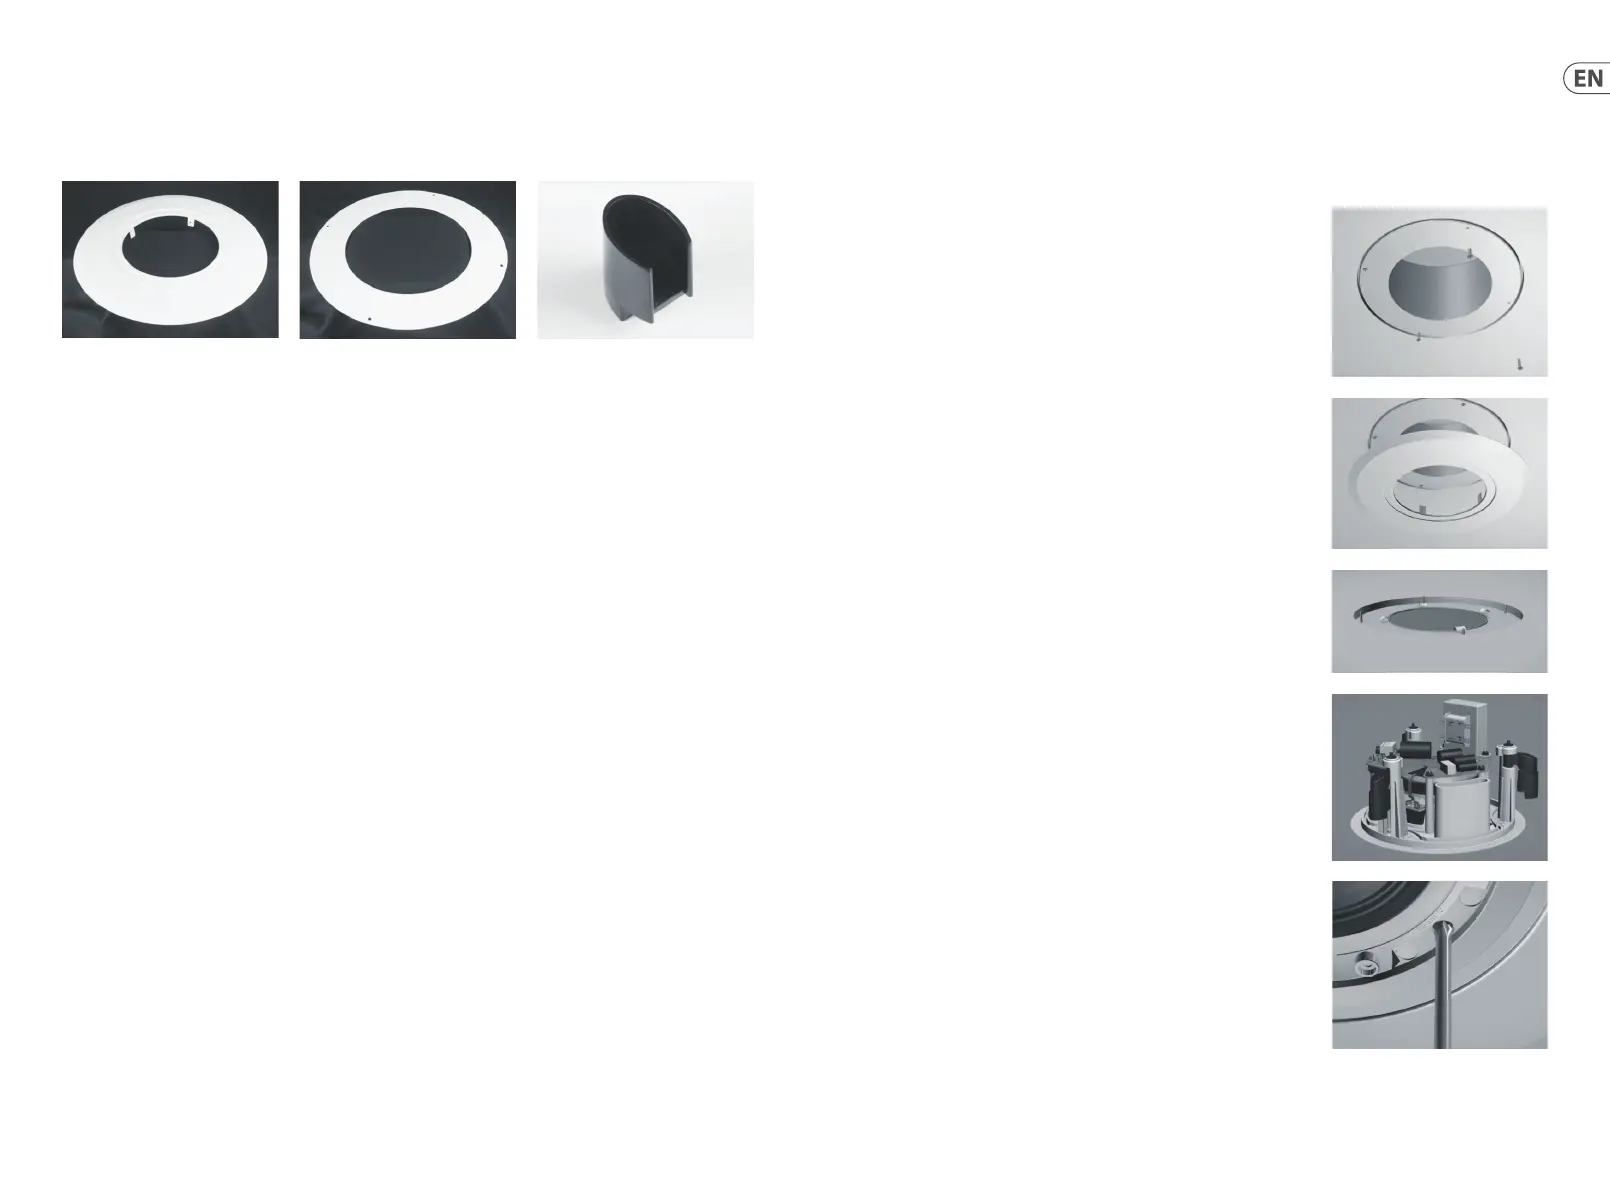
1. Attach Adapter Plate to back can using four type 8/32 pan head screws (not included).
2. Insert Adapter Ring into Adapter Plate as shown.
3. Bend tabs on Adapter Ring to hold in place.
4. Fit Clamp Extension Mouldings onto clamps. Move clamps back to retracted position.
5. Insert loudspeaker into backcan.
6. Turn clamp xing screws (loudspeaker front) counterclockwise to deploy clamp to
installed position. Continue turning until loudspeaker is mounted snugly against
Adapter Ring.
7. Attach loudspeaker grille.
 Loading...