ENGLISH
4
Quick Installation
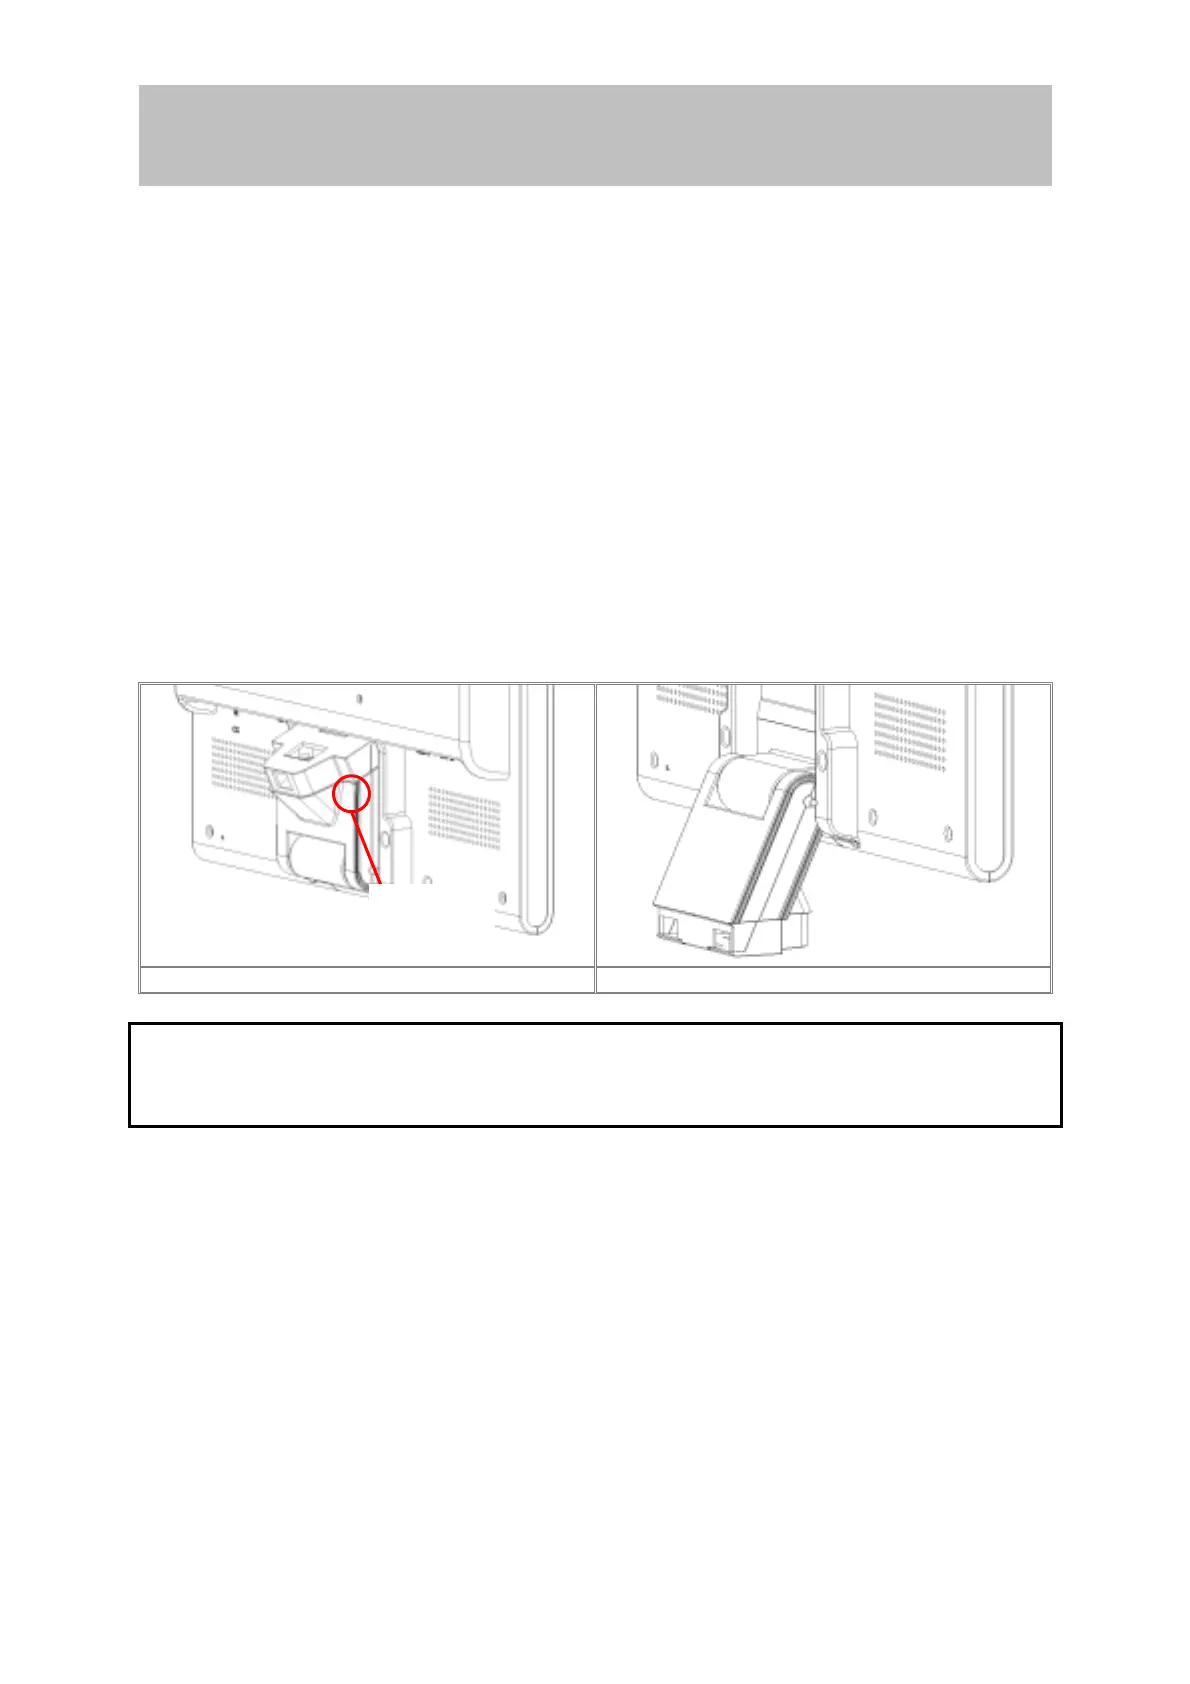
• The display unit is shipped with
the hinge retracted into the display
unit. Use your bare hand to flip the
hinge open.
• Install the display unit onto the
foot-stand.
• Connect power cord. Connect the
other end of this power cord to an
electrical source.
• Connect video cable or the DVI
(optional) cable. Connect the other
end of this video/DVI cable to the
video-out or DVI-out connectors
on the back of a computer.
• Connect the audio (optional) cable.
Connect the other of this audio
cable to audio-out connector on the
back of a computer.
• Turn on the LCD display first
before turning on the computer.
• After the computer is turned on,
set timing mode (resolution and
refresh rate). Example: 1280 x
1024 @ 60 Hz.
The hinge is now retracted into the system unit. The hinge is now flipped open.
Note:
If you need to retract the hinge back into the display unit, you need
to press the hinge lock first.
The hinge lock
 Loading...