2 3
Connecting to Your Computer
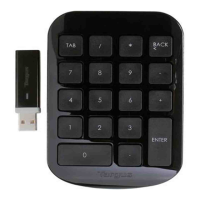
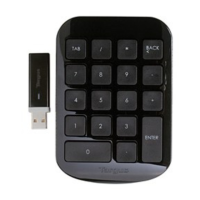
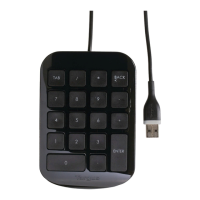
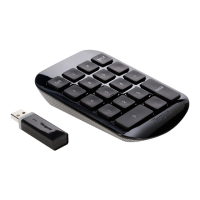
1. Remove the USB receiver from the back of the keypad.
2. Plug the USB receiver into an available USB port on your computer.
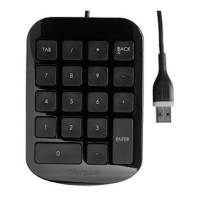
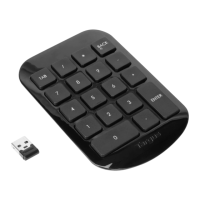
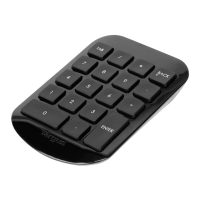
3. Power on the keypad by using the On/O switch located on the
back of the keypad.
This keypad is a plug and play device. It should automatically operate
when the USB receiver is connected to the computer.
USB receiver
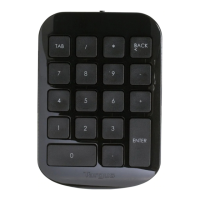
Battery compartment
cover
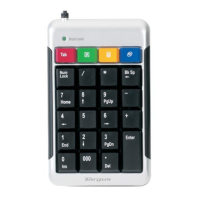
Operation System
switch
On/O switch
Reset button
folding line
2 staples here (saddle stitching)
folding line
2 staples here (saddle stitching)
Open size: 9”W x 4.5”H Folded Size: 4.5”W x 4.5”H Material: 80gsm woodfree paper Color: Grayscale
Diecut
Installing the Batteries
1. Remove the battery cover from the back of the keypad.
2. Insert the supplied battery, making sure that the positive (+) and
negative (-) ends of each battery match the polarity indicators
inside the battery compartment.
3. Slide the battery cover back into position until it “clicks” rmly into
place.