Do you have a question about the Tascam M-30 and is the answer not in the manual?
Defines a 'bel' as a unit of sound comparison and its relation to decibels.
Guidance on interpreting impedance specifications from different manufacturers.
Details the balanced XLR input for microphones, including impedance and sensitivity.
Explains the switch for selecting between Mic, Line, and Tape/Remix input sources.
Describes the adjustable frequency EQ for tone shaping, with boost/cut ranges.
The main mixing control for individual input signals, used for level adjustment.
Determines how input signals are routed to the submix section (Pre, Post, or Tape).
Amplifiers that sum signals from input modules for buss outputs without distortion.
Controls the final output levels for the main line buss outputs.
Standard volume unit meters indicating average signal levels.
Selects whether the monitor or submix signal is sent to the monitor/headphone outputs.
Adjusts the overall volume level for headphone monitoring.
Controls the overall output level of the submix signal.
Details input impedance, nominal and maximum levels for microphone inputs.
Details input impedance, nominal and maximum levels for line inputs.
Details input impedance, nominal and maximum levels for tape inputs.
Details load, nominal, and maximum output levels.
Details load, nominal, and maximum output levels.
Details load impedance and maximum output power.
Important general notes regarding maintenance procedures, components, and references.
Procedure to test LINE IN to ACCESS SEND signal path and levels.
Procedure to verify signal levels at the CUE OUT jack.
Procedure to test LINE IN to DIRECT OUT signal path and levels.
Procedure to test LINE IN to LINE OUT signal path and levels.
Procedure for checking and adjusting the input section overload LED.
Procedure to test LINE IN signal routing to the SUBMIX OUT.
Procedure to test LINE IN signal routing to the MONITOR OUT.
Procedure for calibrating VU meters and checking LED circuits.
Procedure to check the PHONO input to PHONO output signal path.
Procedure for testing the MIC input signal path and levels.
List and diagram of parts for the front panel and main chassis assembly.
List and diagram of parts for the main chassis assembly.
List and diagram of parts for the meter panel assembly.
List and diagram of parts for the rear panel assembly.
List and diagram of components for the Input Amplifier PCB.
List and diagram of components for the Master Monitor Amplifier PCB.
List and diagram of components for the Submix Amplifier PCB.
List and diagram of components for the Power Supply PCB.
List and diagram of components for the Voltage Selector PCB.
List and diagram of components for the Fuse PCB.
List and diagram of components for the Switch PCB.
Schematic diagram for the Input Amplifier PCB (A).
Schematic diagram for the Input Amplifier PCB (B).
Schematic diagram for the Master Monitor Amplifier PCBs.
Schematic diagram for the Submix Amplifier PCBs.
Schematic diagram for the Power Supply PCB.
Overall wiring diagram showing interconnections between major components.
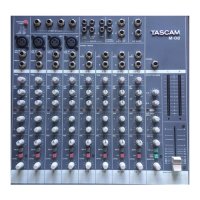
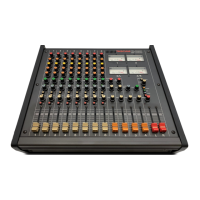
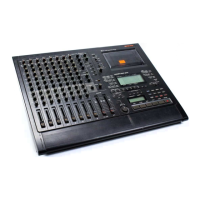
| Type | Analog Mixer |
|---|---|
| Phantom Power | Yes |
| Aux Sends | 2 |
| EQ | 3-band EQ |
| Outputs | Monitor |