11
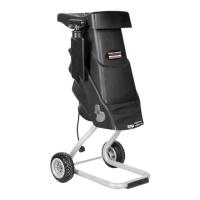
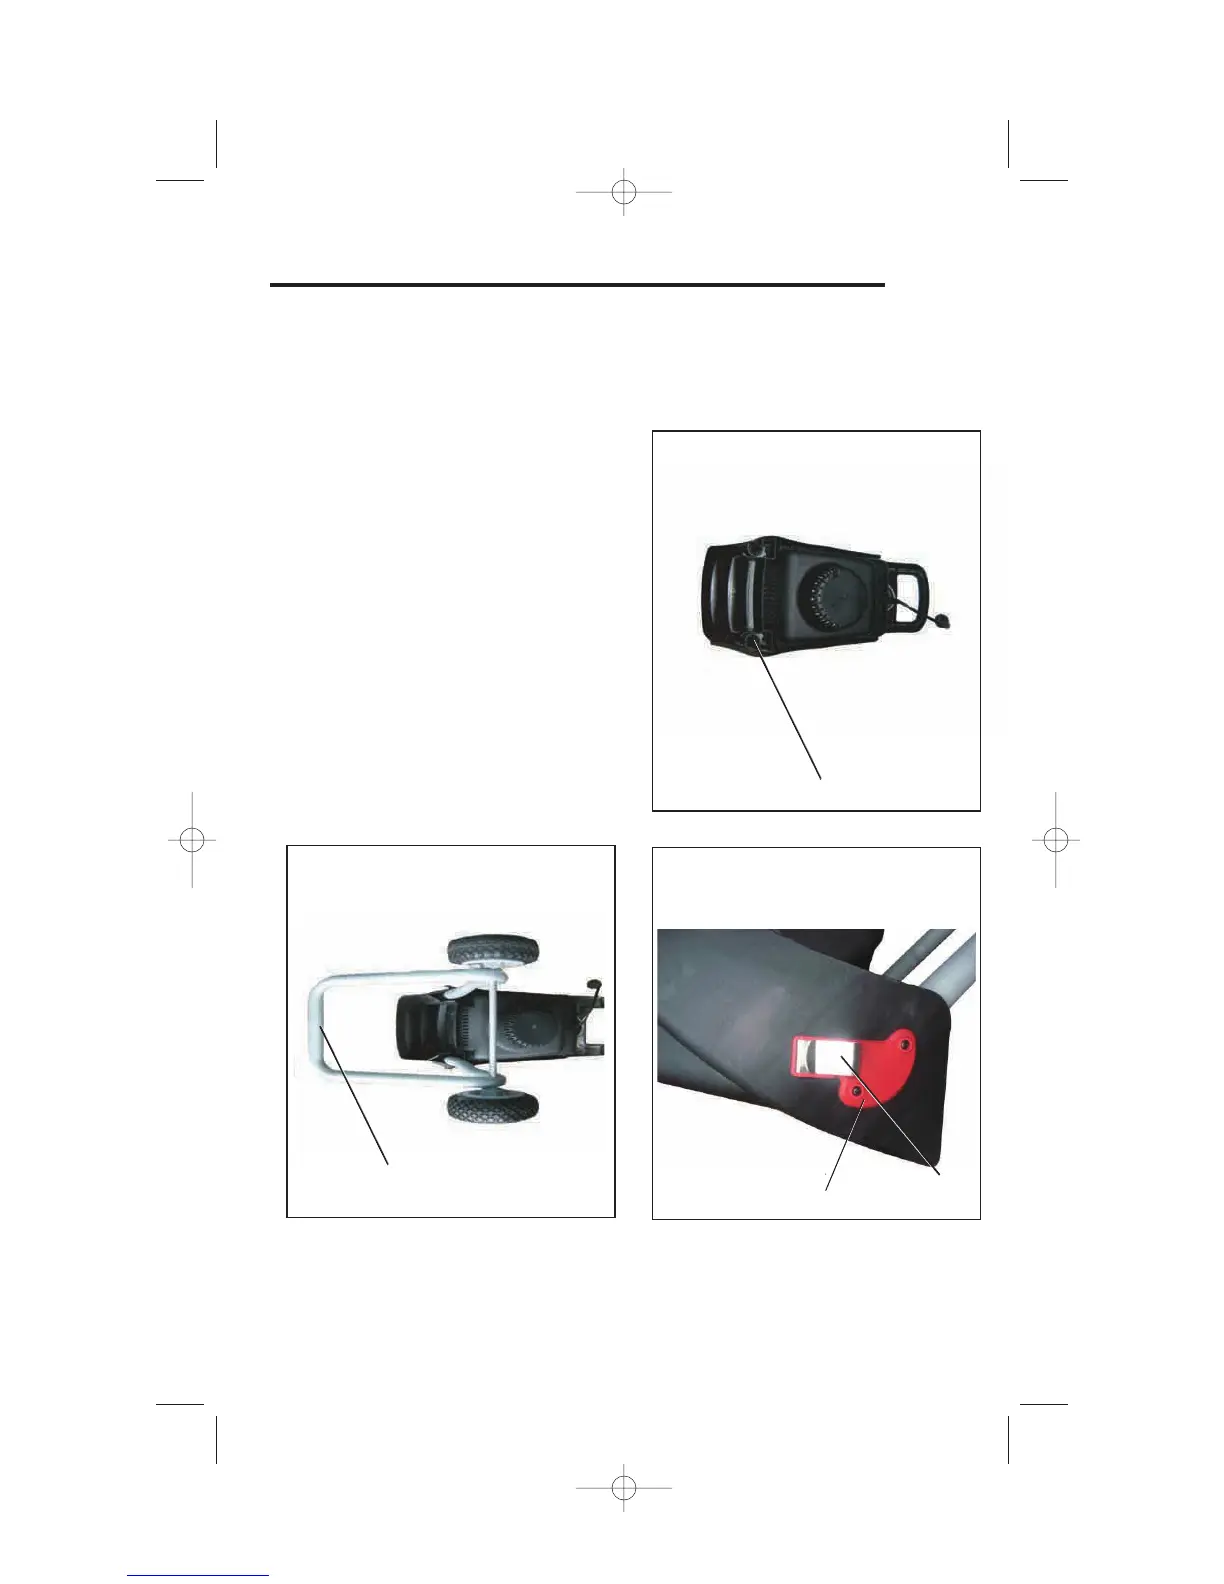
Attach legs to chipper (Figs.5 and 6)
The legs are attached to the bottom of the chipper. The top pa rt of the chipper
is held closed by a lock knob.
1. Turn the chipper housing upside down.
(Step 1,Fig.4)
2. Place the leg assembly into the holes
on the housing. (Step 2,Fig.5)
3. Push firmly into place.
4. Position a clip holder (Step 3,Fig.6) on
the side of the housing and screw
(Step 4,Fig.6) into place. Repeat for the
opposite side.
5. Make sure the chipper is properly
assembled, and then turn the right way
up.
Fig.4
Step 1
Fig.5
Step 2
Fig.6
Step 4
Step 3
ASSEMBLY AND ADJUSTMENTS