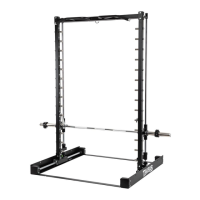
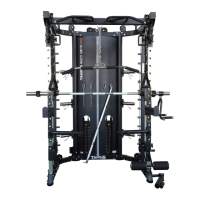
12
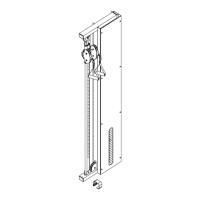
Single Pulley
2.3 Assembly
Before assembly, take a close look at the individual assembly steps shown and carry out the assembly
in the order given.
L NOTICE
First loosely screw all parts together and check that they t properly. Tighten the screws using
the tool only when you are instructed to do so.
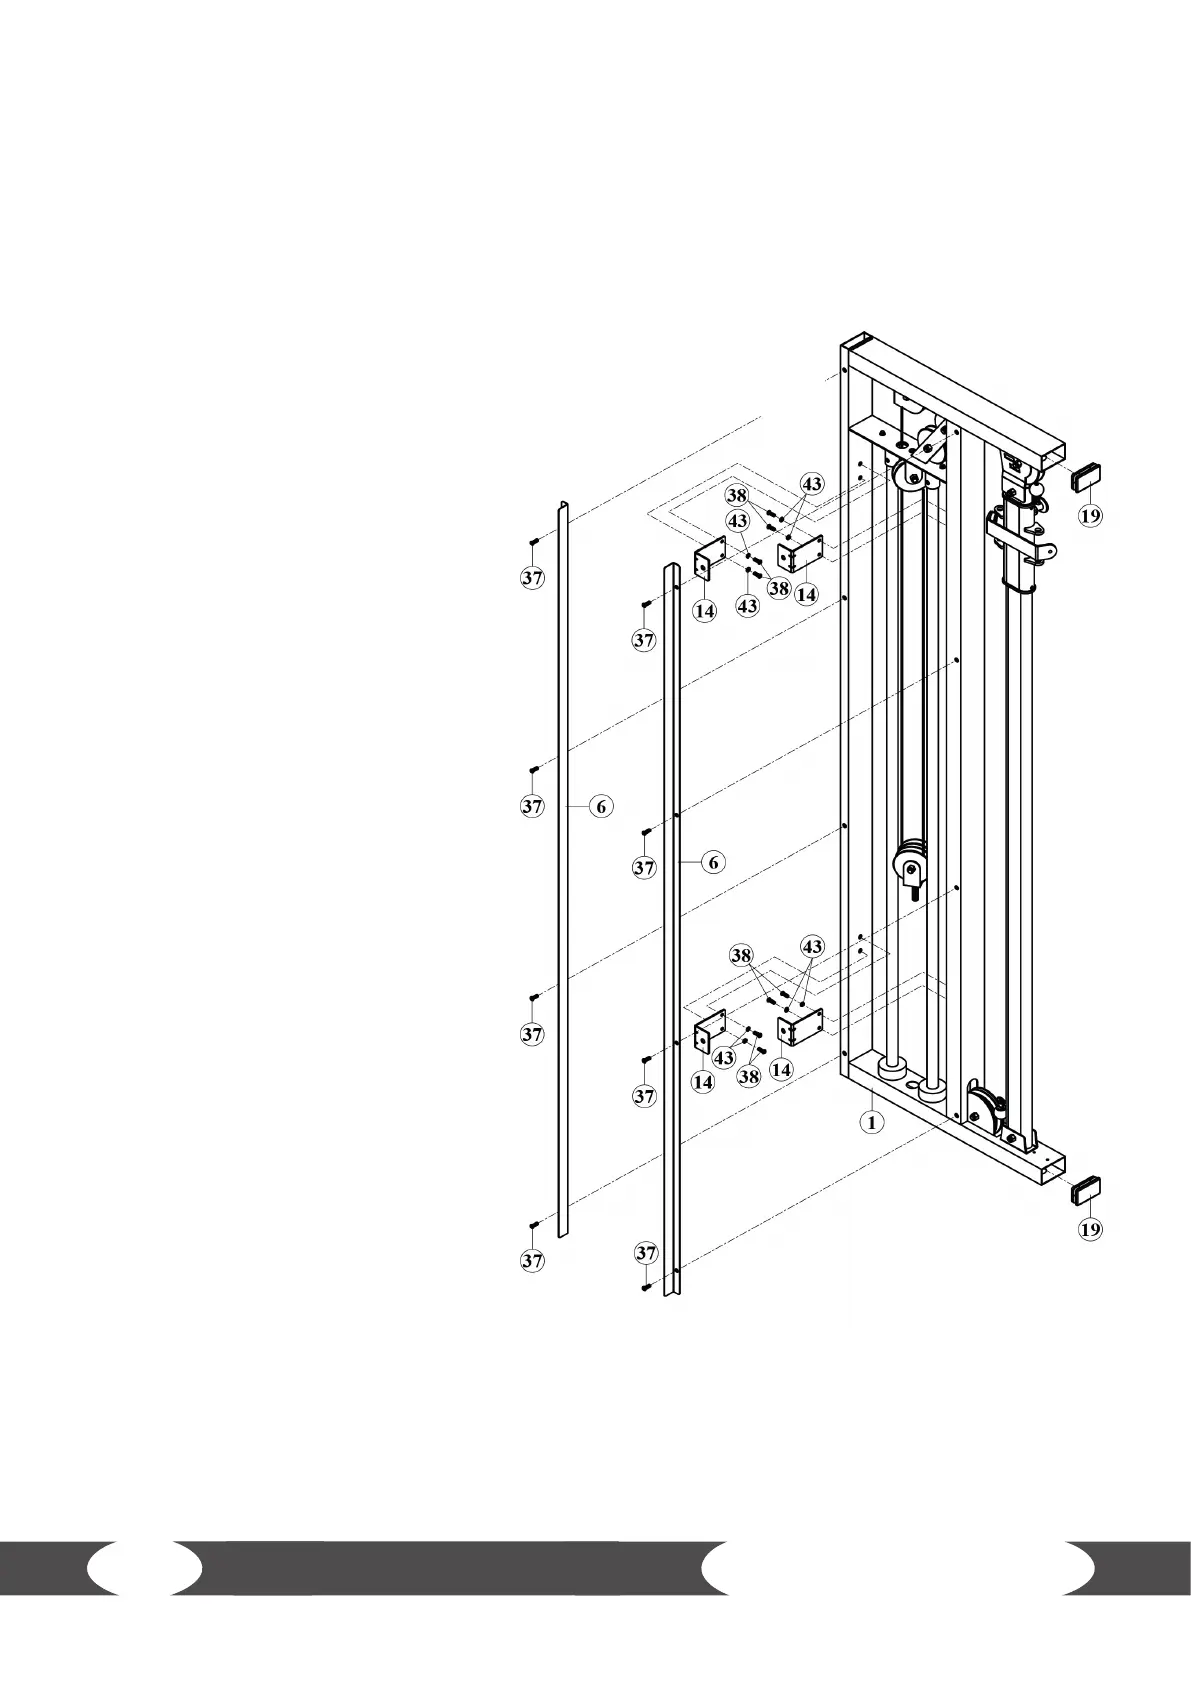
2.3.1 Assembly (left)
Step 1
1. Fasten the two rear covers (6) to
the main frame (1) with eight
screws (37).
2. Fasten the four L-shaped
brackets (14) to the main frame
(1) with eight screws (38) and eight
spring washers (43).
3. Place the two end caps (19) on the
main frame (1).