16
Models RD30/RC25Operating Procedures
150706
For units equipped with a post mix valve, the
following procedure is to be used in place of Step
1 - 2 of the Sanitizing Procedure.
Prepare a pail of approved 100 PPM sanitizing solution
(examples: 2- 1/2 gal. [9.5 liters] of Kay- 5R or 2 gal.
[7.6 liters] of Stera- SheenR). USE WARM WATER
AND FOLLOW THE MANUFACTURER’S
SPECIFICATIONS. Pour the solution into a clean,
empty mix delivery system container.
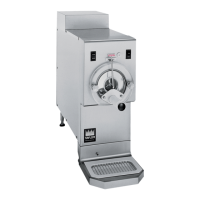
Figure 24
Place the control switch in the “W ASH” position. Place
the “FILL” switch in the “ON” position. To prime the fill
valve, press and hold the area marked “PUSH” on the
front of the post mix valve (prime button). After 10
seconds, release the valve and the sanitizing solution
will continue to flow until the mix float is satisfied or until
the fill switch is turned to the “OFF” position.
Figure 25
Note: If the sanitizing solution does not continue to
flow after releasing the prime button, press and hold
the prime button for an additional ten (10) seconds.
Repeat this procedure as required to prime the post
mix valve.
Figure 26
Drain the sanitizing solution from the freezing cylinder
and repeat this procedure until all the sanitizing
solution is dispensed from the mix delivery container.
Disconnect the mix delivery container.
Figure 27
IMPORTANT! The unit must NOT be placed in AUTO
until all sanitizing solution has been removed from the
freezing cylinder and proper priming procedures have
been completed. Failure to follow this instruction may
result in damage to the freezing cylinder.