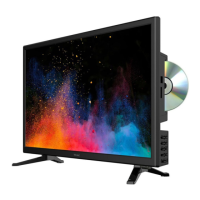
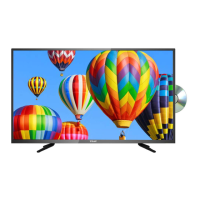
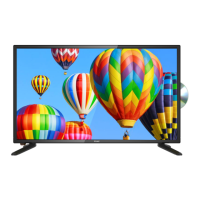
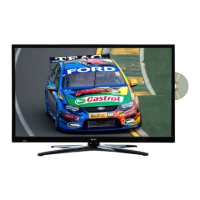
2. TV PLACEMENT SETUP
Reference
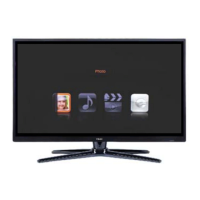
Parts & Connections
USB Multimedia
Playback
TV Placement
Setup
Initial Setup &
Input Sources
Remote Control
On-Screen DisplayTV & Electronic
Programme Guide
Digital Video
Recording (DVR)
(OSD) Menu
3D Video Playback
6
3. Warnings.
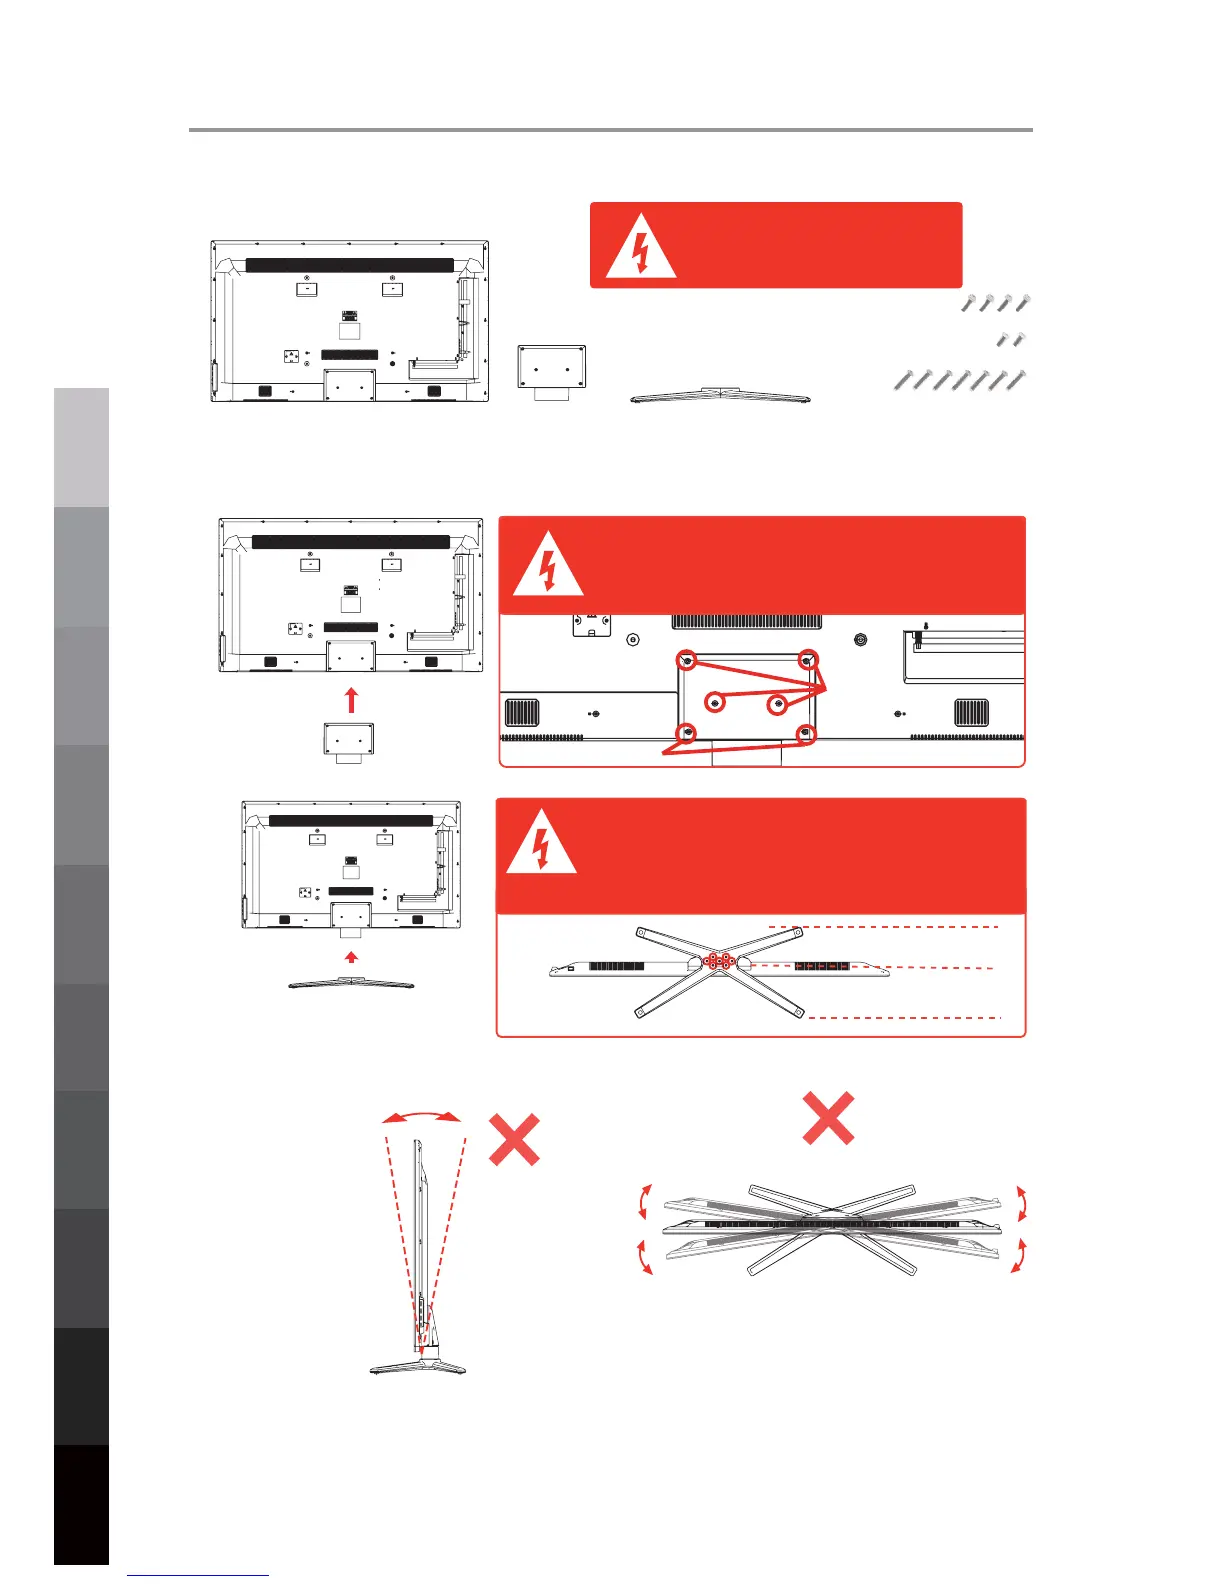
1. The parts
needed for installing the stand (supplied)
TV set
StandNeck
Screws(supplied)
2. How to install the Stand?
Before installing the stand, please check that
you have all of the parts and that there is no
visible damage. If a part is missing or appears
damaged, please contact customer service.
Place the TV face down on a soft and flat surface (blanket, foam, cloth, etc.) to prevent any damage to the TV.
Put the neck onto the back of the TV set as shown below, and attach the neck with the supplied screws .
Put the stand to the neck of the TV set as shown below, and attach the neck with the supplied screws (7pcs x ST4 X 27F).
When attaching, make sure the screws are attached tightly.
If the screws do not attach tightly, it will lead the TV to be unstable or
may even tip over.
Please make sure correct screws are used or they will damage the TV.
a. It can not be tilted to the front or back as
shown below. Doing so may damage the
stand.
4pcs x 2836/M4 x 14mm
7pcs x ST4 x 27F
2pcs x M4 x 10mm
2pcs x M4 x 10mm
Back
Front
1. Before you put on the stand, please make sure the direction is correct
as shown below.
2. When you are putting on the stand, please make sure the neck of the
TV set is in the correct position and attached tightly.
3. When attaching the stand, make sure the screws are attached tightly.
NOTE: If you do not attach correctly and tightly, it will make the TV
unstable and may tip over.
Top View
b. It can not be tilted to the right or left as
shown below. Doing so may damage the
stand.
7pcs x ST4 x 27F
4pcs x 2836/M4 x 14mm