PX3000
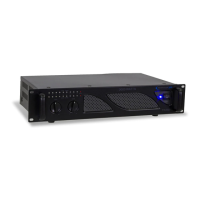
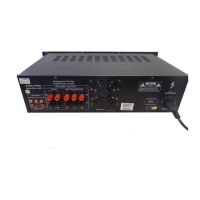
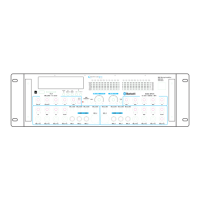
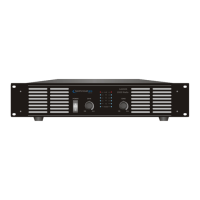
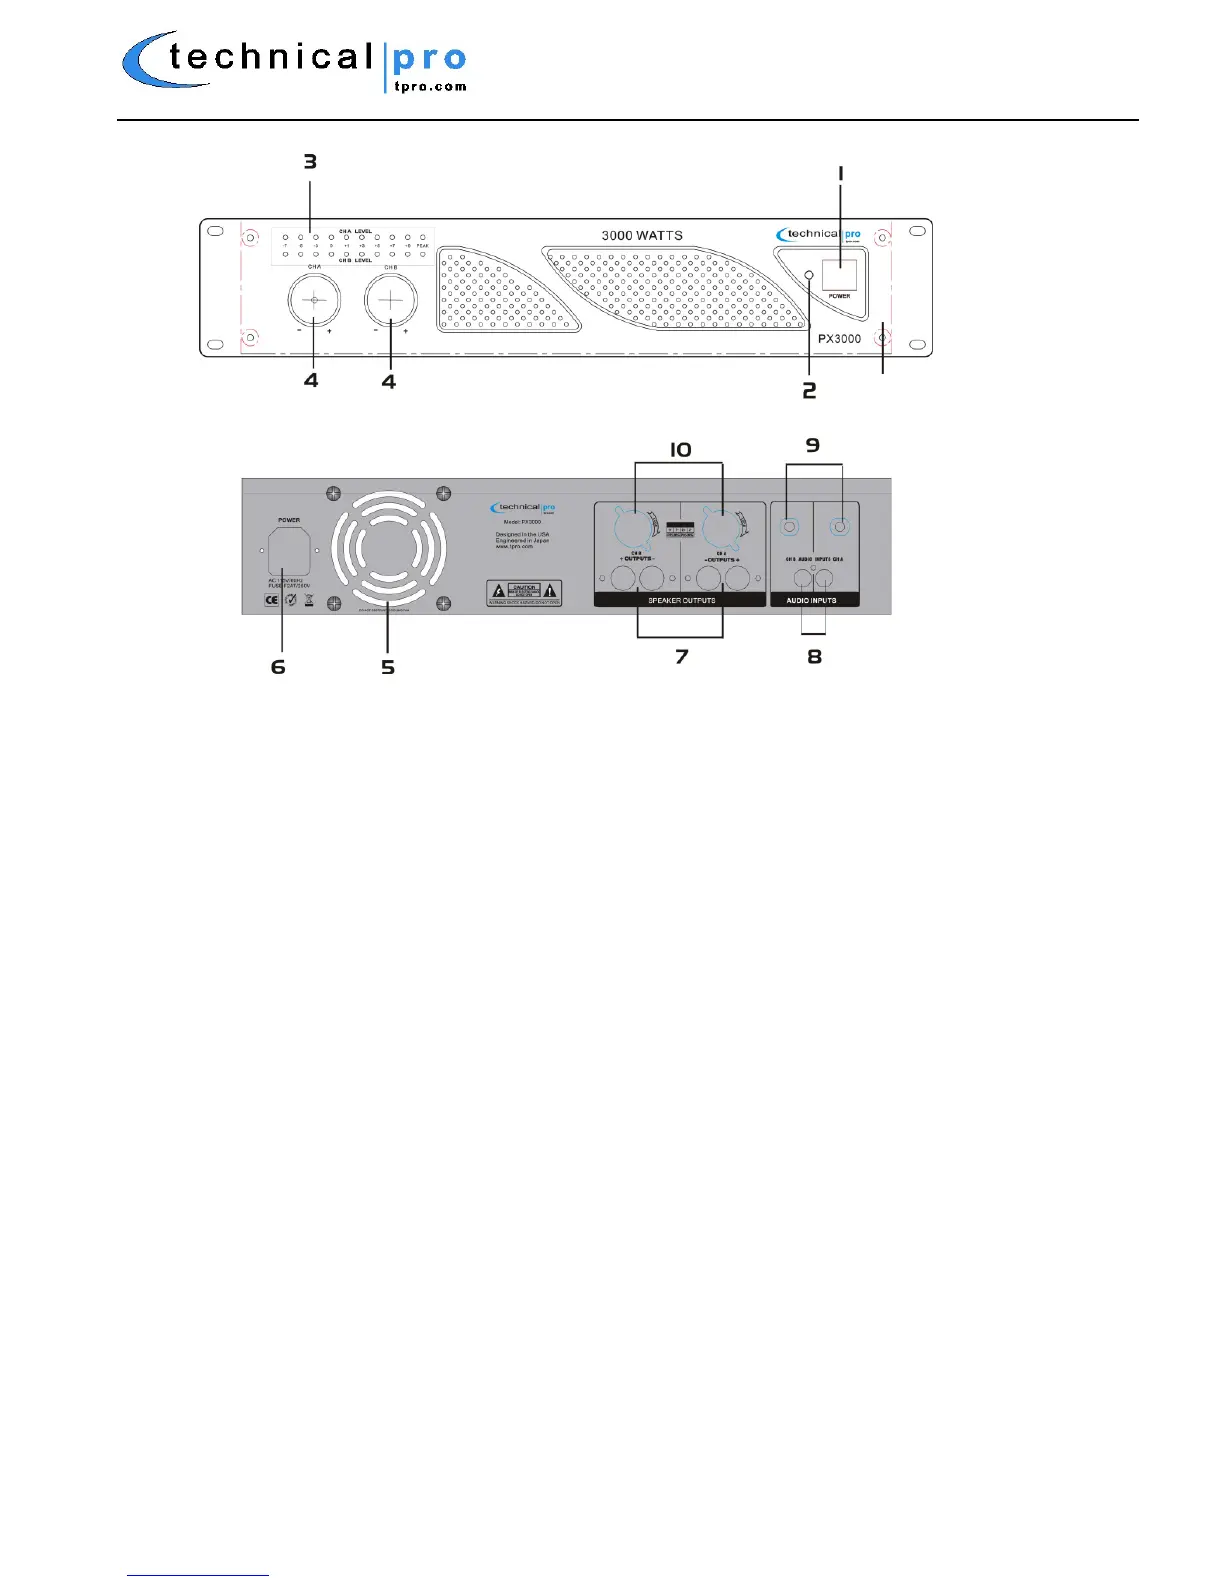
PX3000 FRONT PANEL & REAR PANEL
1. POWER SWITCH
This button turns on the power to the amplifier. Before turning on the amplifier, set the input gain and volume knobs
all the way down.
2. POWER LED INDICATOR
These indicators will illuminate when the AC main power is being supplied to the amp and both channels are
operational. If the channel experiences faulty conditions, then the channel power LED will not illuminate.
3. LEVEL LED INDICATOR
Channel A and Channel B level LED indicator. Allows you to monitor the decible level of the sources input, the optimal
level is 0dB. The CLIP LED lights when your input signal is too strong.
4. VOLUME CONTROL
These two controls are used to adjust the output volume of each channel of the power amplifier.
5. COOLING FAN
One cooling fans supply cool air to the amplifier. The fans switch to high speed automatically when the
Temperature of the unit reaches a certain degree.
6. POWER SUPPLY
This is a standard IEC power connector.
7. BANANA BINDING POST OUTPUTS
There are two banana binding post outputs on the rear of the PX3000. Make sure the banana binding posts are
Tightly screwed in place before connecting a cable with a banana connector. When using a speaker wire with the
Banana binding post follow the instructions on page 5 to installation instructions.
8. RCA INPUTS
Connect the RCA connectors from your signal source to the RCA inputs.