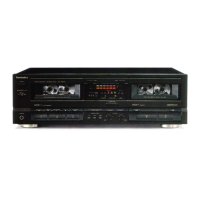
To record selected tracks
DECK i}2 [Duringrecording] .....................
[ _ Press DECK 1/2 to select the
"_ Deck 1,
_ Press •
................::::,iioiiii iw,iiiii°
"G a4.secon s,,en ,°te a,andInenter
the recording standby mode.)
oPerate Deck 1to find the trsckyou wish
to record.
It is also possibleto change the playbacktape at this
time.
_ "_ (PRrclior_in_YwiI_IICrei_su.Rm0elSTART: .........
When new recordings are made on a pre-recorded tape, all sounds
recorded on that portion of the tape are automatically erased. To
erase a tape without making a new recording, follow the steps
below.
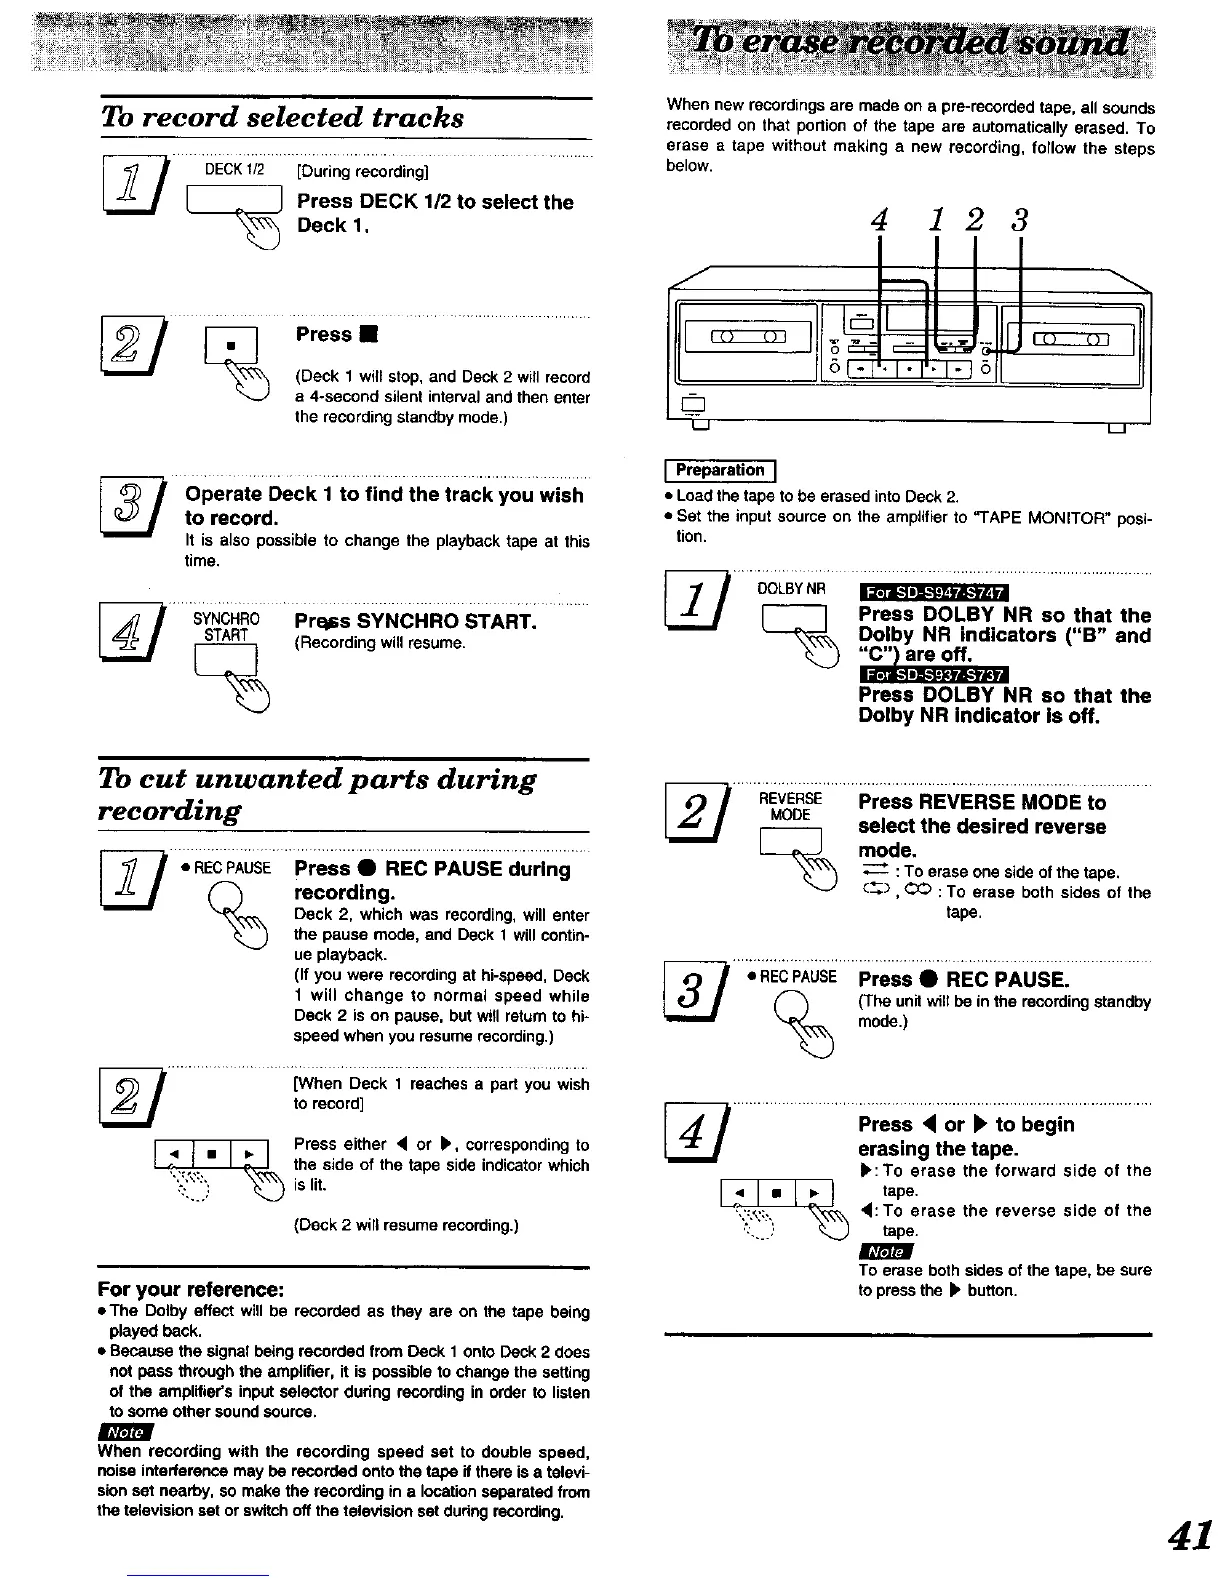
4 123
o =::__ -g. l _
o!- t5
©
L.J LJ
I Preparation I
• Load the tape to be erased into Deck 2.
• Set the input source on the amplifier to "TAPE MONITOR" posi-
tion.
...........................
Press DOLBY NR so that the
Dolby NR indicators ("B" and
Press DOLBY NR so that the
Dolby NR indicator Is off.
To cut unwanted parts during
recording
_-_ recording.
Deck 2, which was recording, will enter
the pause mode, and Deck 1 will contin-
ue playback.
(If you were recording at hi-speed, Deck
1 will change to normal speed while
Deck 2 is on pause, but will return to hi-
speed when you resume recording.)
........................iWhen'D':cki;e;_hes;p;" You'wis;_
to record]
_ Press either < or b, corresponding to
the side of the tape side indicator which
is lit.
(Deck 2 will resume recording,)
For your reference:
• The Dolby effect will be recorded as they are on the tape being
played back.
• Because the signal being recorded from Deck 1 onto Deck 2 does
not pass through the amplifier, it is possible to change the setting
of the amplifier's input selector during recording in order to listen
to some other sound source.
m
When recording with the recording speed set to double speed,
noise interference may he recorded onto the tape if there is a televi-
sion set nearby, so make the recording in a location separated from
the television set or switch off the television set dudng recording.
[_ 'REVERSE........PressREvERsEMoDE to ...........
MODE
I-_ select the desired reverse
mode.
_,'""_ _ :To eraseone sideofthe tape.
"_J C_, _ •To erase both sides of the
tape.
_ ;REC PAUSE p;ee s''e REcPAusEI ..................
(_) (The unitwiltbe inthe recordingstandby
'_ mode.)
..................... Press _ or _tObegin ...................
erasing the tape.
)':To erase the forward side of the
_ tape,
_:To erase the reverse side of the
tape.
To erase both sides of the tape, be sure
to press the b button.
41