I
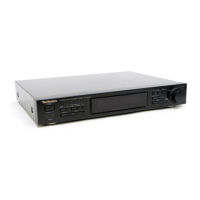
Spaces
between equipment when stacked:
.
Using
high
feet
.
Using
low
feet
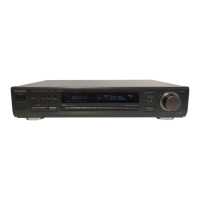
This unit
is equipped with
2
groups
of
feet: one
group
higher than the other.
(The
lower
feet
are
included within
the higher
ones.)
Remove
the high feet and
use the low
ones
when:
1)
This unit and the Technics
model
SH-9038
(of
the
same
series) are stacked together.
2)
ln¡s unit
is mounted in
an audio rack and the high feet
don't
fit well.
When this unit
is mounted
in an
E|A-standard
rack, use
the
included rack-mounting
adapters.
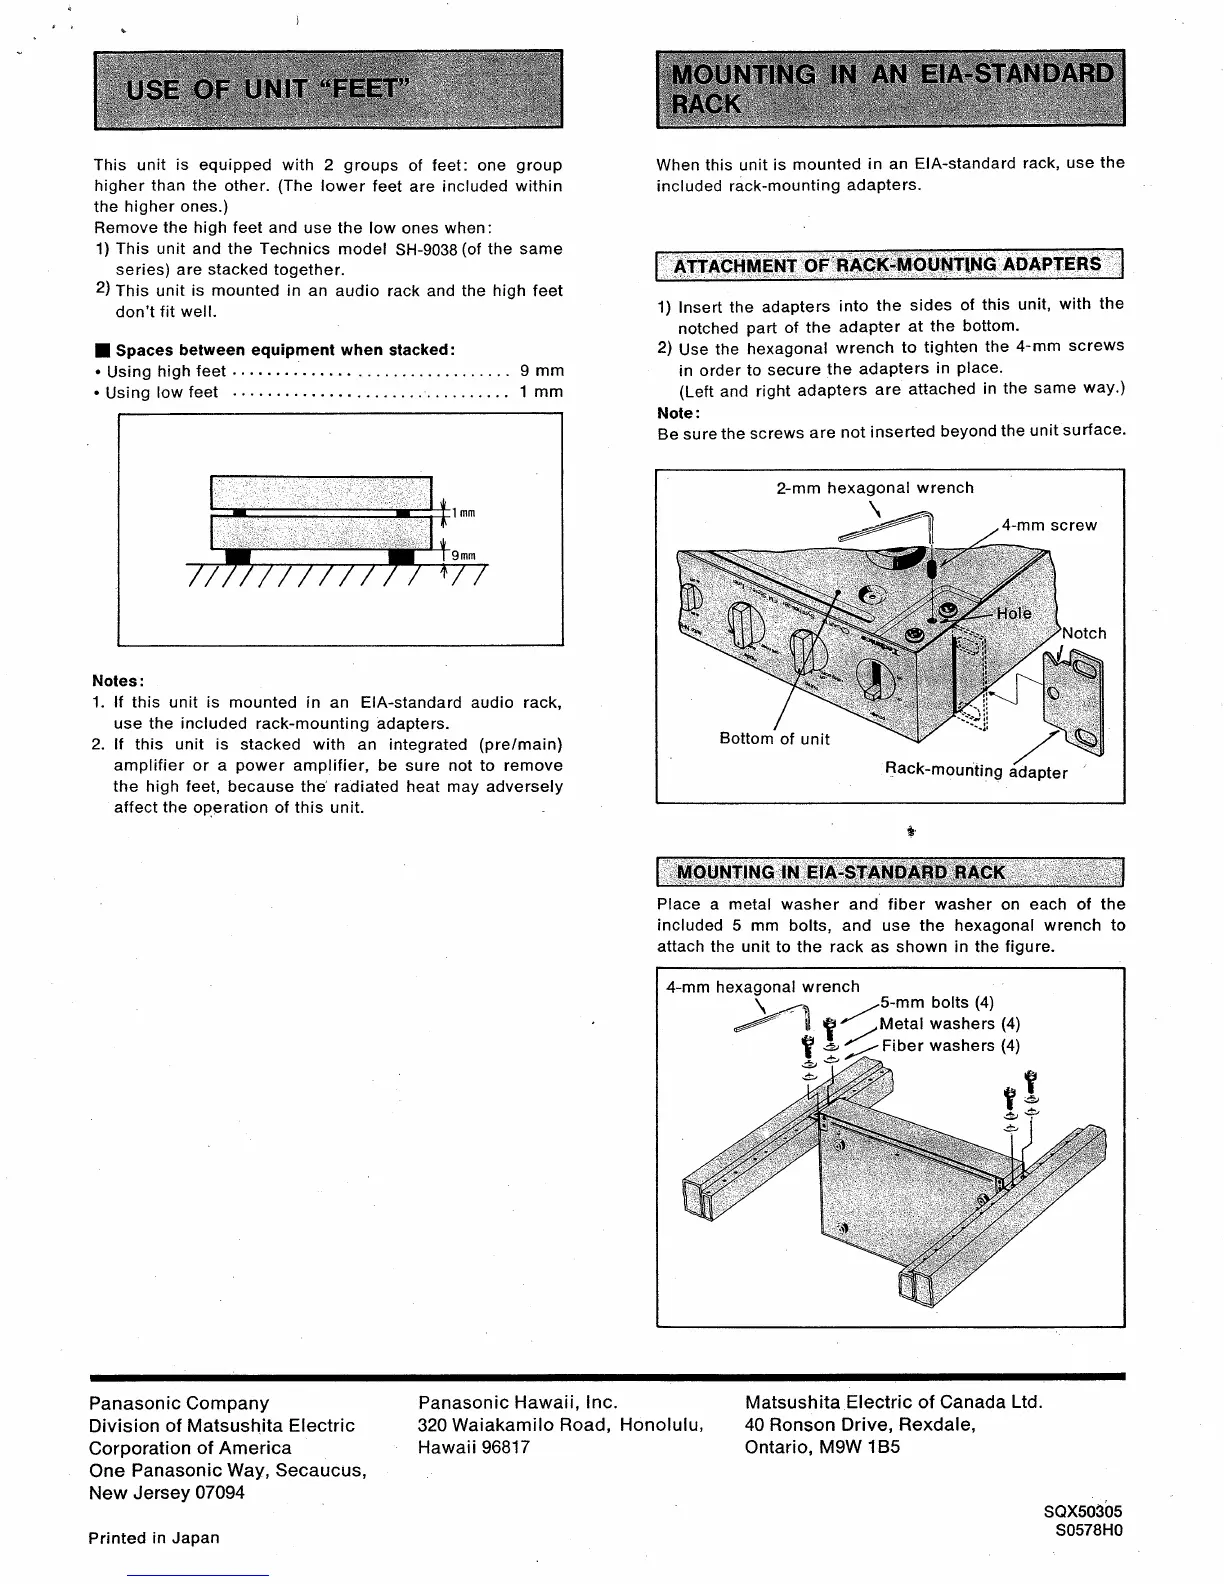
TTACH
ENT OF
G ADAPTERS
1) lnsert the adapters
into
the
sides of
th¡s
un¡t,
with
the
notched
part
of
the adapter
at the
bottom.
2)
Use
the
hexagonal
wrench
to tighten
the
4-mm
screws
in order
to secure
the adapters
in
place.
(Left and right
adapters
are
attached
in the
same
way.)
Note:
Be sure
the
screws
are not
inserted
beyond
the un¡t
surface'
2-mm
hexagonal wrench
4-mm
screw
Bottom
of unit
Rack-mounting
Place
a
metal
washer and fiber washer on each of the
included
5 mm bolts, and use the hexagonal wrench
to
attach the
unit to the rack as shown ¡n the
figure.
9mm
'l
mm
Notes:
1.
lf
this unit is mounted in
an
ElA-standard
audio rack,
use the included
rack-mounting
adapters.
2. lf
this
unit is
stacked with an integrated
(pre/main)
amplifier or a
power
amplifier, be sure not to remove
the high feet, because the'
radiated heat
may
adversely
affect
the
operation of this unit.
*.
mm
mm
I
4-mm
hexagonal
w
\
_.-n
é4$
rench
bolts
(4)
?
washers
(4)
Y
ê-
Fiber washers
(4)
r
E
Panasonic Company
Division
of Matsushita Electric
Corporation
of America
One
Panasonic
Way, Secaucus,
New Jersey
07094
Panasoníc Hawaii,
lnc.
320
Waiakamilo
Road, Honolulu,
Hawaii96817
Matsushita
Electric of Canada Ltd
40
Ronson
Drive, Rexdale,
Ontario, MgW
185
sQX50305
s0578H0
Printed
in Japan
 Loading...