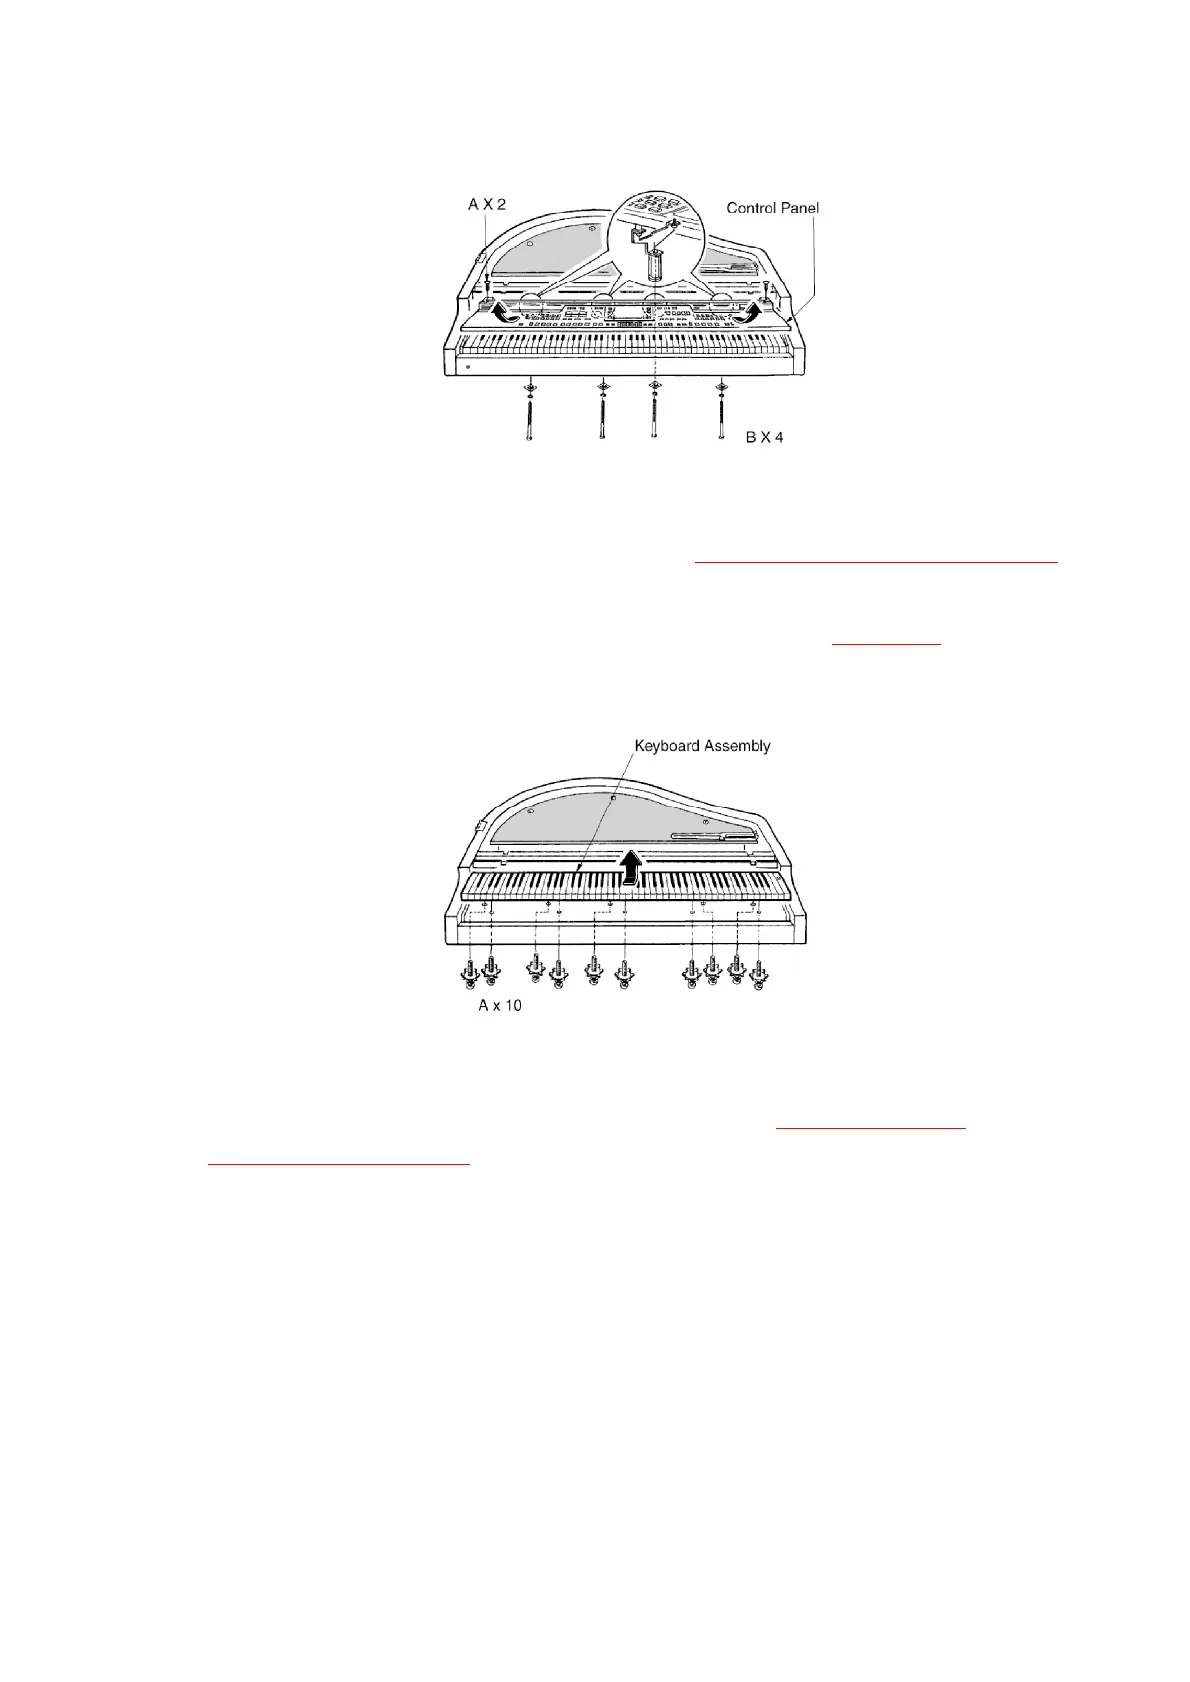
8.4. Removing the keyboard assembly
1. Remove the control panel (see step “Removing the control panel ).
2. Remove the keyboard assembly mounting screws located on the
bottom of the cabinet (A × 10 pcs.) as shown in Figure-7 .
Figure-7
8.5. Key(s)
Disassembly
1. Remove the keyboard assembly (see step “Removing the
keyboard assembly ”).
2. While inserting a thin plate to press down a claw, push the rear of
the key forward to disengage the key claw from the chassis.
3. Lift the key up to remove it.
Note:
- The key claw is easily broken. Do not apply undue force. Should a
key claw break, it can still be used.
- If a black key is to be replaced, it is necessary to remove both
adjacent white keys.
9