/ / / /
Assembly
1. Insert the front part of the key into the chassis.
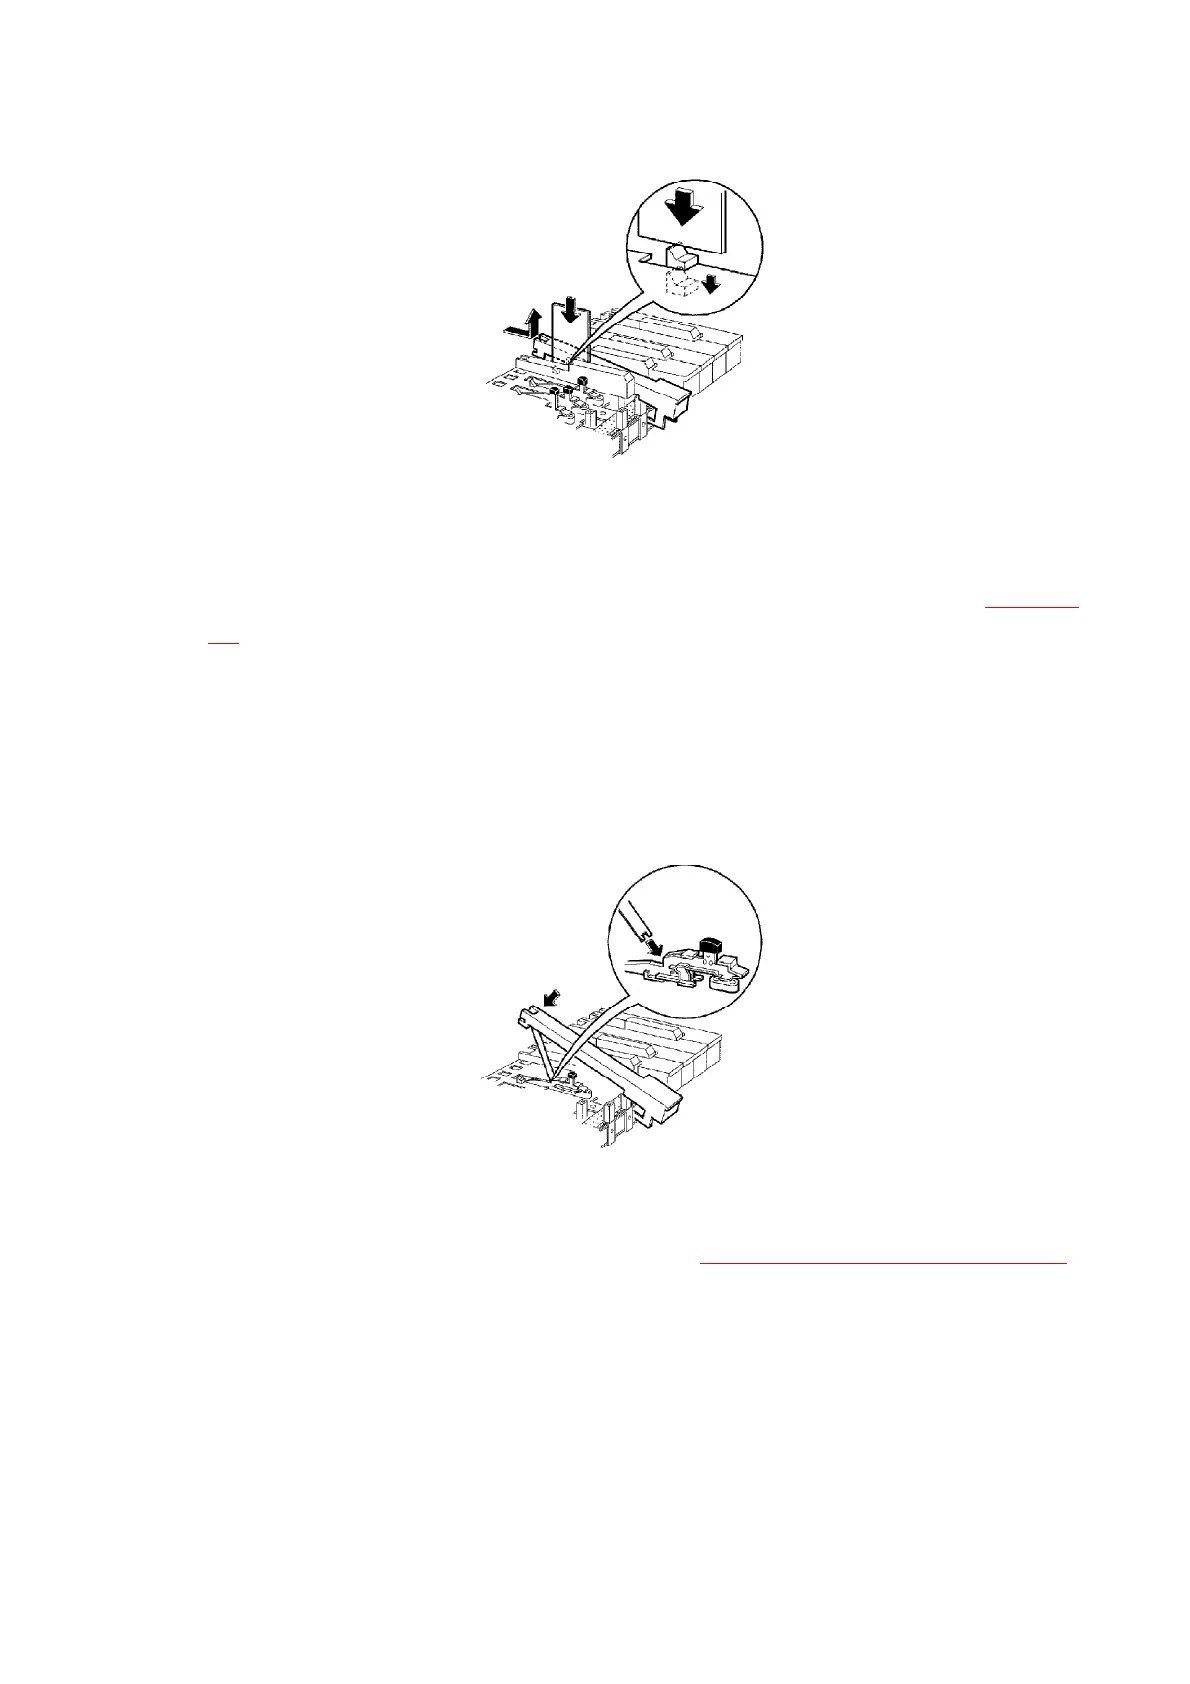
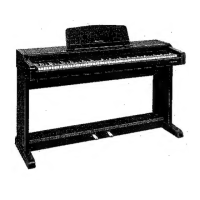
2. Insert the plate spring into the hammer notch as shown in Figure-
10 .
3. While slowly lowering the key into the chassis, insert the plate
spring into the notch at the rear of the key.
4. Carefully insert the key into the opening in the chassis and slide
the key towards the rear to lock it in place.
Figure-10
6.7. Removing the LCD P.C.B.
LCD P.C.B.
1. Remove the control panel (see step “Removing the control panel
”).
2. Remove the LCD cover mounting screws (A × 4 pcs.).
3. Remove the LCD P.C.B. mounting screws (B × 2 pcs.).
Figure-11