24
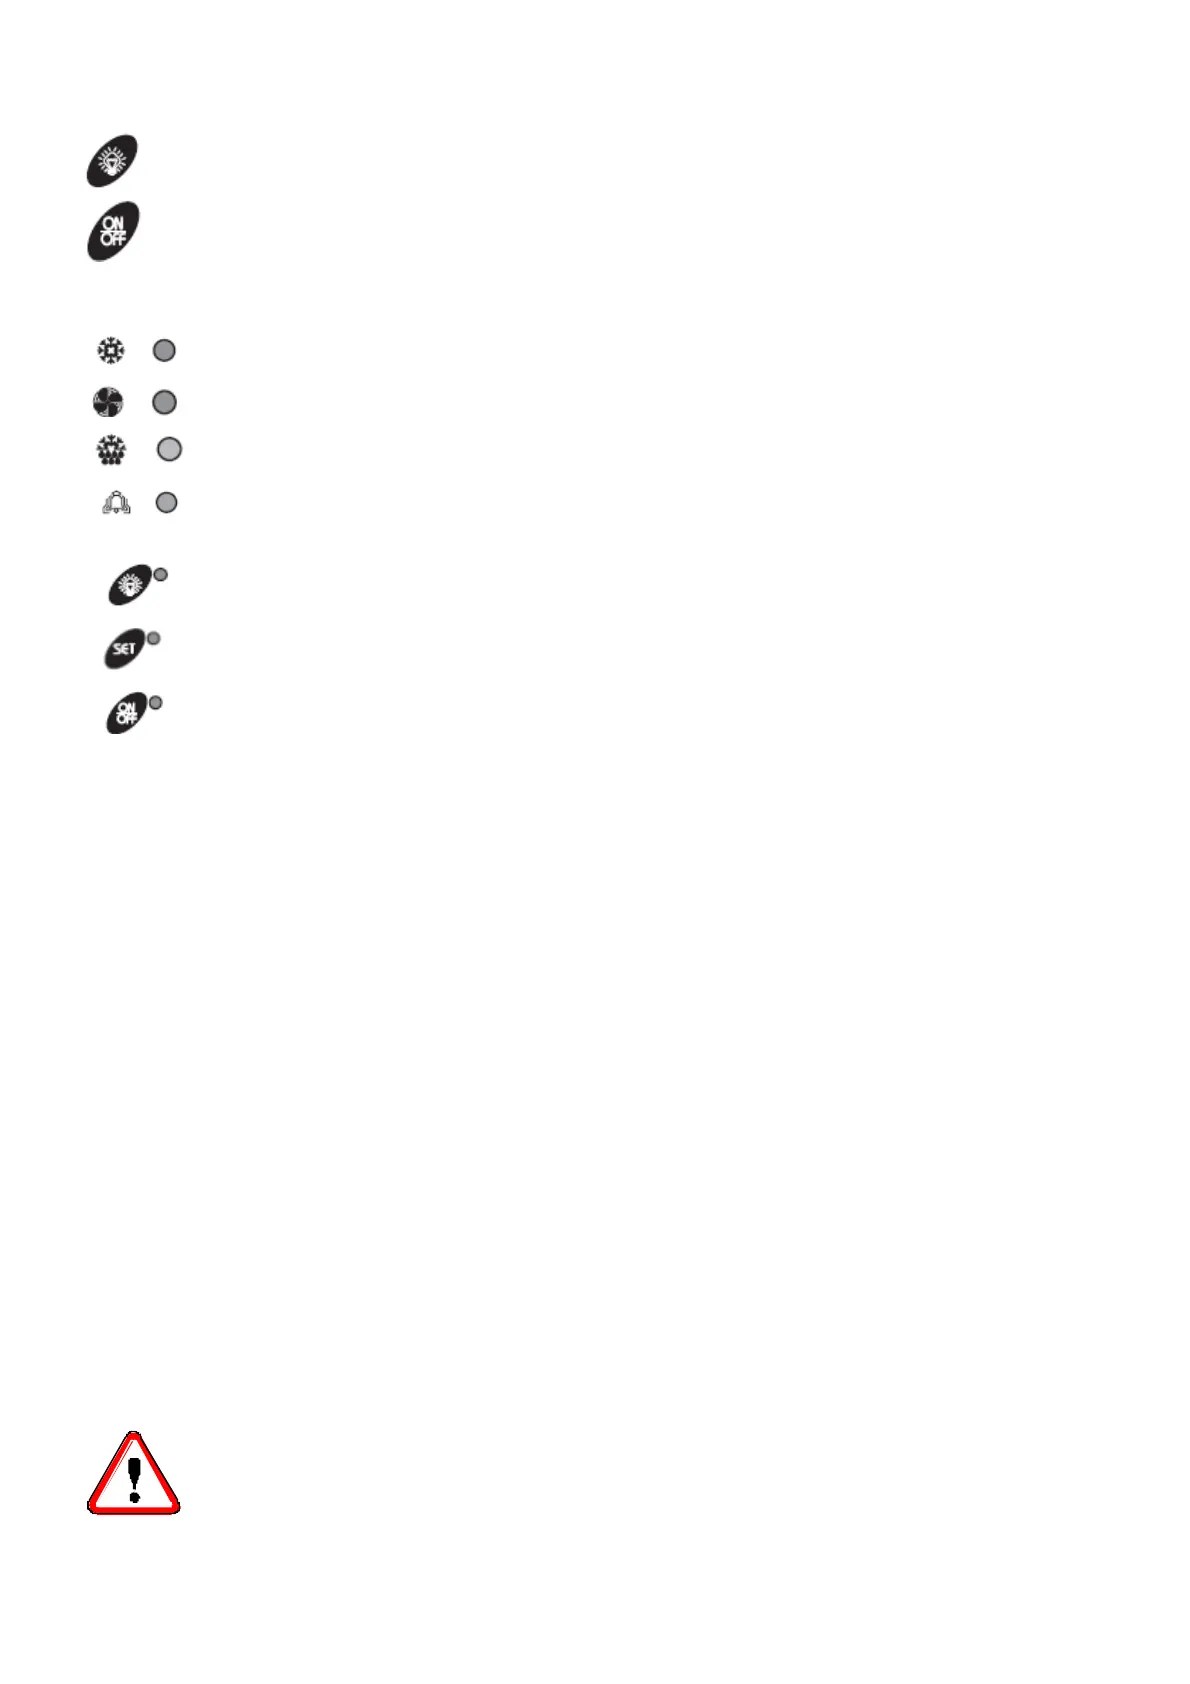
LIGHT : It switches on and off the light.
ON/OFF : It activates and deactivates the card stand-by.
A series of light points on keyboard is used to monitor the loads controlled by the instrument. Each LED
function is described in the following table:
LED MODE FUNCTION
ON Compressor enabled BLINKING Anti-short cycle delay enabled
ON Fan enabled BLINKING Drain enabled
ON Defrost enabled BLINKING Drain time in progress
ON ALARM signal In “Pr2” indicates the parameter is also present in
“Pr1””
ON Auxiliary exit ON
ON The set point is displayed BLINKING The set point is displayed and it is modifiable
ON The instrument is on standby
9 Checks, regulations and adjustments
Before turning the unit on, check that:
- locking screws are tight
- electrical connections have been carried out correctly.
In the event that the unit has been opened:
- no tools were left inside
- assembly is correct
- there are no gas leaks
- front cover is secured correctly
9.1 Starting
Before on, by the main switch, the machine, make sure that the unit is provided with compressor
preheating system. In this case, to execute the preheating, maintain connected to the main supply the unit without
on the unit through the main switch. In this way only the compressor crankcase heater is on.
Leave the machine in this condition for a few hours; the duration of this preheating phase depends on the
temperature of the place where the unit is mounted: with high external temperature maintain this phase for at
least 3 hours, with lower temperature the preheating-time is around 8÷10 hours.
At the end of the preheating, set the main switch in the “start” position or press the “ON/OFF” button of the
remote control panel.
N.B. If the instrument does not start, control if the unit is provided with a voltage monitor, in this case you have to
wait for the counting end of this device (about 6 minutes
- Set the required cold room temperature.
ATTENTION
Medium temperature range : +5 / -5°C
Low temperature range : -18 / -25°C