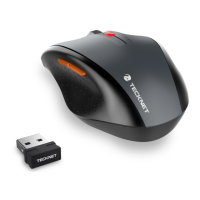
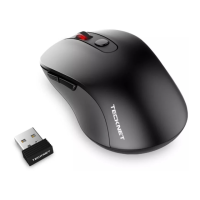
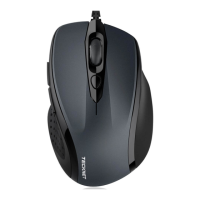
Bluetooth connection:
To be compatible with older devices, this mouse supports
Bluetooth 3.0 and Bluetooth 5.0 connections. If your device
does not support Bluetooth connection, use the 2.4GHz
connection. Here are the steps for Bluetooth connection:
1. Verify that your computer has Bluetooth function and
Bluetooth is turned on.
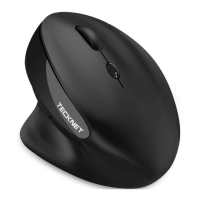
2. Slide the 3-mode switch at the bottom of the mouse to the
left. The mouse is now turned on to the Bluetooth connection
mode.
3. Long press the round button at the bottom of the mouse, and
the indicator light on the top of the mouse flashes quickly in
blue.
4. Search Bluetooth devices on your computer, select "BT5.0
mouse" or "BT3.0 mouse" and connect.
Tip:
For a better user experience, we recommend trying to use
Bluetooth 5.0 connection, that is, connect "BT5.0 mouse". If the
mouse cannot be used, it means that your device does not
support Bluetooth 5.0. Then try to use Bluetooth 3.0 connection,
that is, connect "BT3.0 mouse".
5. When connected successfully, the blue indicator on the top of
the mouse goes out, and you can use the mouse now.
Tip: If your computer supports both 2.4GHz connection and
Bluetooth connection, we recommend that you use 2.4GHz
connection.
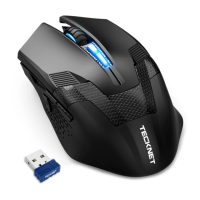
Adjust DPI level:
The mouse supports 4-level DPI adjustment
(600/1200/2400/4000), and the default DPI is 1200. You can
adjust the DPI level according to your needs. Short press the
round button at the bottom of the mouse and the indicator light
on the top of the mouse flashes once (600 DPI)/twice (1200
DPI)/three (2400 DPI)/four (4000 DPI) times and then goes out,
indicating that the mouse is switched to the corresponding DPI
level. If the current DPI level is not enough, repeat the above
step to cycle through the DPI levels.
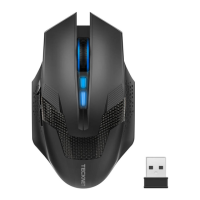
Charge the Mouse:
The mouse has a built-in 550mAh polymer rechargeable lithium
battery, which requires no replacement. It takes about 2.5 hours
to reach a full charge from zero power. In the case of using for 2
hours a day, and the rest of the time is in standby/sleep mode, it
can be used for about 90 days after a full charge. When the
mouse runs out of power, the indicator light on the top keeps
flashing. Charge the mouse through the charging port inside
the mouse.
Follow the charging steps below:
1. Open the cover of the mouse, take out the USB-A receiver and
you can see the USB-C charging port.
2. Plug a charger with a USB-A port into a power source (charger
not supplied).
3. Connect the mouse to the charger or a laptop with a USB-A
port with the supplied USB-A to USB-C charging cable. When
connected to power, the status indicator on the top of the
mouse lights red, indicating that the mouse is charging, and
the red light is off when charging is complete.
4. After charging is complete, put away the charging cable for
further use, and close the mouse cover.
Tip:
If the mouse will not be used for a long time, slide the 3-mode
switch to the middle to turn off the mouse for saving power
and increasing battery life.
EN-6 EN-7