10
1
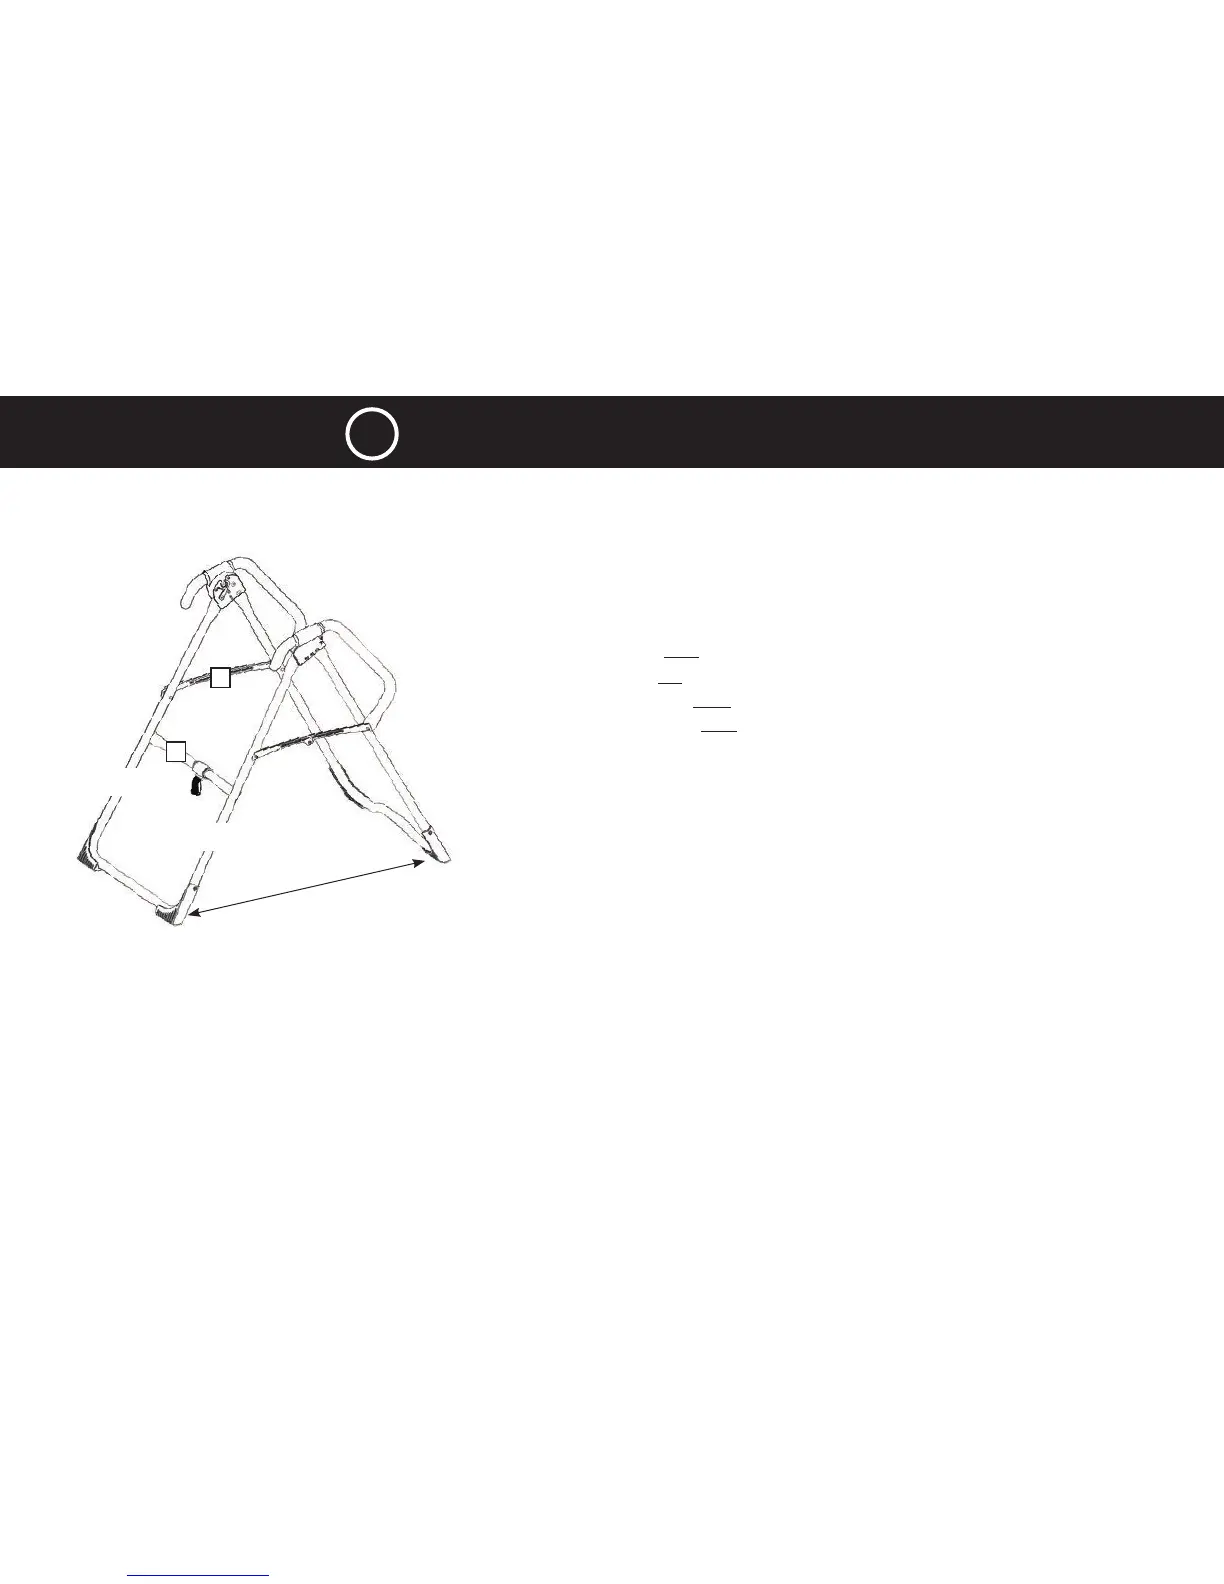
Crossbar
2
Spreader Arm(s)
You may want to refer back to this diagram for reference throughout the assembly process.
RIGHT
LEFT
BACK
FRONT
1
2
FIGURE 7
STEP 3 Familiarize Yourself with the A-Frame
• Position the A-frame on a level surface. Gently push down on the Spreader Arms to
ensure they are fully open and in the “locked” position (Figure 7).
• Look for these temporary labels on your A-Frame, designed to assist you with the
remainder of the assembly process. You may choose to remove them after you
assembled your inversion table.
RIGHT- Indicates right side as you are using the inversion table, not facing it.
LEFT - Indicates left side as you are using the inversion table, not facing it.
BACK - Indicates the back of the A-Frame / fully assembled inversion table.
FRONT- Indicates the front of the A-Frame / fully assembled inversion table.