Page 3-1
10 TEGAM WAY • GENEVA, OHIO 44041 • 440-466-6100 • FAX 440-466-6110 • sales@tegam.com
SECTION 3
OPERATING INSTRUCTIONS
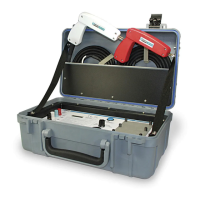
The Model R1L-E2A Microohmmeter is designed for bench-top
or field operation. If not already done, connect the two test
probes, matching their spade lug insulation color to the
corresponding binding post color on the R1L-E2A front panel.
The red probe is for the left hand and the white probe for the
right hand, as per their labels.
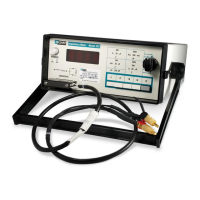
Depress the alternate action POWER ON/OFF switch button
once to turn on power. The appearance of any character on
the LCD indicates the presence of power.
Rotate the RANGE switch to the desired measurement range.
If operating in an area of low illumination, depress the
BACKLIGHT switch. Depressing the BACKLIGHT switch once
will turn the backlight on to half-bright; depressing the switch
again, will turn the backlight on to maximum brightness, and
depressing the switch a third time will turn the backlight OFF.
Whenever power to the R1L-E2A is turned OFF, the backlight
will return to its default OFF condition. Also note that operation
of the backlight will decrease battery life, hence it should not
be left ON, when not required.
To make a measurement, pick up the two pistol shaped
probes, with the left (red) one in the left hand and the right
(white) one in the right hand (as shown in figure 2a). When
using the SKP-8 Kelvin probes, hold the red probe in the left
hand and the white probe in the right hand. Make sure that
the label is facing inward as shown in the figure 2b. The pin
near the label is the voltage (sense) pin. Press the conductive
tips of the two probes firmly against the surface to be
measured. The spring-loaded conductive pins will be pushed
back, to help penetrate non-conductive surface coatings. In
case of the HTP-101A probes, the pins will rotate as they
retract.