- 8 -
If the NVR is not activated, you can activate it through the web UI. When the activation is completed, you
need to log in again.
Activate
Connect the computer to the switch or router that is connected to the NVR.
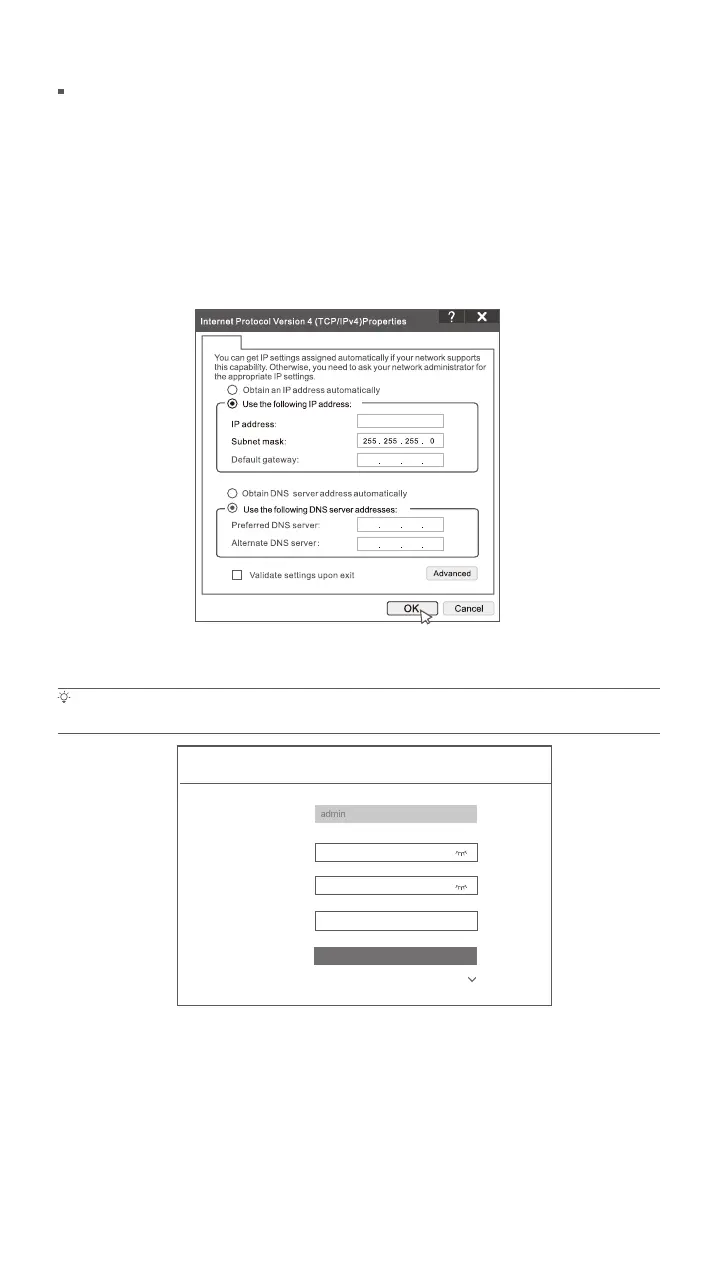
Set the IP address of the computer to an unused one belonging to the same network segment as the IP
address of the NVR but different from the IP address of the NVR.
The default login IP address of the NVR is 192.168.1.254, please set the IP address of the computer to
192.168.1.X (X indicates 2 to 253, and is unused by other devices).
Web management
These series of NVRs can be managed on the web UI.
192 . 168 . 1 . 10
General
Log in to web UI
Tips
The NVR supports HTTPS login. When you access its management page, the browser may prompt that the web address is not secure, just
ignore it and continue.
Device Activation
8 to 32 characters
Re-enter the login password
Only for resetting the password
User Name
Password
Confirm Password
Email Address
Activate
English
Launch a browser and enter the default IP address 192.168.1.254 of the NVR in the address bar. Set
Password, enter your Email Address, and click Activate.
Done. You can re-enter the web UI of the NVR to preview real-time videos or configure the NVR as
required.
The DHCP function of the NVR is enabled. If there is a DHCP server in the network, the IP address of the
NVR may be changed. Please refer to the actual IP address assigned to the NVR by the DHCP server.
Refer to step
to in Activate to operate.
 Loading...