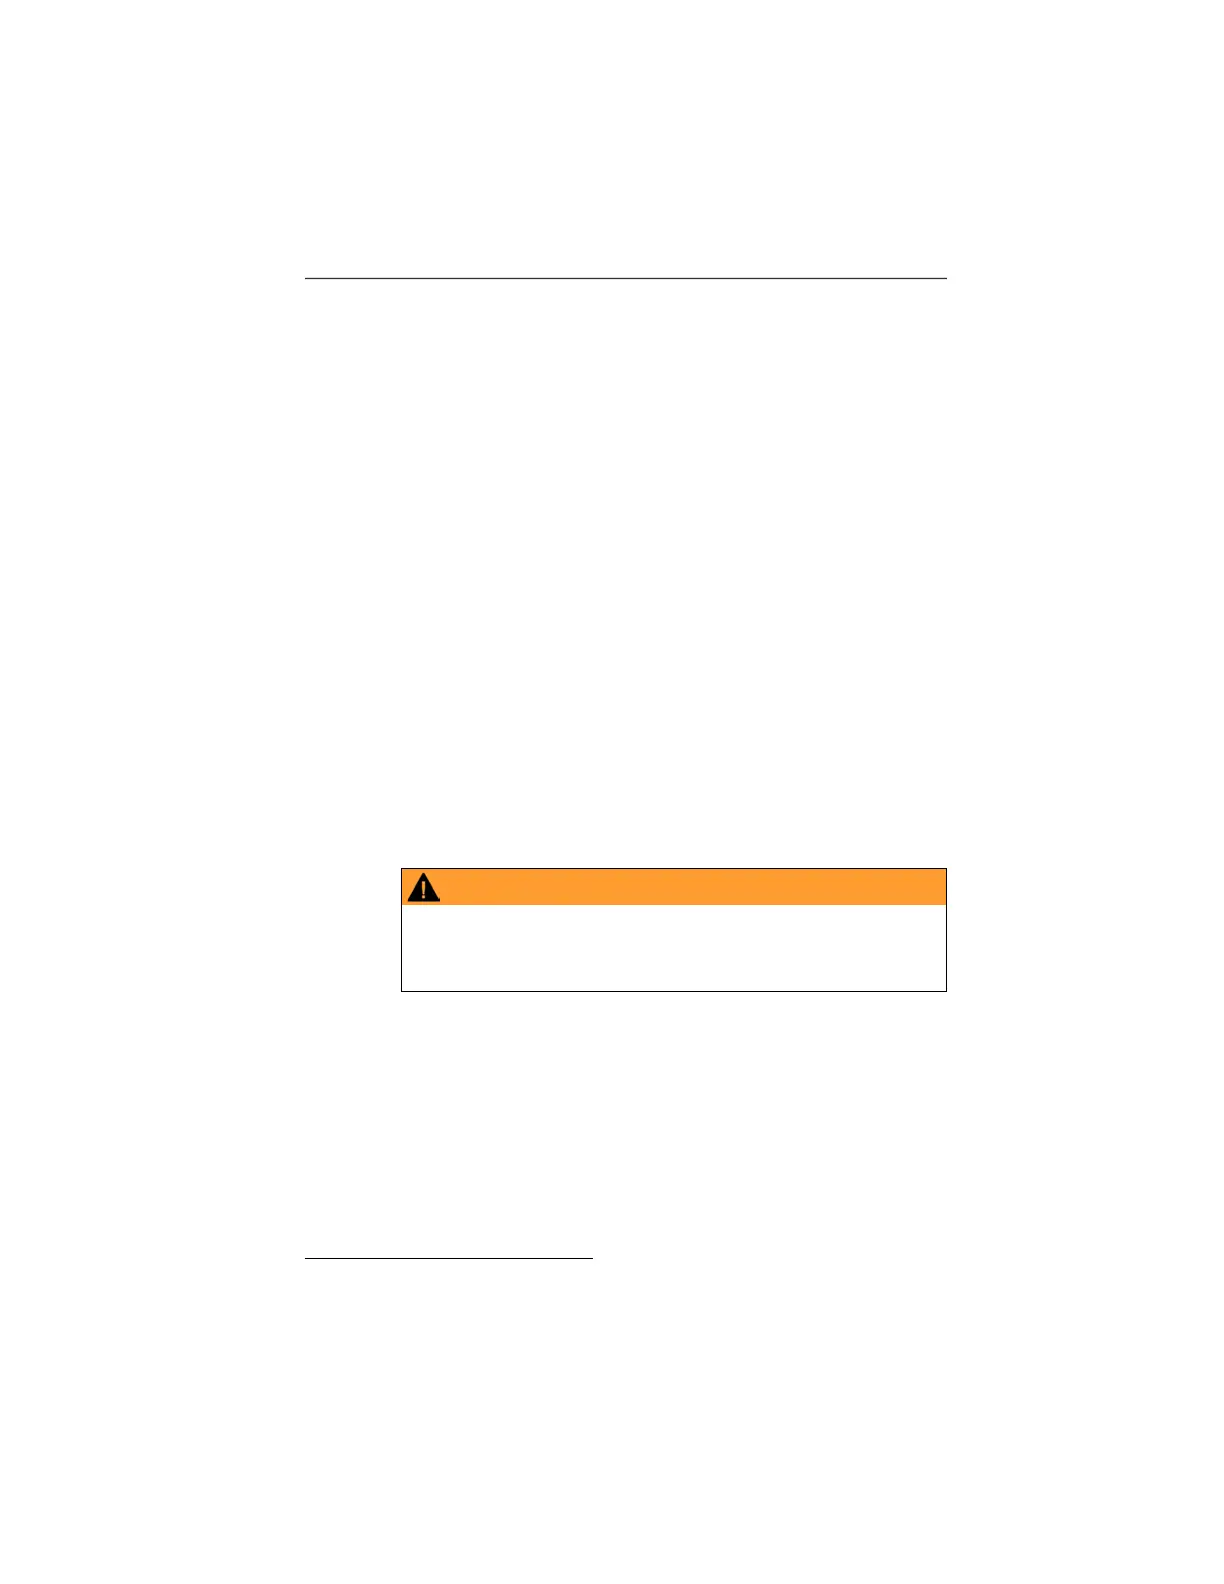
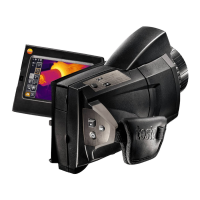
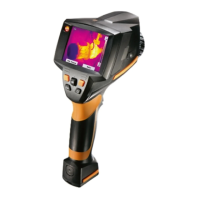
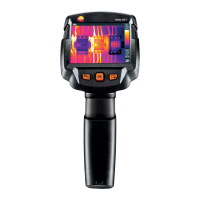
5 First steps
22
Record (freeze/save) image
1. Press [Trigger].
- The image is frozen (fixed image).
If the image is to be saved, the desired storage location can be set
using the left [Folder] quick select button, see Select the storage
location (folder): page 39.
• Infrared image or infrared/real image is shown: Infrared image
is saved, real image is saved in the same file as an attachment
to the infrared image (even when saving in infrared image
mode)
1
.
• Real image is shown: Real image is saved.
2. Save image: Press [Trigger] again, or: Press [OK].
or
Discard image: Press [ESC].
Getting to know the quick select buttons
The quick select buttons can be assigned functions that are
required often so that you can call them up directly.
Factory settings:
• Left quick select button: [Scale].
• Right quick select button: [Laser].
Eye damage due to laser beam!
> Do not look into the laser beam.
> Do not point the laser beam at people.
Changing assignment of the quick select buttons
1. Move Joystick left or right to open the Configure key function
list for the left or right quick select button.
2. Move Joystick up/down to select the desired function.
1
All saved images are shown in picture-in-picture mode in the gallery.
1.800.561.8187 info@Testo-Direct.ca
www.Testo-Direct.ca