31
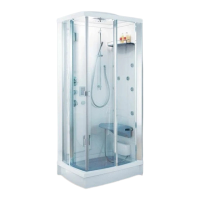
- 154 - PLUMBING CONNECTIONS
-
Hot w
ater connection.
- Cold water connection.
-154+OPTIONAL - PLUMBING CONNECTIONS
-
Hot water connection.
- Cold water connection.
5-Showerhead connection.
12 - Showerhead connection.
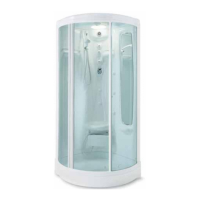
-154M - RACCORDEMENTS HYDRAULIQUES
-
Hot water connection.
- Cold water connection.
5-Showerhead connection.
12 - Showerhead connection.
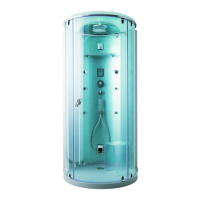
-154C - RACCORDEMENTS HYDRAULIQUES
-
Hot water connection.
- Cold water connection.
3-Sauna drain connection.
5-Showerhead connection.
12 - Showerhead connection.
- 154C - ELECTRICAL CONNECTIONS
- Cable for connection to a.c. supply.
T-Cable for connection to alarm system
(only if bathroom is equipped with alarm system).
12 -
Connections of cables running from power unit to roof.
- EQUIPOTENTIAL EARTH CONNECTION
The appliance must be equipotentially bonded by making the
connection to the terminal positioned on the frame.
CHECKING THE PLUMBING AND ELECTRICAL
CONNECTIONS
Having made all the connections, start up the system as
described in the accompanying user manual.
Check that there are no leaks at the fittings and that everything
works as it should.
Reposition the shower cabin against the wall, taking care not to
disturb the waste connection made earlier.
FIXING TO THE WALL
- Fit the brackets to the shower with screws and washers.
- Dr
ill the wall, using the slot in each bracket as a guide.
- Insert the masonry plugs and fix the cabin to the wall.
CHECKING DOOR FIT AND ALIGNMENT
-
Slide the door shut and check that the magnetic seals are
aligned correctly along the full length of the uprights.
If the door seals do not meet properly, as in drawing (A) or (B),
adjust the relative hanger as indicated by the arrow.
-
Turn the hex socket screws one way or the other to align the
magnetic seals.
FITTING THE INSPECTION PANELS
-
Refit the inspection panels, in the numerical sequence indicated.
Refit the non-slip platform to the shower base and reposition the
waste plug.
FITTING THE TOILETRIES SHELF
-
Snap the shelf onto the rail.
13
12
11
10C
10B
10A
9
8