30
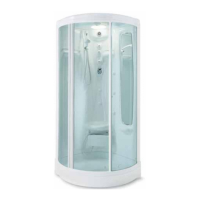
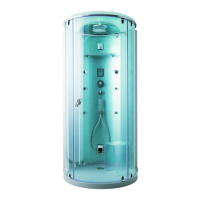
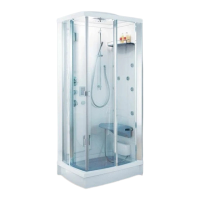
Assembly Instructions Art. 154 GB
PREINSTALLATION:
- 154 - 154M page 4
- 154C page 6
- Hot water connection
1
/
2
"
- Cold water connection
1
/
2
"
-
IPX5 box with PG13.5 and PG9 cable clamps
- E
LECTRICAL CONNECTION
- ALARM SYSTEM CONNECTION
PREPARING THE SHOWER BASE
- Position the shower base in the corner of the bathroom.
Remove the inspection panels in the sequence indicated.
Connect the w
aste
, positioning the pipe as indicated in the
drawing.
Position the plug over the waste outlet.
- Proceed to level up the base on the floor by adjusting the screw
feet.
FITTING THE BACK PANEL
Mo
v
e the sho
wer base away from the walls, taking care not to
disturb the w
aste connection.
- Position the back panel on the shower base as indicated.
Secure the bac
k panel to the shower base with the relative
screws (use the Allen key supplied by Teuco).
- Secure the fr
ame of the bac
k panel to the sho
w
er base with
screws, washers and nuts.
FITTING THE SIDE PANELS
- Locate the side panels carefully in the channels of the shower
base and the back panel uprights.
Important: make certain the panel uprights are positioned
correctly on the shower base as arrowed.
- Secure the side panels to the sho
w
er base with the screws at
the points indicated (use the Allen k
e
y supplied b
y
Teuco).
FITTING THE TRACK
- Locate the track with metal insert on the uprights and the side
panels
.
Secure the track to the panels and uprights, using the clips and
the scre
ws as indicated.
FITTING THE WATER SEAL
- The seal is fitted on the inside of the cabin, where the glass
panels meet the uprights and the channel of the shower base.
Start with the upright of the side panel, working from the top
downwards.
IMPORTANT: the seal must be fitted with the red part (A)
facing into the cavity of the upright.
Fit the seal between the upright and the glass without
stretching, working from the top down to the bottom corner,
using the special tool supplied by Teuco as illustrated (the
seal is inserted correctly when the red part (A) is no longer
visible from the outside).
-
Fit the seal into the rounded bottom corner by hand, leaving
plenty of slack.
Force the seal into the gap using the special tool,
ensuring it
is fully inserted.
- Fit the seal into the rounded bottom corner by hand, leaving
plenty of slack.
Force the seal into the gap using the special tool, ensuring it
is fully inserted.
- Continue forcing the seal into place right to the top of the panel,
cutting off the excess length.
FITTING THE DOOR
- Fit the clip-on magnetic seals to the doors, making certain they
are the right way round.
- Fit the door working from inside the cabin.
Locate the pins on the bottom of the door uprights in the track
afforded by the shower base, then hook the hangers onto the
track.
FITTING THE ROOF
- Position the roof on the track, inserting the hoses (versions M
and C only) as illustr
ated.
- Secure the roof with the scre
ws and w
ashers
.
7B
7A
6B
6A
5D
5C
5B
5A
4
3B
3A
2B
2A
1B
1A
The product must be installed exactly as supplied by Teuco,
otherwise claims under warranty will not be accepted.
The installer must observe the assembly instructions, using only
the tools and materials recommended,
and the accessories
supplied with the product.
The product must be installed only in a corner and not in an
alco
ve, on a prepared floor and against finished walls with no
projections (e.g. skirtings, mouldings…)
Electrical connections m
ust be carried out in compliance with
safety regulations governing bathroom installations, as described
in the accompanying INSTALLATION STANDARDS manual.
Minimum headroom of 230 cm is required in order to allow proper
inspection and maintenance of the shower sauna.
All fasteners (bags A-B) and accessories required for assembly
are contained in the “accessories box”.
This manual is an integral part of the product and must be kept
for future reference.
IMPORTANT
 Loading...