INS037-5 3
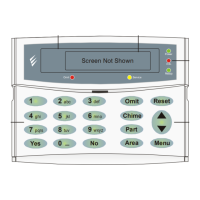
Connect the keypad to the control panel using 4-core cable
as follows:
Keypad Control Panel
12V AUX+
0V AUX-
TT
RR
Please see Figure 1 on back page.
Up to six keypads may be connected in parallel (“star”) or
series (“daisy-chain”) or any combination.
1. When using long cable runs or connecting keypads
in series (“daisy-chain”) ensure that the voltage at
the keypad is not more than 2V less than the
voltage at the control panel.
2. When using 6-core or 8-core cable always use the
spare cores to “double-up” on 0V. This will allow
longer cable runs particularly when connecting
keypads in series (“daisy-chain”). As a rule
“trebling-up” on 0V will be more beneficial than
“doubling-up” on 12V and 0V.
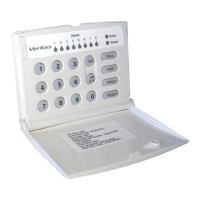
1.3 Selecting an Address
Each keypad MUST be given a different address using the
DIP switch on the side of the PCB as follows:
 Loading...