2524
VIEW - Wireless weather station
VIEW - Wireless weather station
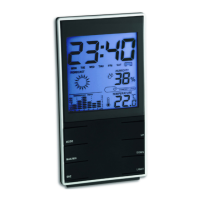
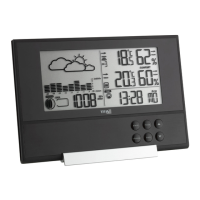
B 5: SEARCH / SNZ button
B 6: BARO button
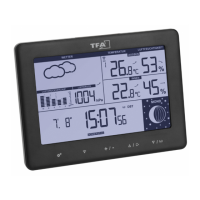
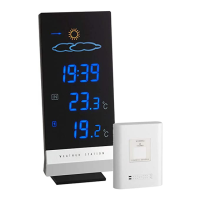
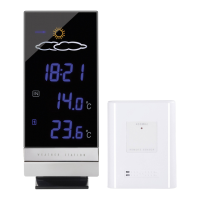
Housing (Fig. 2)
C 1: Wall mounting hole
C 2: Buttons
C 3: Battery compartment
C 4: Stand (fold out)
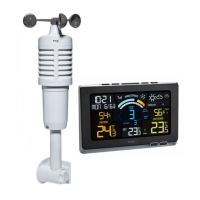
Transmitter (Fig. 3)
D 1: Wall mounting hole
D 2: Battery compartment
D 3: Switch 1, 2, 3
D 4: TX button
6. Getting started
6.1 Insert the batteries
• Place the base station and the transmitters on a table at a distance of about 1.5 meters from each
other. Avoid being close to possible sources of interference such as electronic devices and radio
equipment.
1. Open the screwed battery compartment of the first transmitter.
2. Set the switch to the channel 1 position.
3. Insert two new 1,5 V AAA batteries, polarity as illustrated.
4. Close the battery compartment carefully.
5. Elements and buttons
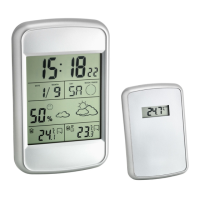
Base station
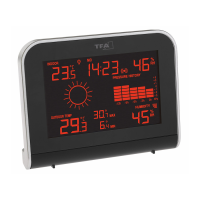
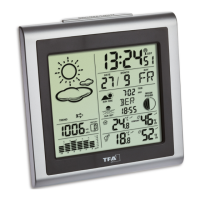
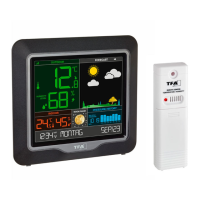
Display (Fig. 1)
A 1: Weather forecast with weather symbols
A 2: Atmospheric pressure
A 3: Time/Alarm time
A 4: Date
A 5: Indoor temperature
A 6: Maximum/Minimum values
A 7: Indoor humidity
A 8: Battery symbol for the base station
A 9: Battery symbol for the transmitter
A 10: DCF reception icon
A 11: Temperature trend
A 12: Humidity trend
A 13: Alarm symbol
A 14: Daylight Saving Time symbol
A 15: Channel number
Buttons (Fig. 2)
B 1: MODE button
B 2: +/C °F button
B 3: -/RCC button
B 4: MAX / MIN button
TFA_No. 35.1142_Anleitung_04_17 05.04.2017 14:58 Uhr Seite 13