MODUS PLUS – Wireless weather station
2322
MODUS PLUS – Wireless weather station
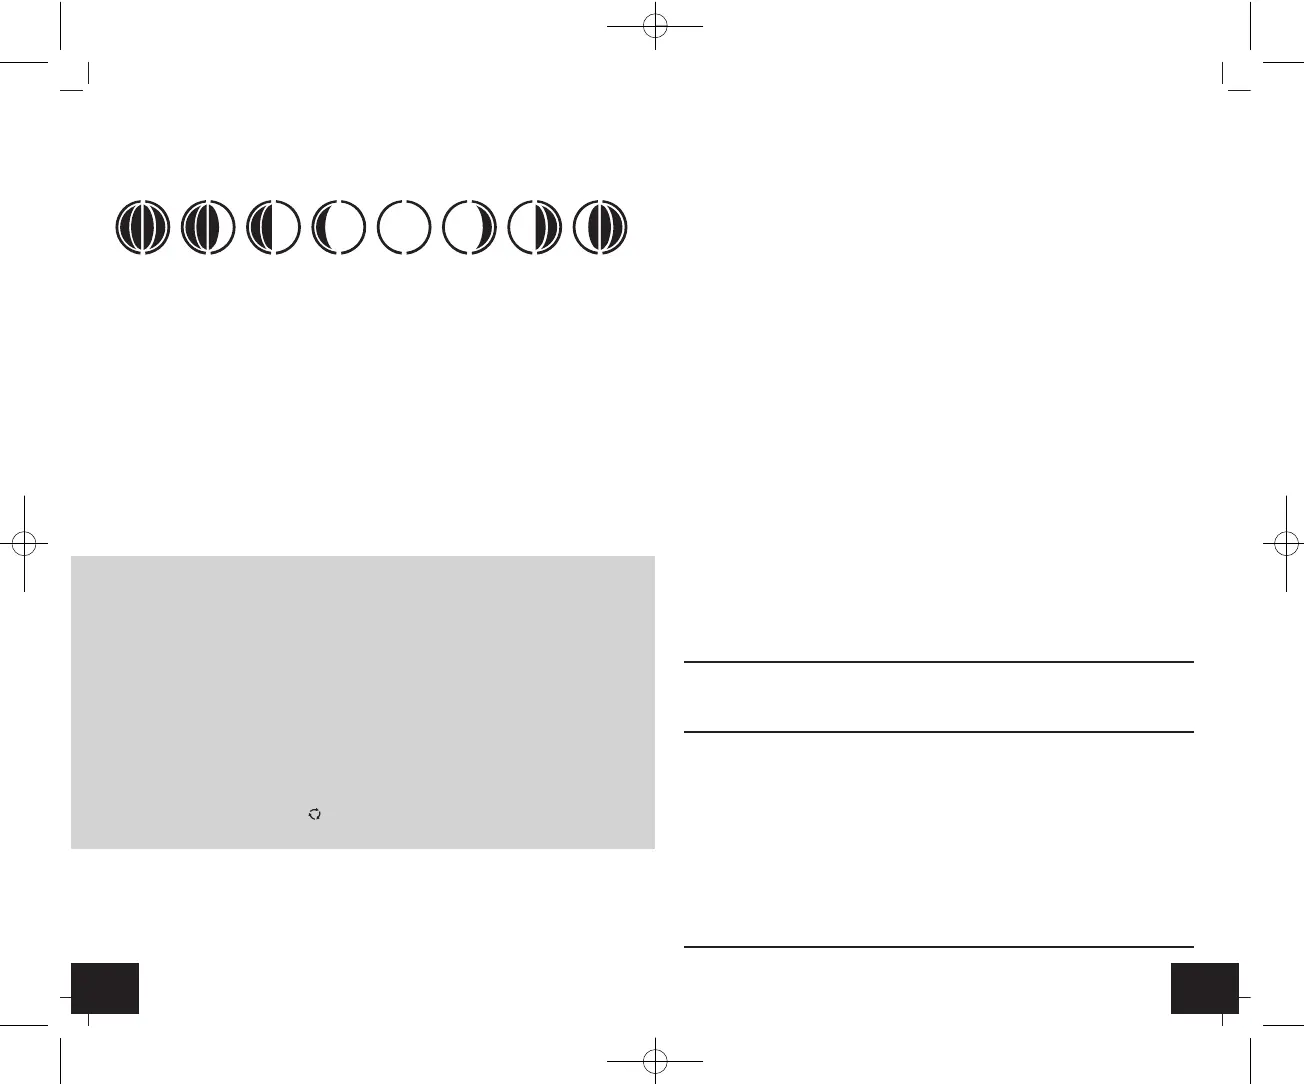
7.9 Indication of actual moon phase
• The moon phase of each day is shown on the LCD:
A: New Moon B: Waxing Crescent
C: First Quarter D: Waxing Gibbous
E: Full Moon F: Waning Gibbous
G: Last Quarter H: Waning Crescent
7.10 Backlight
• Press the SNOOZE button. The backlight turns on for 5 seconds.
7.11 Outdoor transmitter
• The outdoor transmitter will automatically transmit outdoor values to the base sta-
tion on channel 1 after batteries are inserted.
• After successful installation close the battery compartment of outdoor transmitter
carefully.
• Please reset the instrument and follow the battery installation procedure if the out-
door transmitter does not work properly. Change the batteries.
7.12 Additional transmitters
• After inserting the batteries into the outdoor transmitter the transmitter will auto-
matically transmit the outdoor values to the weather station on channel 1.
• For having more than one outdoor transmitter, select a different channel (1 to 3)
for every outdoor transmitter by pressing the CH button on the transmitter while
the LED is flashing (after starting up of the transmitter). Press once for channel 2
and twice for channel 3. The LED is flashing once for channel 1, twice for channel 2
and three times for channel 3.
•
Press and hold the ▲/CH button on the base station for two seconds to start initializa-
tion manually. The channel number on the display appears. The reception symbol and
-.-- flash. The reception of the new outdoor transmitter will be received automatically.
• If you have installed more than one outdoor transmitter, press the ▲/CH button to
change between the outdoor transmitters.
• You can also choose an alternating channel display. Press the ▲/CH button three
times until the circle symbol appears for alternating channel.
• To deactivate the function press the ▲/CH button again and the symbol disappears.
7.13 Positioning and fixing of base station and outdoor transmitter
• With the foldable leg at the back of the unit, the base station can be placed onto
any flat surface or wall mounted at the respective location by the hanging hole at
the back of the unit. Avoid the vicinity of any interfering field like computer moni-
tors or TV sets and solid metal objects.
• Choose a shady and dry position for the transmitter. (Direct sunshine falsifies the
measurement and continuous humidity strains the electronic components need-
lessly).
• Check the transmission of the signal from the outdoor transmitter to the base sta-
tion (transmission range 75 m free field). Within ferro-concrete rooms (basements,
superstructures), the received signal is naturally weakened.
• If necessary choose another position for the outdoor transmitter and/or base sta-
tion.
• If the transmission is successfully, fix the outdoor transmitter by using a nail (not
included) on the wall or place it onto a flat surface.
8. Care and maintenance
• Clean the instruments with a soft damp cloth. Do not use solvents or scouring
agents.
• Remove the batteries if you do not use the products for a long period of time.
• Keep the instruments in a dry place.
8.1 Battery replacement
• Replace the batteries when the battery symbol of the base station appears next to
the time display.
• When the batteries of the transmitter are used up, the low battery icon appears
next to the outdoor temperature display.
• Make sure the polarities are correct. Close the covers again.
• Please note: When the batteries are changed, the contact between transmitter and
receiver must be restored – so always insert new batteries into both units or start a
manual transmitter search.
9. Troubleshooting
Problems Solution
No indication ➜ Observe correct polarity when inserting
on the weather station the batteries
➜ Change the batteries
No transmitter reception ➜ No transmitter installed
Display “---“ ➜ Check batteries of external transmitter
for channel 1/2/3 (do not use rechargeable batteries!)
➜ Restart the transmitter and
weather station according to the manual
➜ Start manual search for the transmitter
➜ Choose another place for the transmitter
and/or the weather station
➜ Reduce the distance between the
transmitter and the weather station
➜ Check if there is any source of interference
ABCDEFGH
TFA_No. 35.1122_Anl_12_21 19.12.2021 11:48 Uhr Seite 12

 Loading...