23
Scan BIND barcode to pair the handheld unit and the cradle. The handheld unit is dedicated to
the cradle. Any previous bound handheld units will be excluded.
If the cradle in not bound to a handheld unit, its address assumes a random value which can
cause conflicts and malfunctions to other cradles within it range.
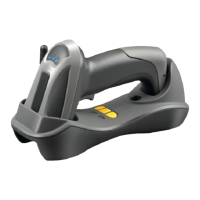
Step 4.1 Firmly position the handheld unit onto the cradle. Within 10 seconds, two beeps will be
emitted to signal that the cradle has been paired to the handheld unit, and the blue LED on the
handheld unit will go off. If three beeps are emitted, it indicates unsuccessful pairing between the
cradle and the handheld unit; then repeat step 4.0.
1.2 Establish the wireless link between successive handheld units and the same cradle.
Step 5.0 Please refer to instruction in previous section to pair the cradle with the first handheld unit.
Step 6.0 Repeat steps 3.0~3.3 to set radio address of the second handheld unit.
Step 7.0 Scan JOIN barcode to pair the second handheld unit with the cradle.
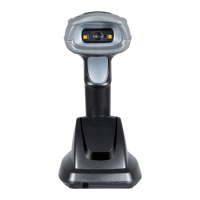
The blue LED on the handheld unit will blink to indicate that the handheld unit is ready to be
positioned onto the cradle.
Step 7.1 Firmly position the handheld unit onto the cradle. Within 10 seconds, two beeps will be
emitted to signal that the cradle has been paired to the handheld unit, and the blue LED on the
handheld unit will go off. If three beeps are emitted, it indicates unsuccessful pairing between the
cradle and the handheld unit; then repeat steps 7.0~7.1.
Step 8.0 Repeat steps 6.0~7.1 to pair the third, the fourth, … the nth handheld unit with the cradle.
One single cradle can pair with up to 16 handheld units.
1.3 Verify the success of configuration
Please refer to the 8 Return default parameters and 9 Display firmware version & radio communication
setting to verify the success of configuration.