 Loading...
Do you have a question about the Thetford C260 and is the answer not in the manual?
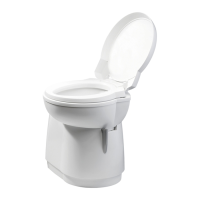
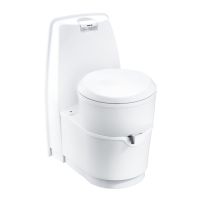
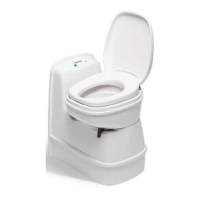
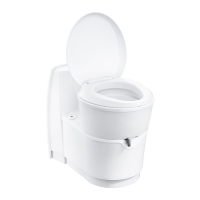
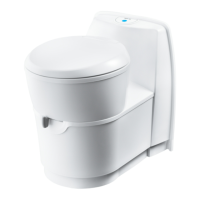
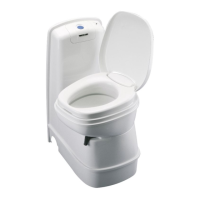
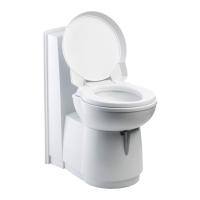
| Type | Cassette Toilet |
|---|---|
| Flush Water Tank Capacity | 15 liters |
| Bowl Material | Plastic |
| Swivel Seat | Yes, 180 degrees |
| Flush System | Electric |
| Color | White |
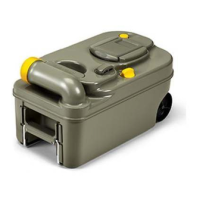
| Waste Holding Tank Capacity | 17.5 L |