Do you have a question about the Thetford Cassette C2 and is the answer not in the manual?
Take apart the water tank, seat, and cover for access.
Procedure for removing the old bellows and fitting the new one.
Shape and insert the new flush tube, guide nozzle into bowl.
Position float arm and access waste tank for retainer removal.
Remove old retainer, install new one, and fit new float arm.
Push out old ventseal, fit new one and close blade.
Pull out old lipseal, fit new one into groove and close blade.
Press button to loosen retainer, then pull loose.
Fit new spring and button, then push in seal retainer.
Take apart water tank, remove bellows and inlet tube.
Connect piston pump to flush tube and place into water tank.
Remove tissue well and holder to reach the pump.
Unscrew pump retainer, remove pump, disconnect flush tube.
Cut cable, strip wires, and connect using shrinktube.
Use hot-air gun to melt shrink tube over wires.
Connect flush tube, screw pump back, replace parts.
Depress and pull the ventseal out of the seal.
Fit new ventseal into the hole and press from inside.
Unscrew the 8 screws and take the seal cover off.
Ensure cut-outs align, then replace the seal cover.
Take out cylinder, bellows cap, and nozzle.
Procedure to replace inlet tube or flush tube.
Remove old bellows and fit new bellows into housing.
Fit nozzle and assemble inlet tube and flush tube.
Lift flush cap and pull out flush mechanism by hand.
Fit new nozzle and reassemble mechanism with lug alignment.
Turn and lift the vent plug out of the waste tank.
Fit new spring and button, then secure with retainer.
Pull waste tank out and remove flush knob and insert.
Take out the mechanism housing secured by screws.
Remove screws, pull connector, and attach to new mechanism.
Screw mechanism back, then attach flush knob.
Pull out waste tank and unscrew the bracket.
Remove drain tube from four locations.
Fit new drain tube, clamp collar, and blind plug.
Take out tissue well and holder to access pump.
Unscrew pump, place linkage, and screw together.
Connect flush tube and position pump on left side.
Turn the automatic vent to the left and take it out.
Place new vent and turn to the right to lock it.
View float arm position and access waste tank.
Remove retainer, install new one, and fit new float arm.
Unscrew the 7 screws underneath the level indicator.
Screw the 7 screws back into the toilet.
Access pump, unscrew retainer, and pull nozzle down.
Fit new nozzle, press into hole, and connect flush tube.
Remove sliding cover and unscrew seal cover.
Gently pull blade out of blade arm.
Press new blade, open/close blade to test mechanism.
Place lip seal, screw back covers, then sliding cover.
Remove sliding cover and unscrew seal cover.
Place lip seal, screw back seal cover, and replace sliding cover.
Note tank is sealed; remove retainer to access opener.
Press sides slightly to remove the blade opener.
Position blade arm driver on track support.
Fit blade opener and retainer into position.
Unscrew the two bezel screws and lift the bezel.
Unscrew the four screws holding the level indicator.
Remove seal, move backwards, and cut the two cables.
Connect cables to new LED using shrink tubes.
Melt shrink tubes with drier, move seal forward to LED.
Replace seal, cable, and screw the four screws back.
Remove bezel, push up, and unscrew the pump retainer.
Take out pump and remove tube from vacuum breaker.
Place tube from new pump onto vacuum breaker.
Mount new pump in tank, apply sealant before bezel replacement.
View float arm position and remove float arm retainer.
Place new float arm into tank and press until it clicks.
Remove the seat and then the hinge pins with screwdriver.
Fit new hinge pins and replace the seat on the toilet.
Remove sliding cover and unscrew seal cover.
Place lip seal, screw back covers, and replace sliding cover.
Pull waste tank out and unscrew saddle bracket.
Unscrew seal handle and remove the link.
Place new handle and seal on ring inside toilet.
Assemble screw into bushing and re-assemble bracket.
Pull waste tank out and remove reed switch HT.
Place new blade fuse and replace reed switch HT.
Pull waste tank out and disconnect reed switch HT.
Connect new reed switch HT and place back into toilet.
Remove handle, then remove control panel.
Disconnect and connect the control panel connectors.
Place the new control panel into position.
Fit the handle back onto the panel.
Remove handle, control panel, and control well.
Remove seal from control well, take pump out of watertank.
Cut cable, strip wires, and place shrink tube.
Connect wires and place shrink tube on connectors.
Melt shrink tube and replace pump and seal in control well.
Replace control well, control panel, and handle.
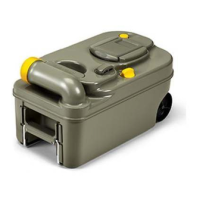
| Waste tank capacity | 17 liters |
|---|---|
| Level indicator waste tank | Yes |
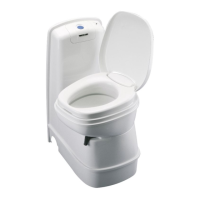
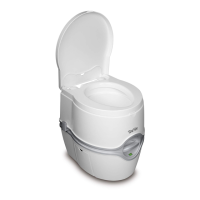
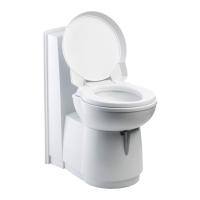
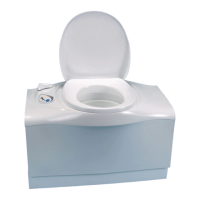
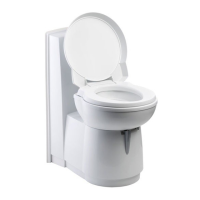
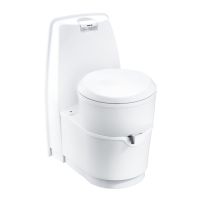
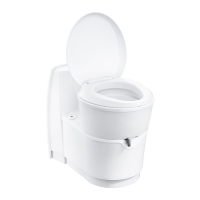
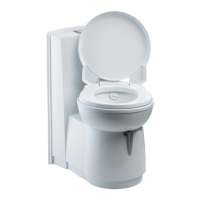
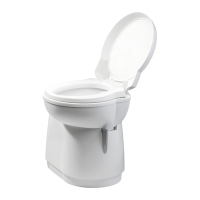
| Toilet type | Cassette toilet |
| Seat rotation | No |
| Material | Plastic |
| Battery Operated | No |
| Flush water tank capacity | 15 liters |
| Flush system | Manual |
| Compatible Chemicals | Thetford Aqua Kem |