4
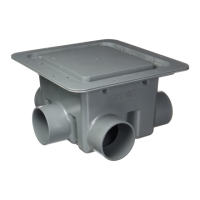
MULTIPLE POSITIONS
SUMP DISCHARGE
Side Discharge
Rear Discharge
Installation
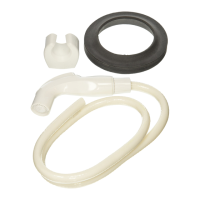
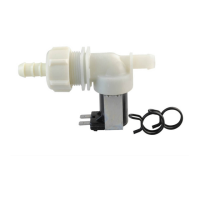
Marine Model
CAUTION: Toilet is not explosion proof and must not be
located in an area where an explosive atmosphere exists,
such as gasoline fumes, etc.
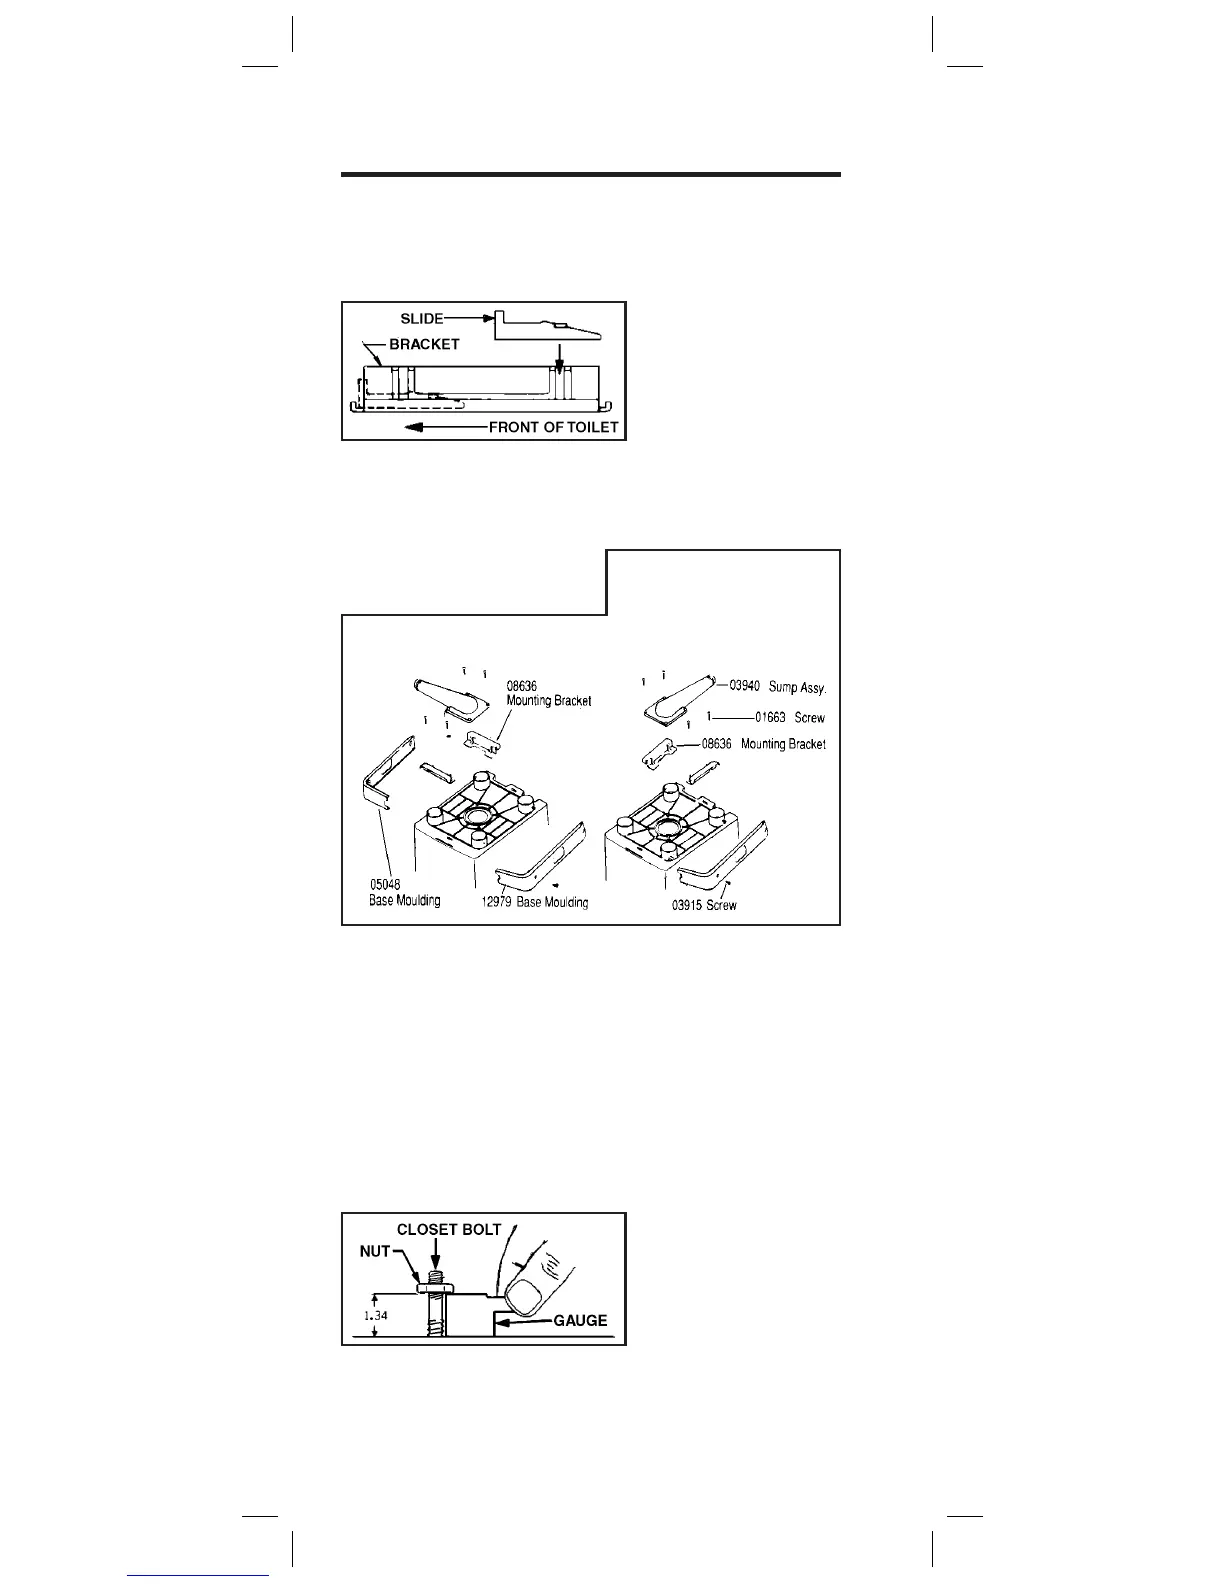
1. Install white fork-
shaped slides on
brackets. Make one
right bracket as-
sembly and one left
bracket assembly.
(Right bracket assembly shown.)
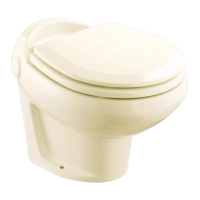
2. Mount bracket assemblies and sump to bottom of toilet
with four screws. Brackets are sandwiched between sump
and toilet.
3. Locate toilet position with template and install bolts
in oor drilling 7/32” dia. hole in oor, putting acorn
nut on screw, and driving bolts into oor with wrench.
Remove acorn nuts.
4. Also using template, locate position for plastic locator
disc. Drill 5/32” dia. hole in oor and fasten disc to oor
with at sides oriented parallel to sides of toilet.
Important: This disc prevents toilet from moving on
floor.
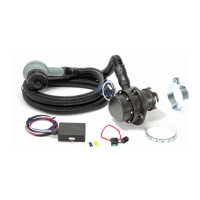
5. Install one nut on each bolt and screw nuts down until they
touch top of gauge. If
gauge is misplaced,
bottom surface of nuts
should be 1.34 in. (3.4
cm) above oor.
6. Lower toilet over bolts until nuts go through rectangular
holes in metal brackets, and the unit rests on its feet.
Marine Installation Instructions continue on Page 5.