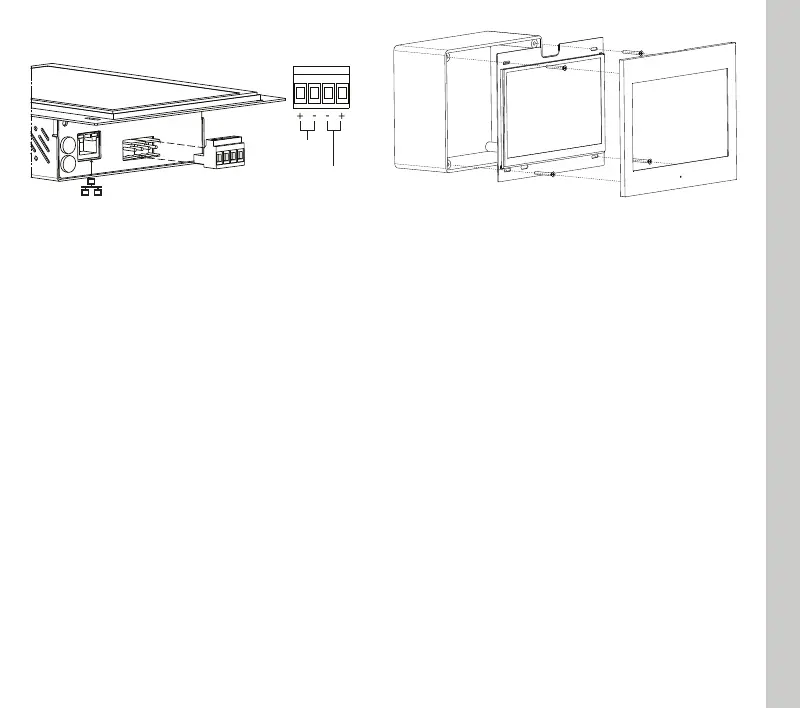
Connections
Use only supplied connector to connect with the
BUS
, respect polarity.
Remove power from server during electrical
connections.
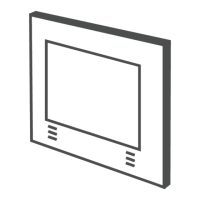
In-wall box installation
In-wall installation is obtained using a dedicated
plastic box (brand Gewiss model GW48005).
Box permits to easily accomodate control panel
and to compensate little mis-alignment that may
occur during box installation.
After cabling central panel just insert it into the
box and fix it with the 4 screws provided with the
box (like in the following picture).
After fixing the control panel, put the frame on it,
assuring that the four magnets completely
adhere to the metal surfaces of the device.
ENGLISH
First configuration
First configuration of the server is via web
console. To reach web console an internet
browser must be used (Firefox or Chrome is
recommended). Please write the following
address into browser: http://<ip address>:5051
where ‘ip address’ is the one of the server. At
first login use following credentials:
User: service
Password: password
To find the IP address of the server a search
utility is available and can be downloaded from:
www.thinknx.com . The server is configured to
use DHCP. If the DHCP fails the server will
acquire by default the next address:
192.168.0.200
If a static ip address has been set, the server is
always reachable at the address:
192.168.24.254 (with subnet mask
255.255.254.0).
ETHERNET PORT (DHCP)
BUS
KNX
POWER
12-24Vdc