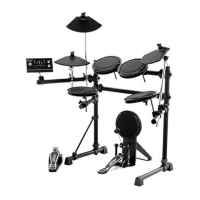
Assembling the rack
CAUTION!
Risk of cuts to the hands from sharp edges during assembly!
Tools, screws and components can have sharp edges that can cause cuts during assembly.
Pay attention to sharp edges when assembling and screwing the individual parts. Wear protective gloves if necessary.
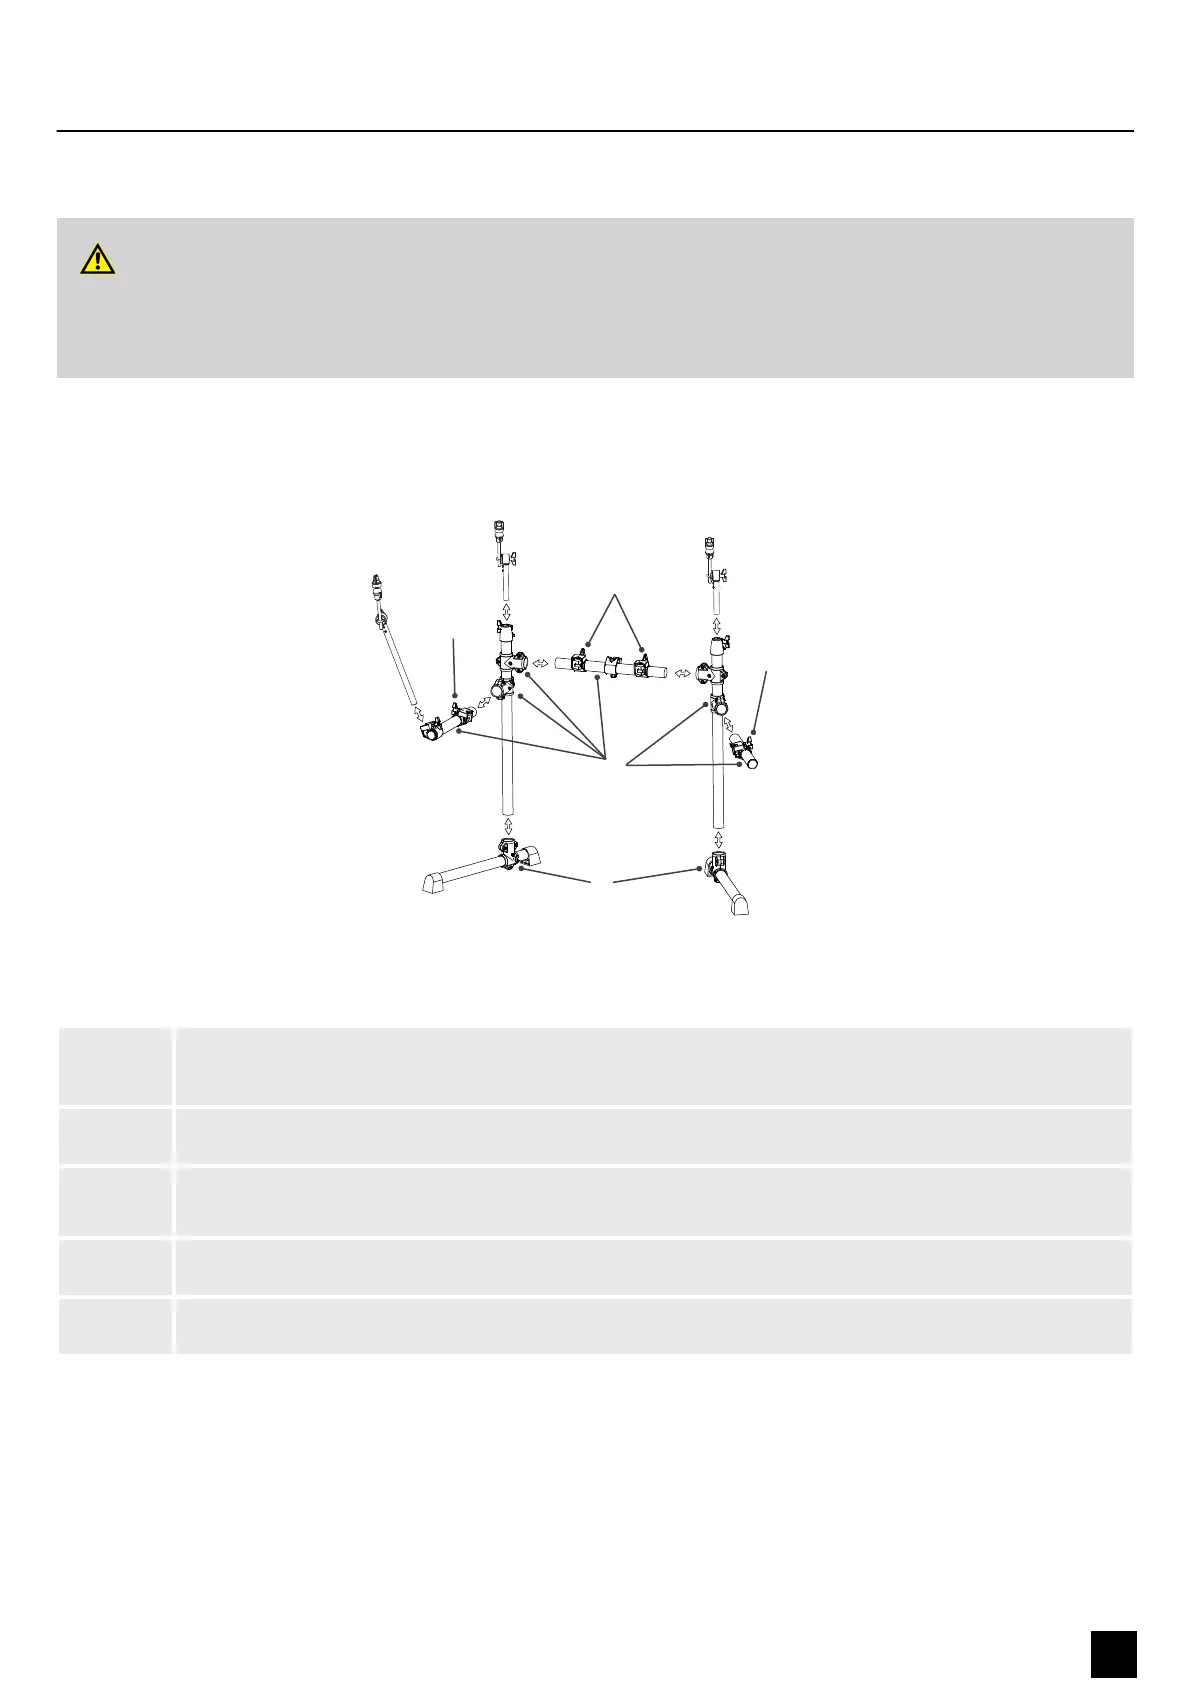
1 Align the mounting brackets for the connecting pipe and the two side arms of the rack in terms of height and
desired playing position. Insert the connecting pipe and the two sides arms into the brackets and then tighten all
mounting screws.
2 Position the two foot pieces on the oor and put the two side pipes of the rack into the provided mounting
brackets. Make sure that the ends of the side pipes are lying on the oor. Then tighten the mounting screws.
3 Position the mounting brackets for the individual pads. Then tighten the mounting screws.
Turn the angle pieces in the right position for mounting the pads. Then tighten the mounting screws.
4 Insert the crash pad, ride pad and hi-hat pad supports into the respective mounting clamps on the rack. Use the
mounting screws to attach the brackets at the required height.
5 Loosen the retaining screws on the bracket joints and turn the brackets into the desired playing positions. Then
tighten the retaining screws again.
Assembly
MPS-150
9
E-Drum Set