page 16
2
5
IG 10/
6
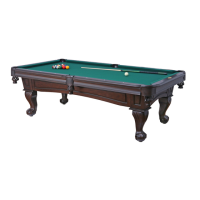
Step 10 Cloth Installation
Attach cloth to slate by following the numbering sequence in FIG 10. The
cloth tension has been predetermined to give you optimum play for ball
speed on table.
Pull cloth until indexing lines on cloth line up with the top edge of the slate,
and then fasten Velcro on bottom of slate liner FIG 10A.
Atight grip and firm putt is required to putt cloth to the correct final position.
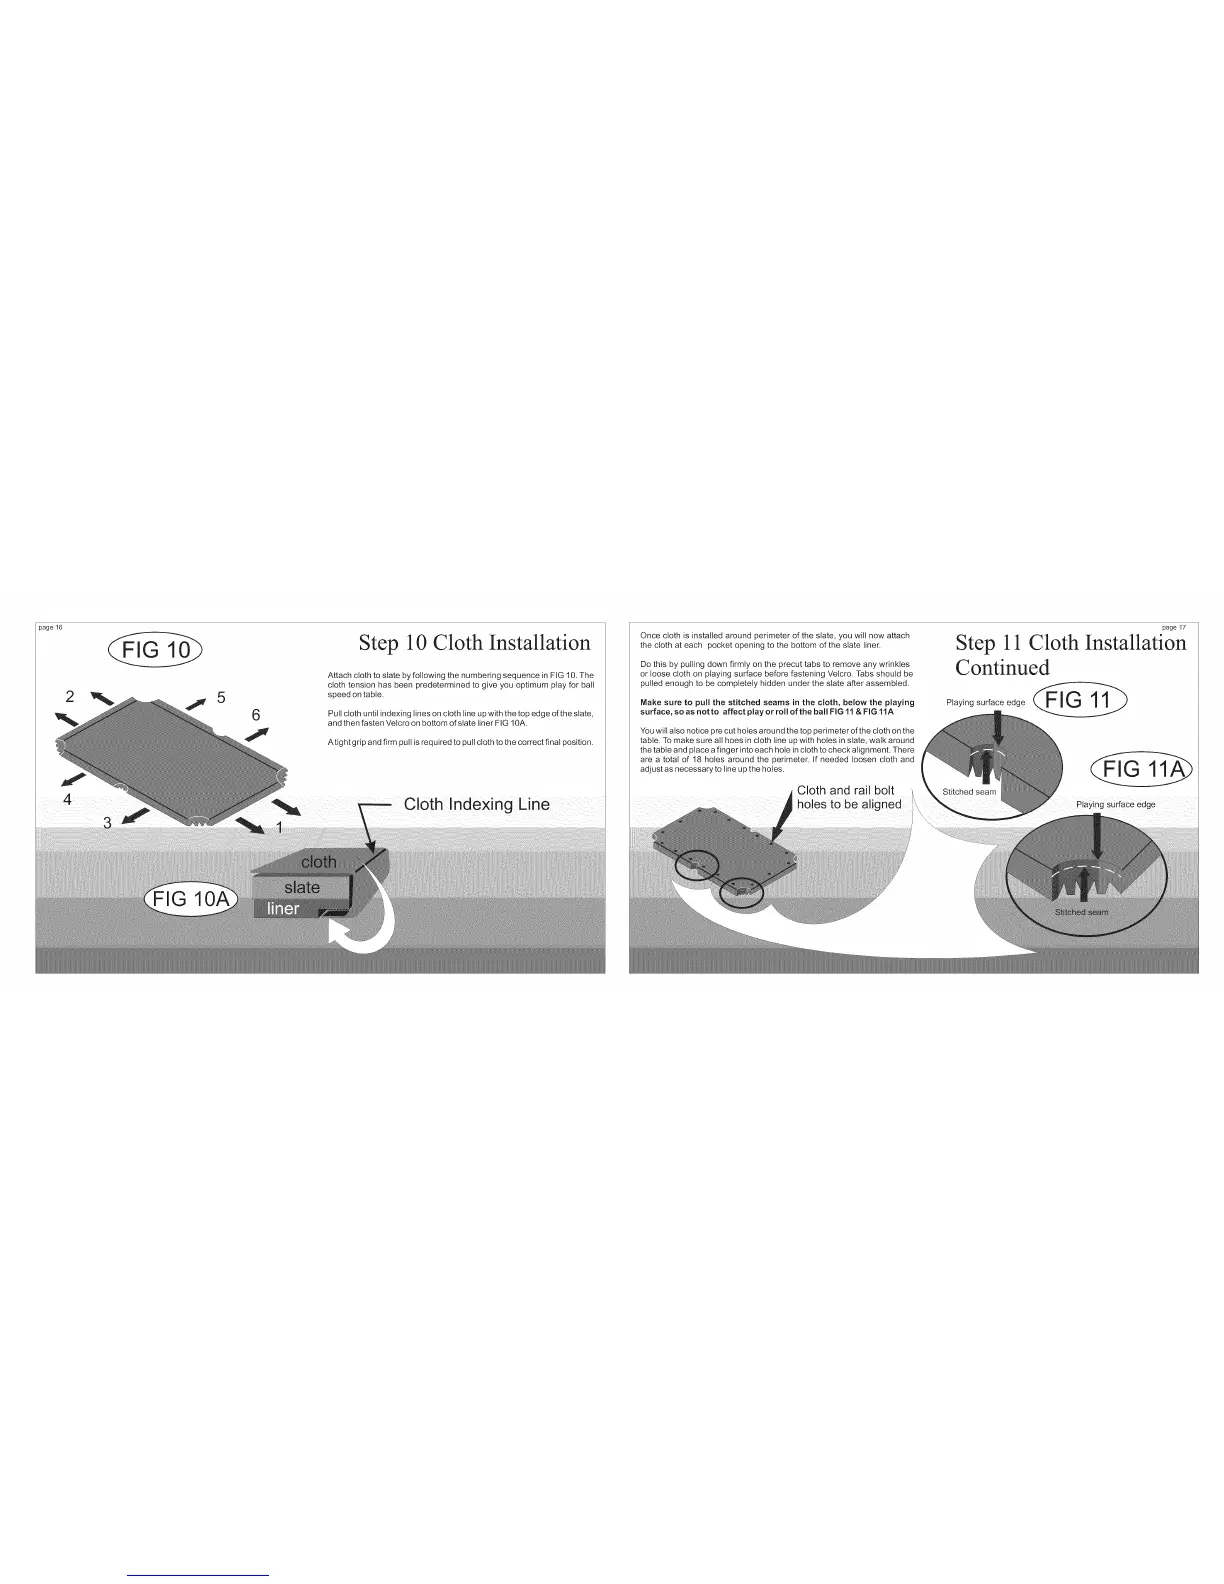
Once cloth is installed around perimeter of the slate, you will now attach
the cloth at each pocket opening to the bottom of the slate liner.
Do this by pulling down firmly on the precut tabs to remove any wrinkles
or loose cloth on playing surface before fastening Velcro. Tabs should be
pulled enough to be completely hidden under the slate after assembled.
Make sure to pull the stitched seams in the cloth, below the playing
surface, so as notto affect play or roll of the ball FIG 11 & FIG 11A
You will also notice pre cut holes around the top perimeter of the cloth on the
table. To make sure all hoes in cloth line up with holes in slate, walk around
the table and place afinger into each hole in cloth to check alignment. There
are a total of 18 holes around the perimeter. If needed loosen cloth and
adjust as necessary to line up the holes.
Cloth and rail bolt
holes to be aligned
Step 11 Cloth
o
Continued
Playing surface edge
Stitched seam
page 17
Installation