5.2 Installation Instructions
1. Carefully remove the control panel from the
packing and lay the panel on a flat surface.
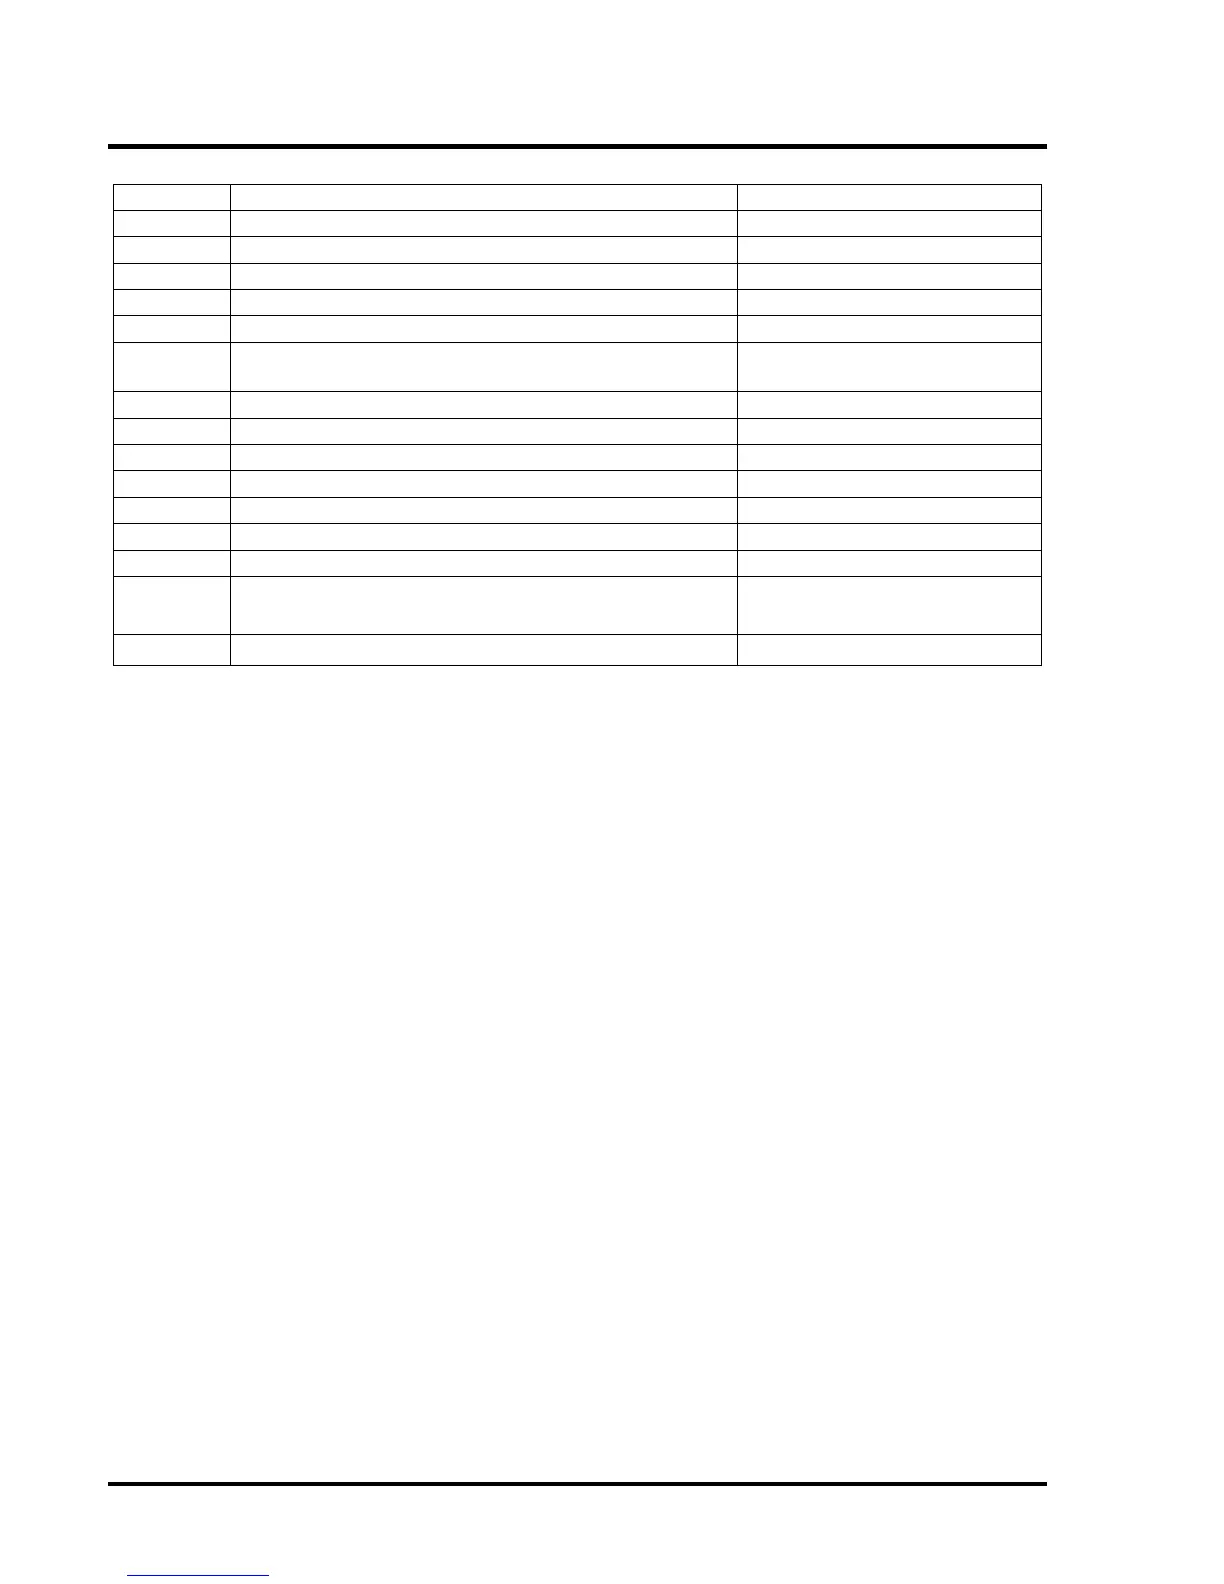
2. Locate the spares bag (either inside the
packing box or inside the panel) and check
that the items shown in Table 1 above are
present.
5.2.1 T1216W Panel Installation
Instructions
Note: The panel is supplied configured for bottom
cable entry. If top cable entry is required then the
door of the enclosure should be removed & fitted to
the opposite side of the enclosure. The installation
instructions below apply to top or bottom cable
entry.
1. Ensure that the panel is on a flat surface with
the door facing up.
2. Remove the panel door as follows:
3. Undo the two slotted screws that secure the
door shut. The screws will remain attached to
the door.
4. Open the door. Note that the door will open
past 180 degrees and will put tension on the
hinges if no support is provided underneath.
You may find it useful to place the packing box
underneath the door to provide support.
5. Locate the ribbon cable connecting the display
board to the main control board (motherboard).
Push the metal retaining clip off the connector
on the display and pull the ribbon cable out of
the connector.
6. Locate the earth strap connected to the door.
Pull the earth strap connector off the spade
terminal on the door.
7. Use a suitable flat blade screwdriver to
unscrew the hinges whilst supporting the door.
8. Place the door and hinge fixing screws
carefully to one side.
9. The chassis is fixed to the enclosure backbox
at five points. Three of these points are key-
hole type; two are round holes for screws.
10. Remove the Chassis from the enclosure as
follows:
(a) Disconnect the chassis earth lead from
the spade terminal on the enclosure
backbox.
(b) Remove the two cross-head screws at the
bottom left & right corners of the chassis
(towards the gland plate).
(c) The three key-hole fixings do not have
screws.
(d) Slide the chassis free of the key-hole
slots.
(e) Lift the chassis out of the enclosure and
place carefully to one side. Note that the
chassis is heavy and caution should be
taken when lifting the chassis.
(f) Observe that there is a key-hole fixing in
the centre of the chassis which slides onto
a post. Care should be taken when
replacing the chassis that this key-hole
slides onto the post correctly.
NOTE: The door and chassis both contain
Control Boards with sensitive and fragile
 Loading...