Do you have a question about the Thule 91726 and is the answer not in the manual?
The main component of the ski carrier.
Clip used for attaching the carrier to the crossbar.
Secure screw for mounting the carrier.
Tool provided for tightening tamperproof screws.
Component for securing the carrier, preventing theft.
Key used to operate the lock cylinder.
Prepare the mounting clips by rotating them to the open position.
Place the carrier mount vertically onto the vehicle's crossbar.
Assemble bolts and clips loosely without fully tightening.
Securely tighten all components after initial assembly.
Alert regarding potential interference of short roof adapters with carrier operation.
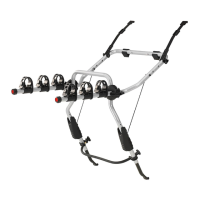
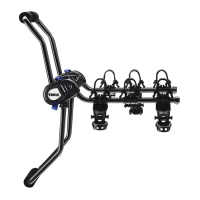
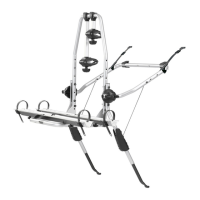
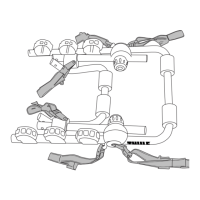
Visual guide for installing the ski carrier.
Visual guide for installing the ski carrier.
Visual guide for installing the ski carrier.
Transport skis with tips backward and keep the carrier locked.
Push hood down until latch clicks; it has two settings for varying thickness.
Turn key to horizontal position to lock the carrier securely.
Maximum load is 6 pairs of skis or 4 snowboards.
Ensure skis do not strike the luggage hatch after tightening.
Use recommended parts, check fit guides, and ensure secure attachment.
Adhere to load limits (75kg), be aware of cargo size effects on driving.
Periodically inspect parts, keep locks lubricated, and remove valuables.
Do not use for purposes other than intended, obey speed limits, not for trailers or off-road.
Warranty covers defects in materials and workmanship for original purchasers.
Excludes normal wear, damage from accidents, misuse, or unauthorized repairs.
Contact dealer or Authorized Service Center for defective products.
Limits liability to repair/replacement; excludes vehicle/cargo damage.
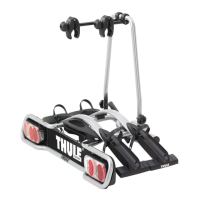
| Product Type | Bike Rack |
|---|---|
| Model | 91726 |
| Brand | Thule |
| Compatibility | 2-inch hitch receivers |
| Purpose | Transporting bikes |
| Weight Capacity | 120 lbs |
| Number of Bikes | 2 |
| Hitch-mounted | Yes |
| Foldable Design | Yes |
| Hitch Receiver Size | 2 inches |