51100985 - B
11
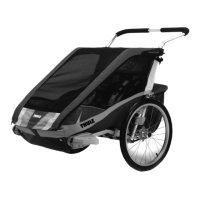
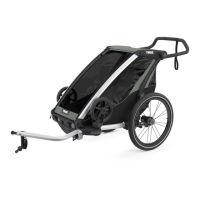
4.7 InstallInG the handleBar
A. Position the handlebar behind the carrier with the
handles pointing rearwards.
B. With both hands press and hold the spring pins in on
both ends of the handlebar. (See image 1)
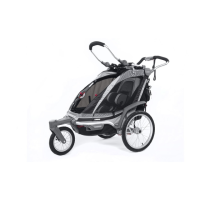
C. Slide both ends of the handlebar into the upper frame of
the carrier. Allow the spring pins to pass inside the upper
frame. (See image 2)
D. Slide the handlebar into the upper frame until the spring
pins engage.
E. Verify that the handlebar is securely attached to the
carrier by giving it a sharp pull - it should not pull out.
F. To remove the handlebar; press both of the spring pins
through the upper frame and pull the handlebar out.
G. Repeat this process to remove the brake handle from the
handlebar.
WARNING
Any load attached to the handle affects
the stability of the Thule child carrier.
NOTICE
The HeightRight™ adjustable handlebar has
two positions; high and low. Remove the
handlebar and turn it over to change between
these two positions.
4.8 cyclInG
4.8.1 INSTALLING THE SAFETY FLAG
A. Inserttheagpoleintothemetalorplasticcollaronthe
safetyag.
B. Inserttheagpolethroughthesleeveonthelefthand
side of the body. (See image 3)
2
1
3