4
51100989 - B
THULE CAR SEAT ADAPTER INSTALLATION
FOR URBAN GLIDE 2
A. Engage the parking brake on the child carrier.
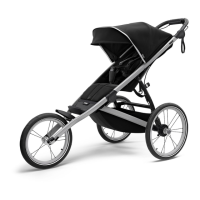
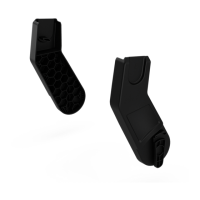
B. Open the clips on the Thule Car Seat Adapter.
(See Image 1)
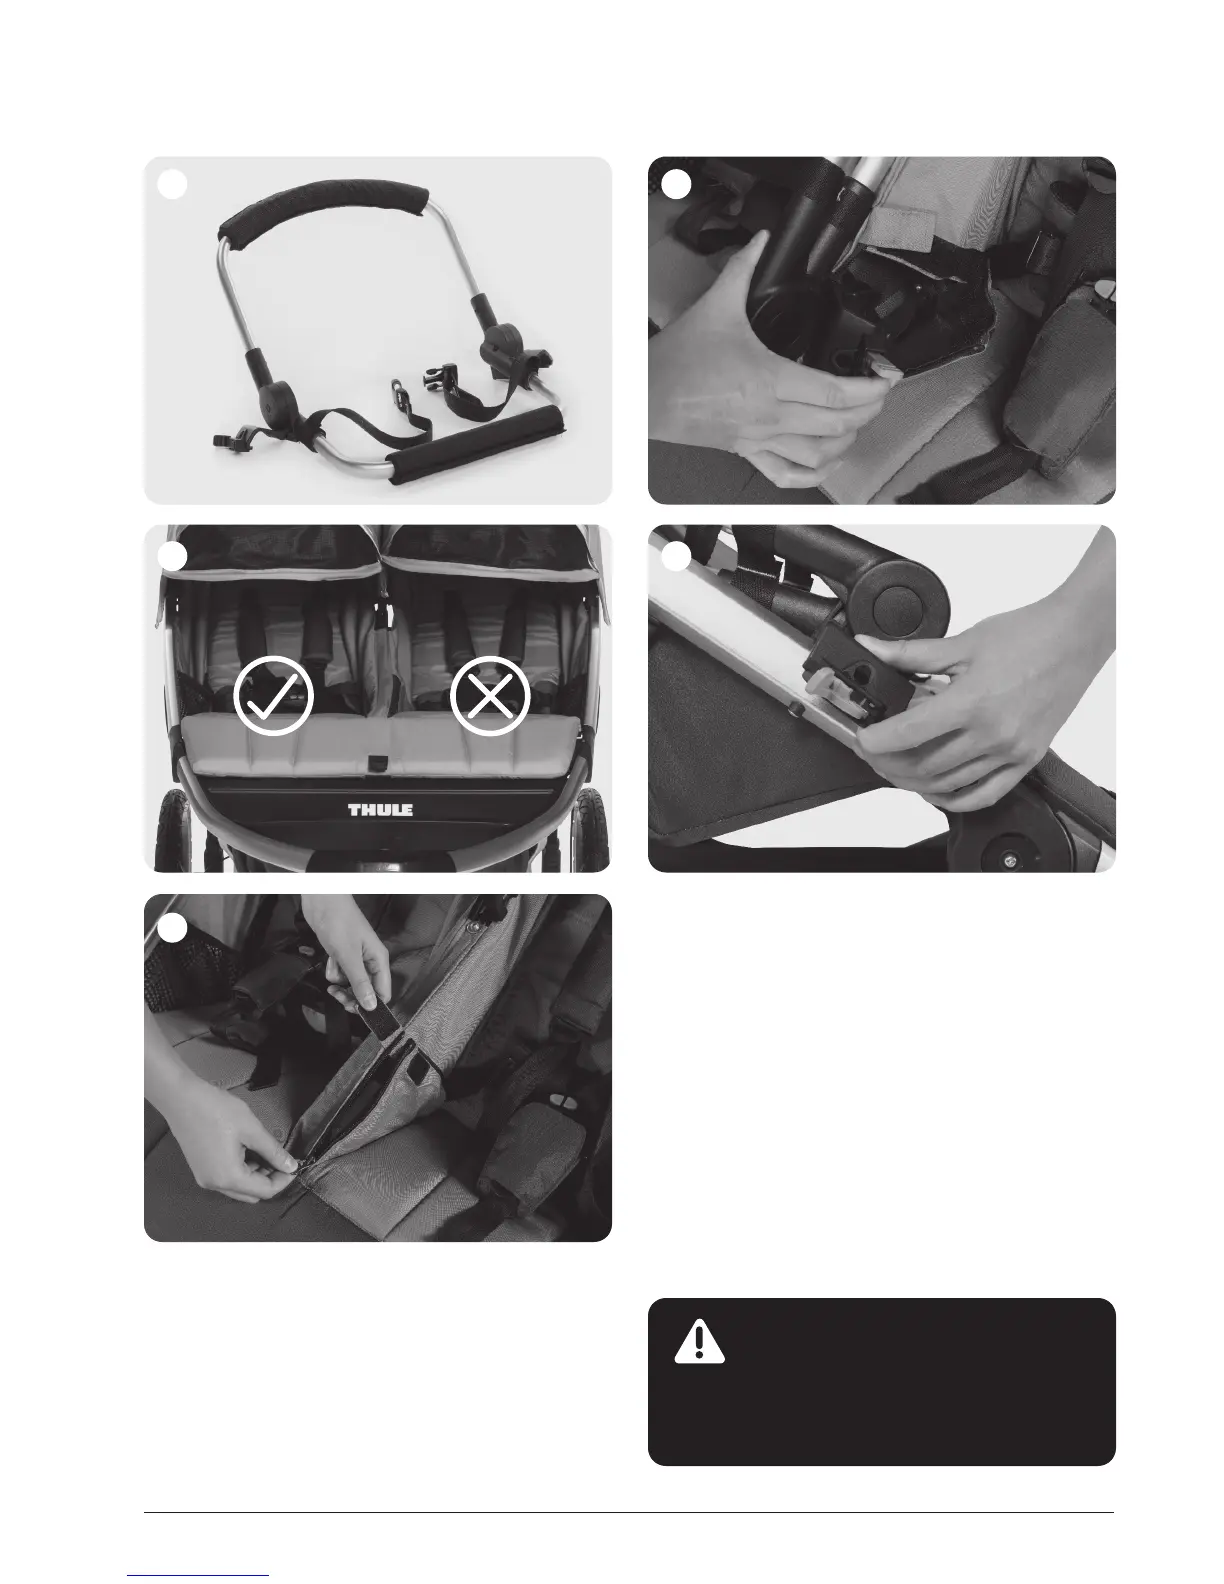
C. The Thule Car Seat Adapter must be installed on the
left side (facing the carrier) of the carrier. (See Image 2)
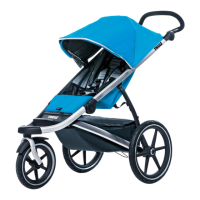
D. Open the velcro and zipper on the center seat divider
to expose the integrated accessory adapter.
(See Image 3)
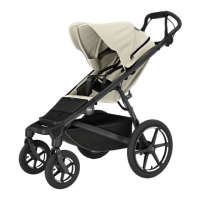
E. Align the clip on the Thule Car Seat Adapter with the
integrated accessory adapter and close the clip,
ensuring the fabric is not underneath the adapter.
(See Image 4)
F. Locate and align the stud on the left side frame of the
carrier and close the clip to secure the Thule Car Seat
Adapter. (See Image 5)
G. Verify that the Thule Car Seat Adapter is securely
attached to the carrier by giving it a sharp pull away
from the carrier. Close the velcro.
H. Unfold the Thule Car Seat Adapter.
I. To Remove the Thule Car Seat Adapter, open all clips
and lift the adapter off of the carrier.
J. To fold the carrier with the Thule Car Seat Adapter on it,
fold the Thule Car Seat Adapter, buckle the seat strap
and then fold the carrier.
1 4
2
3
5
WARNING
Always verify that the Thule Car Seat
Adapter is securely attached to the carrier,
especially after transporting the carrier in a
vehicle and folding it.