Do you have a question about the Thule ProRide 598 and is the answer not in the manual?
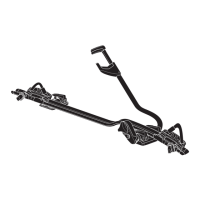
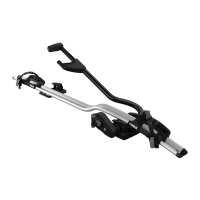
Overview of included parts and compatible roof bar types for the bike carrier.
Important safety warnings, maximum load capacity, and key information.
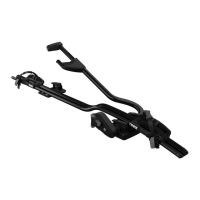
Details on fitting the carrier to various roof bar systems and required adapters.
Initial tightening of the carrier onto the roof bars.
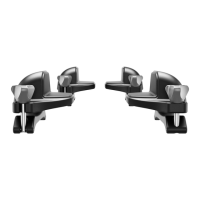
Attaching frame holder and inserting T-screws into roof bars.
Mounting the carrier using T-track adapters for specific bar types.
Securing the carrier's support arms with locking mechanisms.
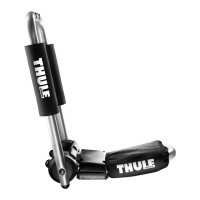
Attaching the optional Adapter Kit 8895 for specific mounting needs.
Final preparation steps before placing the bicycle onto the carrier.
Specific guidance for mounting the carrier on the left side of the vehicle.
Placing the bicycle and fastening its frame to the carrier.
Fastening both the front and rear bicycle wheels securely in place.
Procedures for safely detaching the bicycle from the carrier.
Detailed steps for loading and unloading the bicycle onto the carrier.
Instructions for adjusting the carrier components for optimal fit and function.
Overview of optional accessories like the One-Key System and adapters.
| Load Capacity | 20 kg |
|---|---|
| Dimensions | 145 x 32 x 8.5 cm |
| Weight | 4.2 kg |
| Fits Maximum Oval Frame Dimensions | 80x100 mm |
| T-track Adapters 20x20 mm | Included |
| One Key System Compatible | Yes |
| Lockable | Yes |
| Fits Frame Dimensions | 22-80 mm |
| Fits Wheel Dimensions | Up to 3 inches |
| T-track Adapters 24x30 mm | Requires adapter |
| Material | Aluminum, Steel, Plastic |
| Type | Roof bike rack |