18
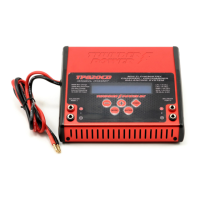
Beginning with the charge lead equipped with a male Deans connector, connect the negative lead to
the negative female ‘banana plug’ receptacle of port 1. Then connect the positive lead to the positive
female banana plug receptacle of port 2. Next, connect the male end of the separate positive lead to
port 1 and one of the male ends of the separate negative lead to port 2 as shown in the photo.
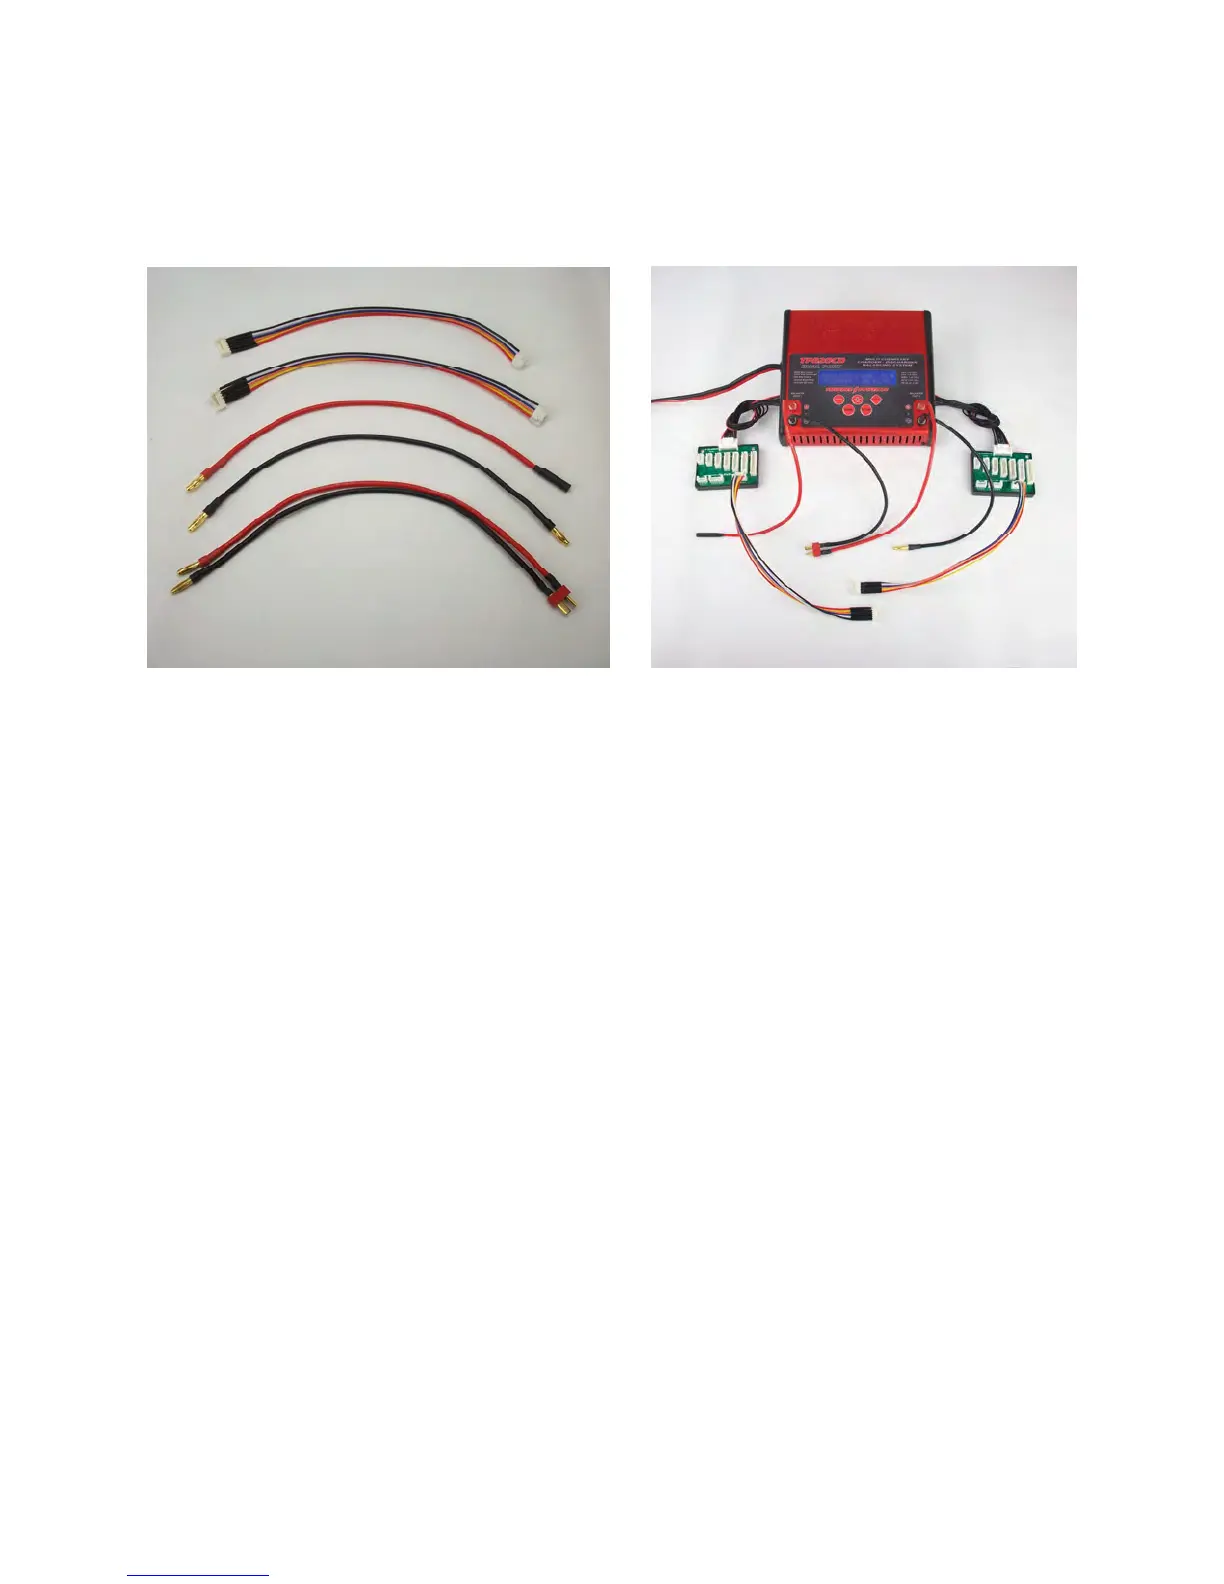
With a balance connector adapter board connected to each balancer port on the charger, connect 1pc
of TP6P10E (6-Pin Balance Connector Extension w/10" Color Coded Wires) to the 4-5S Thunder
Power connector on each board (this step is optional as you can also connect the balance connector
leads from the battery directly to the adapter boards, however, the relatively short lead lengths can
make this somewhat difficult). Now the most important step is to ensure that the balance
connector labeled as ‘Group A’ on the battery is connected to the extension/balance connector
adapter board connected to port 1 (this is because the main negative/ground wire lead from
the battery is also connected to port 1). Then connect the balance connector labeled as ‘Group B’
to the extension/balance connector adapter board connected to port 2. The battery is now connected
to the charger properly and ready to be charged (and please note that if you mix up the balance
connector connections per port it should not damage the battery/charger, however, it will result in an
error when attempting to charge with either port because the port will ‘see’ the main power leads and
balance connector leads from two different ‘halves’ of the battery). See the photo for reference of the
correct connection/wiring arrangement including the battery.