4
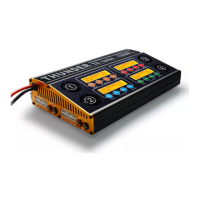
• Secure the charger and external shunt using the mounting tabs on the unit and shunt.
• Connect the wire from the main starting battery of the vehicle to the input red stud
on the rear of the TDR02026 charger using suitable cable (see specification table on
page 9), it is recommended to place a circuit breaker (50A minimum, not supplied)
in the main positive lead as close as possible to the starting battery.
• Connect the positive wire from the auxiliary battery to the output red stud on the
front of the TDR02026 charger, ensure the correct size cable is used to prevent any
voltage drop (see specification table on page 9).
• Connect the negative wire to the black negative stud on the front of the TDR02026,
to the negative terminal of the main battery (see specification table on page 9).
• The TDR02026 will work with even the newest computer-controlled alternators,
for installation into vehicles with variable voltage alternators, negative must be
connected to the vehicles earth terminal on the main battery.
• If connecting a solar panel, connect the positive from the panel to the solar input
stud on the rear of the TDR02026 and the negative of the panel to the main negative
stud on the front of the TDR02026 (see specification table on page 9).
• There is no need for an external regulator the TDR02026 has a built in MPPT
solar regulator.
• Connect the Shunt plug to the matching plug on the TDR02026, connect a wire
from the negative auxiliary battery terminal to the battery side of the shunt, connect
all loads you would like measured to the load side of the shunt.
• Check all connections are tight and secure.
• If charging a lithium battery, the Blue wire on the front of the TDR02026 will need to
be connected to battery earth (see specification table on page 9), *If not charging a
Lithium battery do not connect this wire.
• Once correctly installed the TDR02026 is a simple set and forget Battery
Management solution.
NOTE: Only connect this wire if charging a lithium battery pack as it will cause damage to
alternate battery packs.
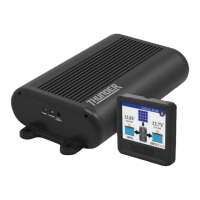
• Fit the LCD display in your desired spot.
• Connect the red wire to battery or Ignition positive and the black wire to earth
from the display. There is a handy switch on the base to disable the display (see
specification table on page 9).
• Start the vehicle and let it idle, the charger will recognise that there is charge being
applied to the main starting battery. Once the main starting battery has reached
13.1V the charger will link and automatically begin to charge the auxiliary battery.
• The charger will continue to operate even after the vehicle has been switched off,
however once the main start battery falls below a loaded voltage of 12.2V the
charger will automatically shut down.
• The TDR02026 will prioritise the vehicle input over the solar input so while the
battery voltage is above 12.2V it will continue to charge, however once the main
battery has reached a loaded voltage of 12.2V and the charger switches off it will
look for a solar input.
• If the solar input is above 13.7V then the LCD display will move to Solar input to indicate
that the TDR02026 is now using the solar input to charge the auxiliary battery.
• Once the 240V circuit is live the TDR02026 will begin charging the batteries from
the 240V AC-DC 30A charger, once it has reached 100% the charger will move into
maintain mode monitoring the batteries and charging when needed.
WE RECOMMEND INSTALLATION BY A QUALIFIED AUTO ELECTRICIAN
INSTALLATION
 Loading...