AUX-IN
DC 5V
TIME ZONE DST
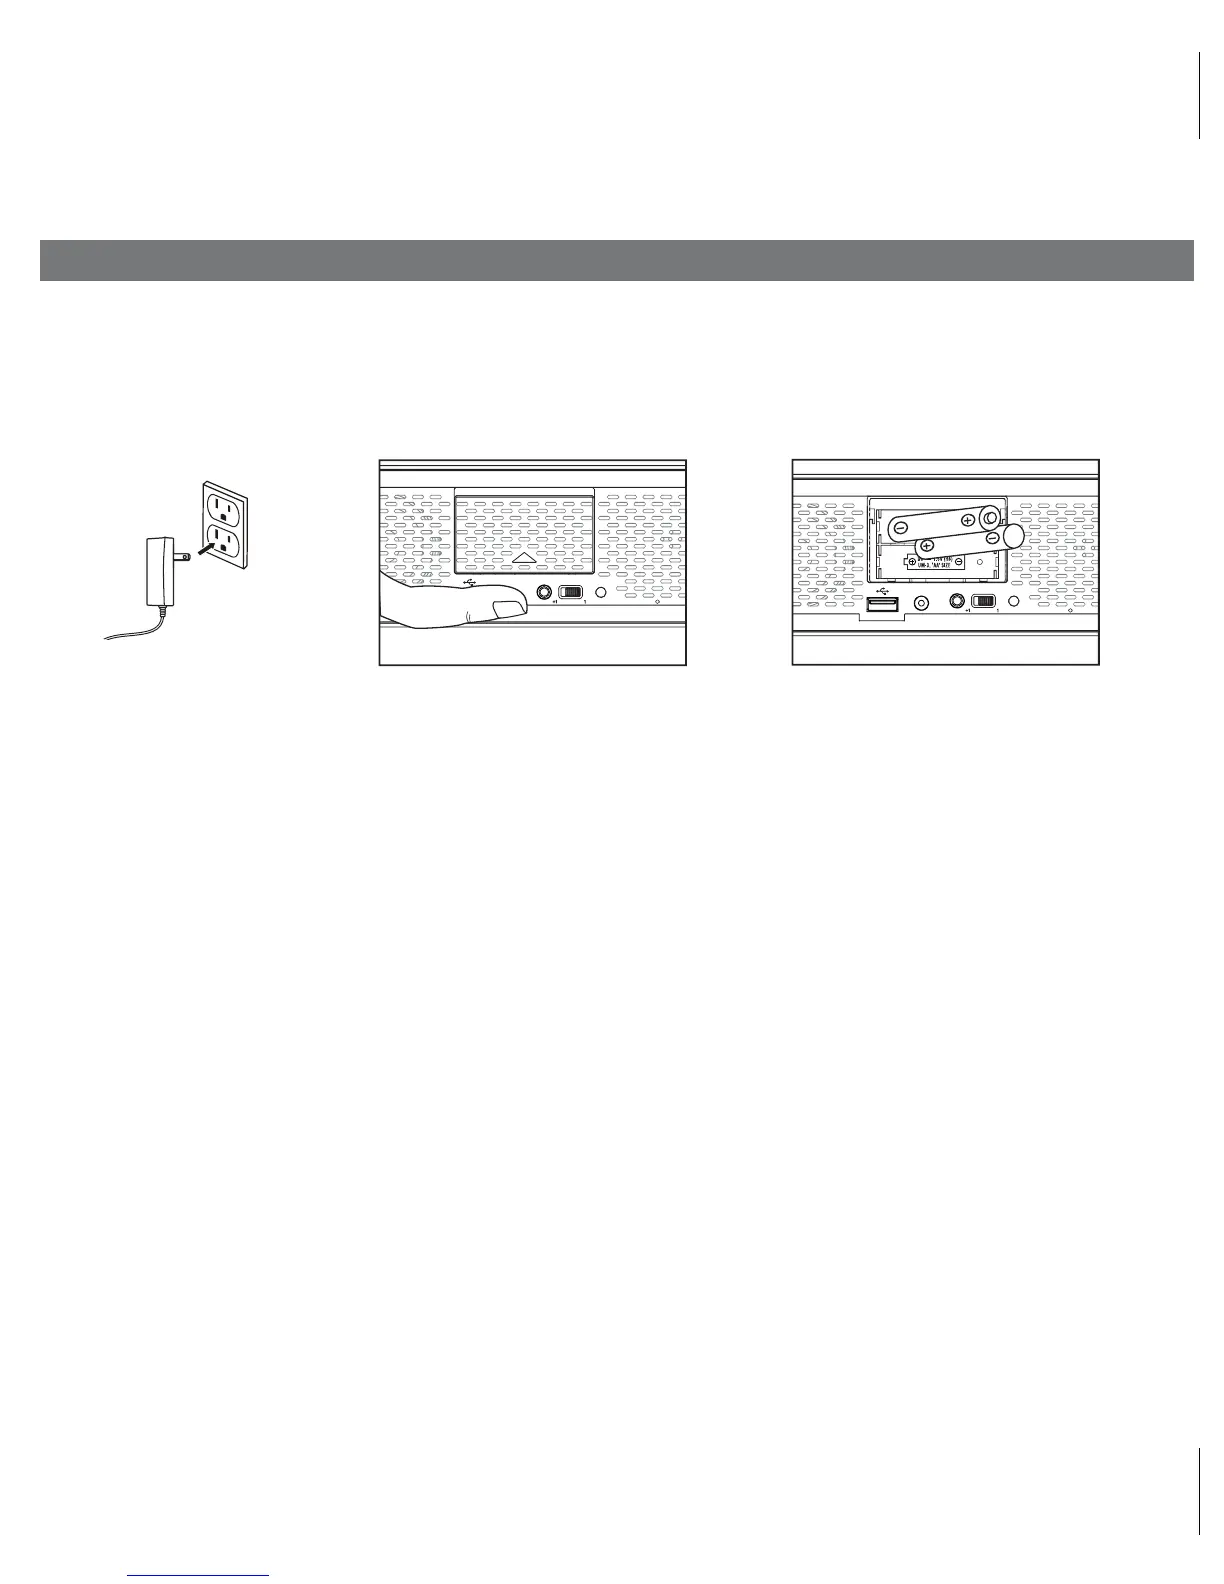
Installing and Replacing Backup Batteries
Press
AUX-IN
DC 5V
TIME ZONE DST
Your new Timex Clock Radio includes 2 AA batteries (installed). This battery backup
system will maintain the time and alarm settings during a temporary power interruption.
When the Battery Low Indicator on the top left of the display is lit, it’s time to replace
the batteries.
1. Keep unit connected to AC power when changing batteries to avoid losing your
settings.
2. Slide the battery door to release then open and remove the battery door.
3. Install 2 fresh “AA” batteries. Check and match the correct polarity (+/ -) markings
in the battery compartment.
4. Replace the battery door.
NOTE: With batteries installed, the display will turn off during a power failure but the
clock will continue to run and maintain your alarm settings and the alarm will sound.
1
3
2
15
P16