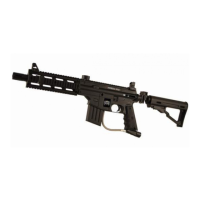
19
E
N
G
L
I
S
H
18
E
N
G
L
I
S
H
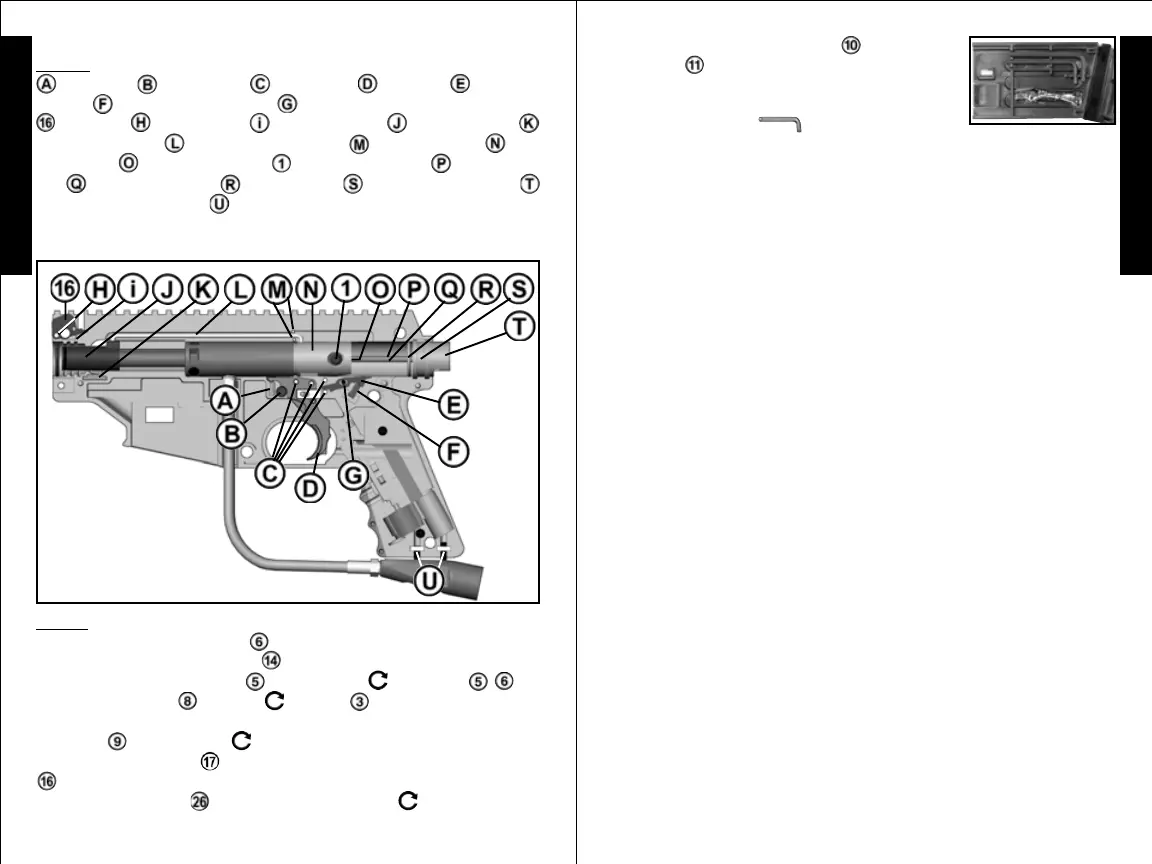
Reassembling Receiver Halves:
STEP 1:
❏
Double check that the Trigger Assembly (
❏
Trigger Spring
/
❏
Safety /
❏
Pins (4) /
❏
Trigger /
❏
Sear /
❏
Sear
Spring*
/
❏
Sear Pin* (black) ) ; and other parts:
❏
Front Sight
+
❏
Pin* +
❏
Spring* ;
❏
Front Bolt* ;
❏
Ball Latch
;
❏
Linkage Arm* ;
❏
Link Arm Pins (2) ;
❏
Rear Bolt* +
❏
Bolt Insert ;
❏
Bolt Handle ;
❏
Drive Spring* +
❏
Guide
Pin*
;
❏
Buffer O-ring ;
❏
End Cap +
❏
End Cap Cover
;
❏
2 Tank Adapter Nuts ; are in place and (*=oiled) (see schematics
on pages 10-11 for details as needed).
STEP 2:
❏
Carefully install the left receiver half (make sure halves fit flush).
❏
Insert 3 short receiver bolts .
❏
If marker has a barrel shroud - insert it now.
❏
Insert 3 long receiver bolts and
❏
tighten the 6 bolts / .
❏
Attach adapter tighten 2 bolts (NOTE: short adapter
bolt goes in front).
❏
Apply marker oil onto the barrel o-ring, insert
the barrel
and carefully screw it in.
❏
Slide the feed elbow into the receiver and tilt up until the front sight
holds it in place.
❏
Slide the rear sight on, insert bolt and tighten .
❏
Press in the 2 magazine tabs and slide the
magazine
up into the marker until the tabs lock
it in place. NOTE: The magazine may be used to
store tools and lubricating oil for your marker (shown
with 2 allen wrenches
and oil).
Reassembling Receiver Halves:
(continued on page 19)
Marker Disassembly / Assembly (continued from page 17)
Carefully hand start all
threaded parts and do
not overtighten and
strip threaded parts
when assembling.
Reassembling Receiver Halves: (continued from page 18)