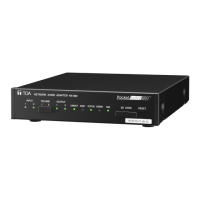
Step 1. RemovetheMT-200’scover.
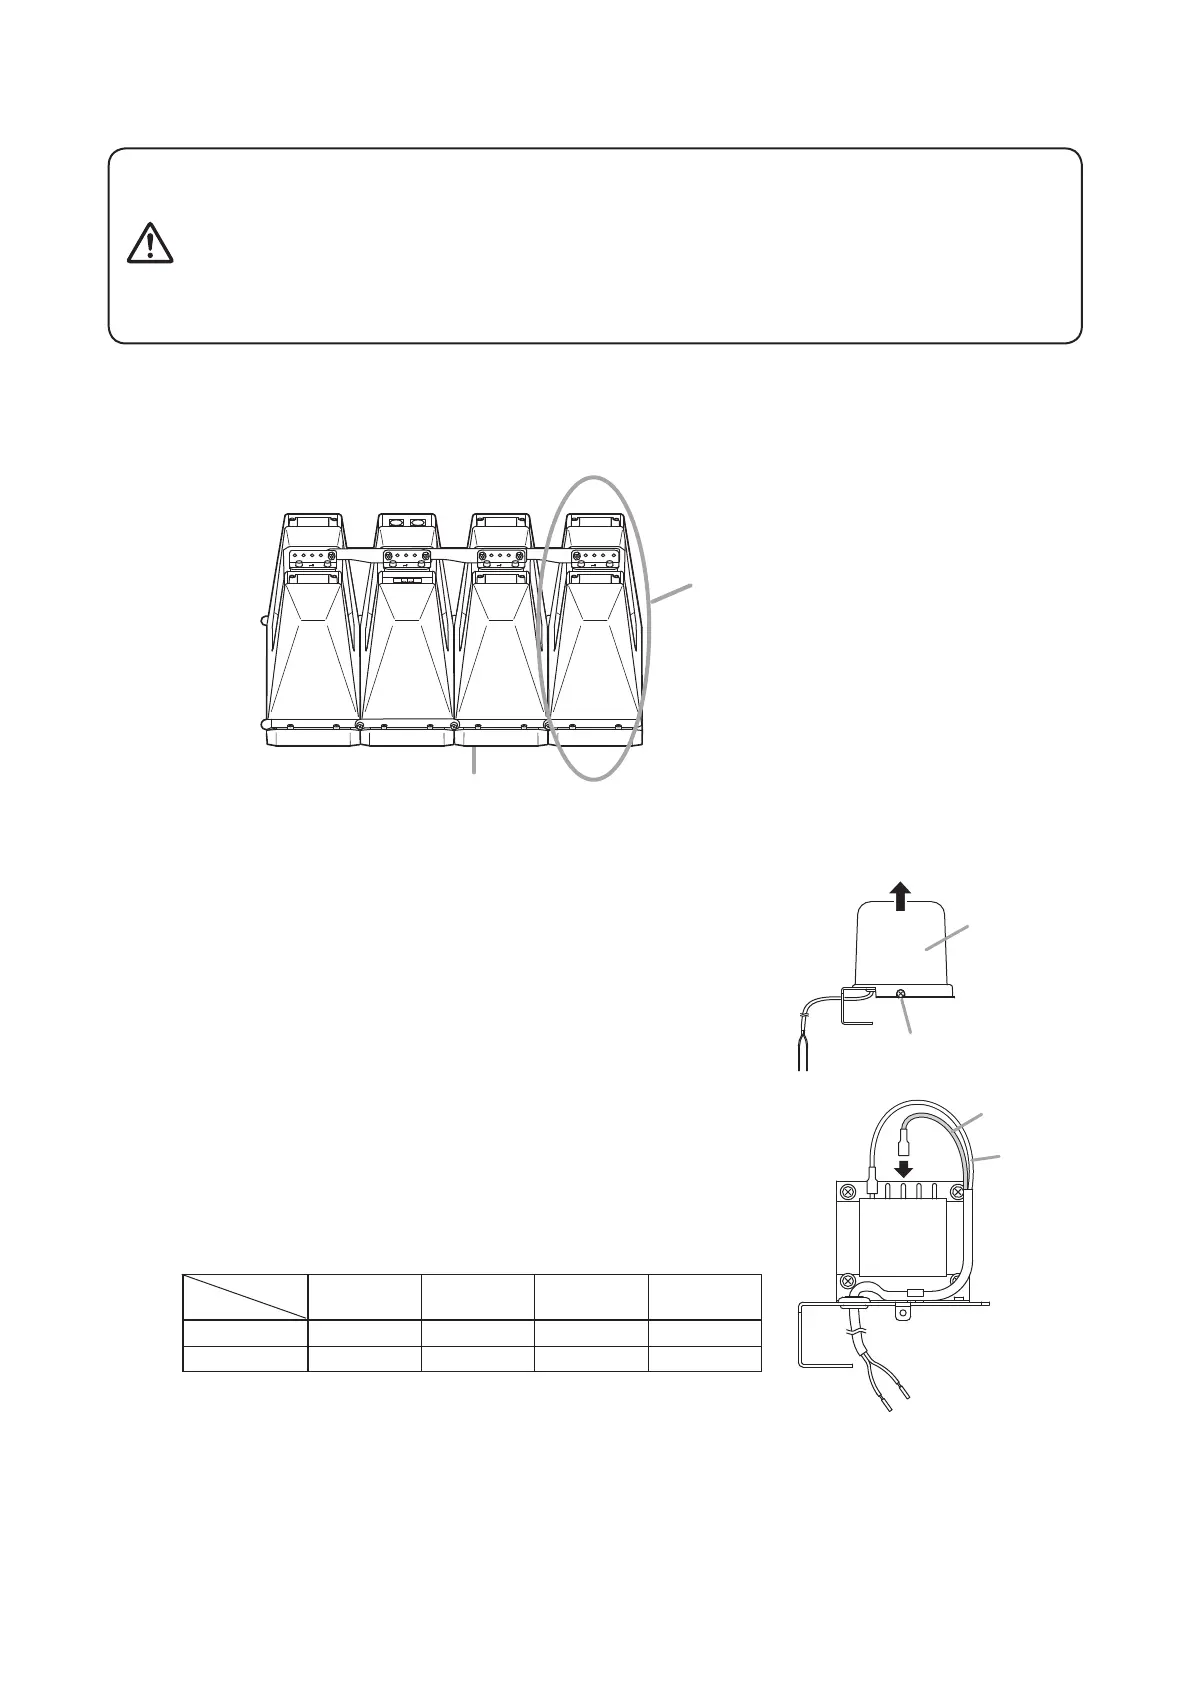
Step 2. Changetheprimaryconnectiontap.
ThetapoftheMT-200isfactory-presetto167Ω.
Changethesettingasrequired.
To change the tap, reconnect the primary black cord
accordingtothetablebelow.
Tap
Line
25Ω 50Ω 83Ω 167Ω
100Vline
–
200W 120W 60W
70Vline 200W 100W 60W 30W
Note: NevertouchthewhitecordconnectedtotheCOMtap.
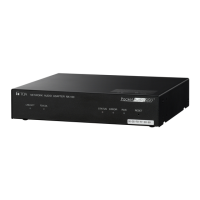
4. MOUNTING ThE MT-200 MATChING TRANSFORMER
BeforemountingtheMT-200,layoutaprotectivesheet,corrugatedcardboardorothersoftmaterialonaat
surface,andperformallworkonthespeakerwithitsfrontbafefacingdownward.
Speaker module
Speaker system
Note
Each HX-7 Series Speaker System
consists of four speaker modules.
Tightentheboltssecurely,asinstructedbelow.
Failuretofollowinstructionspreciselycouldresultinafallingspeaker
andpotentialpersonalinjury.
• Ensurethatallboltsaresecurelyinsertedasfarastheirthreadsgo,
thensecurelyfasteneachboltwithanut.
• Tighten all the bolts with the designated tightening torque. For
tightening,useaPhillipsscrewdriver,oropen-orbox-endwrench.
WARNING
Cover
Cover fixing screw
MT-200
COM
25Ω 50Ω 83Ω167Ω
White (–)
Black (+)
 Loading...