15
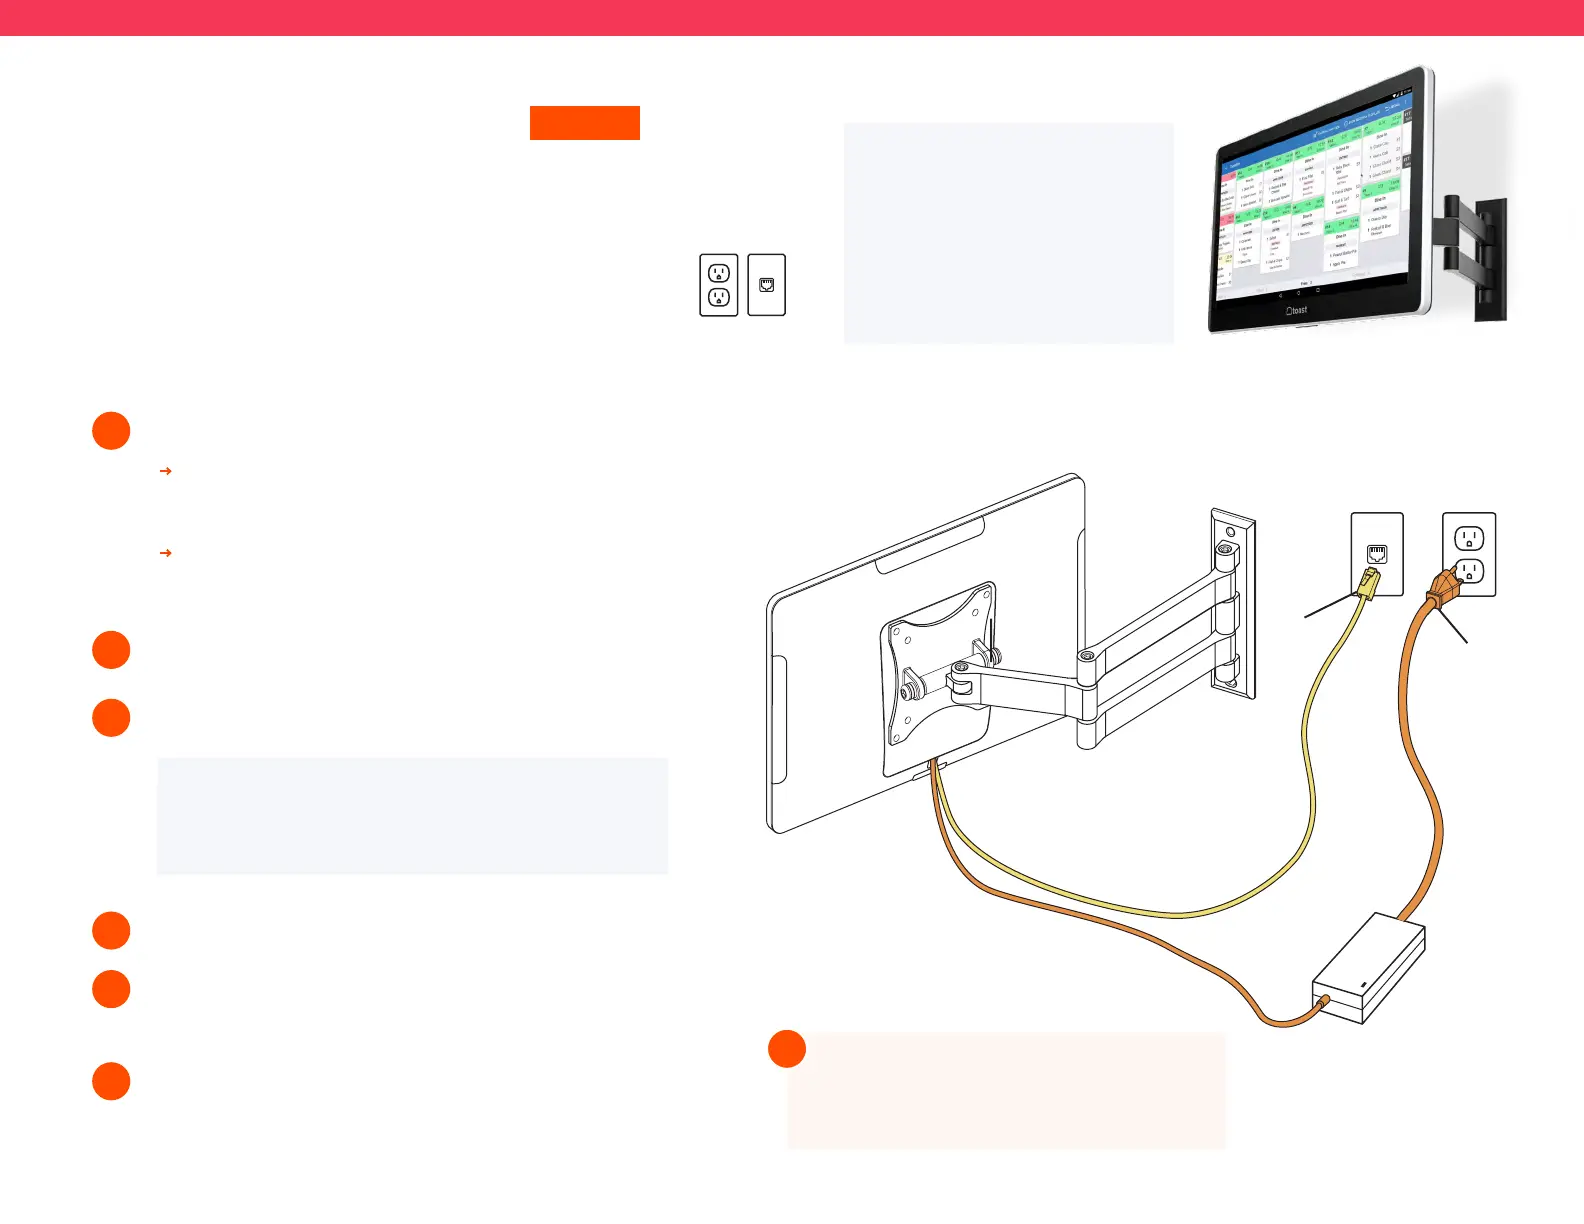
Follow these instructions if the Toast Flex for Kitchen will be
mounted
Before you get started, identify where you want your Toast Flex
for Kitchen to be located. Make sure there is a power outlet and
ethernet connection going to the Toast Network in reach.
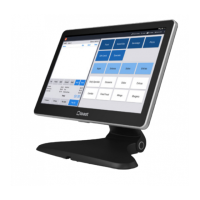
Toast Flex for Kitchen
MOUNTED
Unpack your Toast Flex for Kitchen and Wall Mount:
1
2
It will have the swing arm for the wall mount
already attached.
It will also have the power cable and internet cable
pre-plugged into your Toast Flex for Kitchen.
Plug the other end of the internet cable into the wall port.
Attach your wall mount to the wall. (See note below.)
3
4
Toast does not drill holes. You will need
to drill your own holes or have holes
pre-drilled in the desired location.
!
Step 4
Step 3
Step 3
Step 2
Step 4
To Meraki /
Toast Network
NOTE
For Step 3,
the Mount must be
mounted vertically. There is an
included allen wrench to tighten
the wall mount joints.
Power on the Toast Flex and follow the Toast setup
instructions that appear on the screen.
Log into your restaurant in the Toast App and complete
basic setup. Note: You may need to update the Toast
App when you open it for the first time.
5
6
NOTE
You may need to update the Toast App when you
open it for the first time.
Set up prep stations on Toast Web before doing any initial setup on the
Toast Flex for Kitchen.
Plug the other end of the power cable into the wall outlet.
 Loading...