18 / 33
Figure 4. Mounting brackets with non-permanent adhesive.
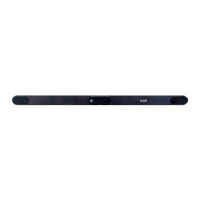
6. Attach the eye tracker, making sure that it aligns properly with the mounting
bracket. The magnet holds the eye tracker firmly in place when the slots are lined
up correctly.
7. If it is not yet connected, plug in the eye tracker’s USB cable to the correct USB port
in your computer.
8. Move to the next step.
6.4 Display setup in Tobii Pro Eye Tracker Manager
Now the algorithms on the eye tracker need to understand where the eye tracker is in
relation to the screen and map the gaze points accordingly.
1. Open Tobii Pro Eye Tracker Manager if it is not already running and select your
eye tracker.
2. On the Overview tab, locate Display Setup and select the ellipsis icon to the right.
On the drop-down menu, select New.
3. Select Regular setup and select Next.
4. If multiple screens are used, select the screen that has the Tobii Pro Spark
attached to its bezel.
5. Enter the position of the eye tracker in relation to the screen. Use the radio
buttons to select whether the eye tracker is positioned under or over the screen
and enter the measurement in millimeters.
6. Align the dotted blue lines on the screen with the two outer white marks on the
top of your Tobii Pro Spark.
7. Save your display by naming the setup and selecting Save.
8. To confirm that Tobii Pro Spark can detect your eyes, enable the Position Guide at
the bottom left of Tobii Pro Eye Tracker Manager. Once activated, you should be
able to see two “eyes” in a face contour.
9. Move to the next step. In the next section, you will test your setup by performing
a calibration. For more information, read Calibration
.
You can always return to Tobii Pro Eye Tracker Manager and use it when
you change computers or screens or want to recalibrate.
 Loading...