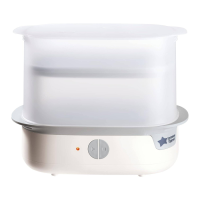
USAGE
Before sterilisation, wash and rinse thoroughly all bottles and feeding accessories in warm soapy water or in a dishwasher (top rack only) to remove
any milk residues. Separate all components for washing and reassemble teat and screw ring for sterilising. (Any milk residue left on the bottles and
components can cause discolouration of the heatplate and could aect the performance.)
WARNINGS
MORE THAN 80ML OF WATER IN THE STERILISER BASE WILL PROLONG THE CYCLE TIME. LESS THAN 80ML MAY NOT STERILISE ITEMS PROPERLY.
DURING STERILISATION HOT STEAM PASSES THROUGH THE VENTS AT THE TOP OF THE UNIT. POSITION THIS UNIT AWAY FROM WALLS AND MAKE SURE
IT IS NOT UNDERNEATH ANY OVERHANGING SHELVES OR CABINETS. DO NOT OPEN THE STERILISER UNTIL THE LIGHT HAS SWITCHED OFF, OR YOU
HAVE PRESSED THE STOP BUTTON AND WAITED 5 MINUTES TO ALLOW FOR COOLING.
INFORMATION ON THE DISPOSAL FOR WASTE ELECTRICAL & ELECTRONIC EQUIPMENT (WEEE)
This symbol on the products and accompanying documents means that used electrical and electronic products should not be mixed with general household
waste. For proper disposal for treatment, recovery and recycling, please take these products to designated collection points where they will be accepted on a
free of charge basis. In some countries you may be able to return your products to your local retailer upon the purchase of a new product.
Disposing of this product correctly will help you save valuable resources and prevent any possible eects on human health and the environment, which could
otherwise arise from inappropriate waste handling. Please contact your local authority for further details of your nearest collection point for WEEE.
Penalties may be applicable for the incorrect disposal of this product in accordance with national legislation.
The product is fitted with a BS 1363 mains plug containing a fuse. If it ever becomes necessary to replace the fuse, only use fuses that are marked BS 1362, and
rated at 5A. In the unlikely event that this plug is not suitable for the sockets in your home, it should be removed and a suitable plug fitted as follows:
The wires of the mains lead are coloured in accordance with the following code:
GREEN AND YELLOW – EARTH
BLUE – NEUTRAL
BROWN – LIVE
As these colours may not correspond with the coloured markings sometimes used to identify the terminals in the plug, connect as follows.
The wire coloured GREEN AND YELLOW must be connected to the terminal marked E or by the earth symbol or coloured GREEN or GREEN AND YELLOW.
The wire coloured BLUE must be connected to the terminal marked N or coloured BLACK. The wire coloured BROWN must be connected to the terminal
marked L or coloured RED.
If you are in any doubt about how to wire a plug or replace a fuse safely, consult a qualified electrician.
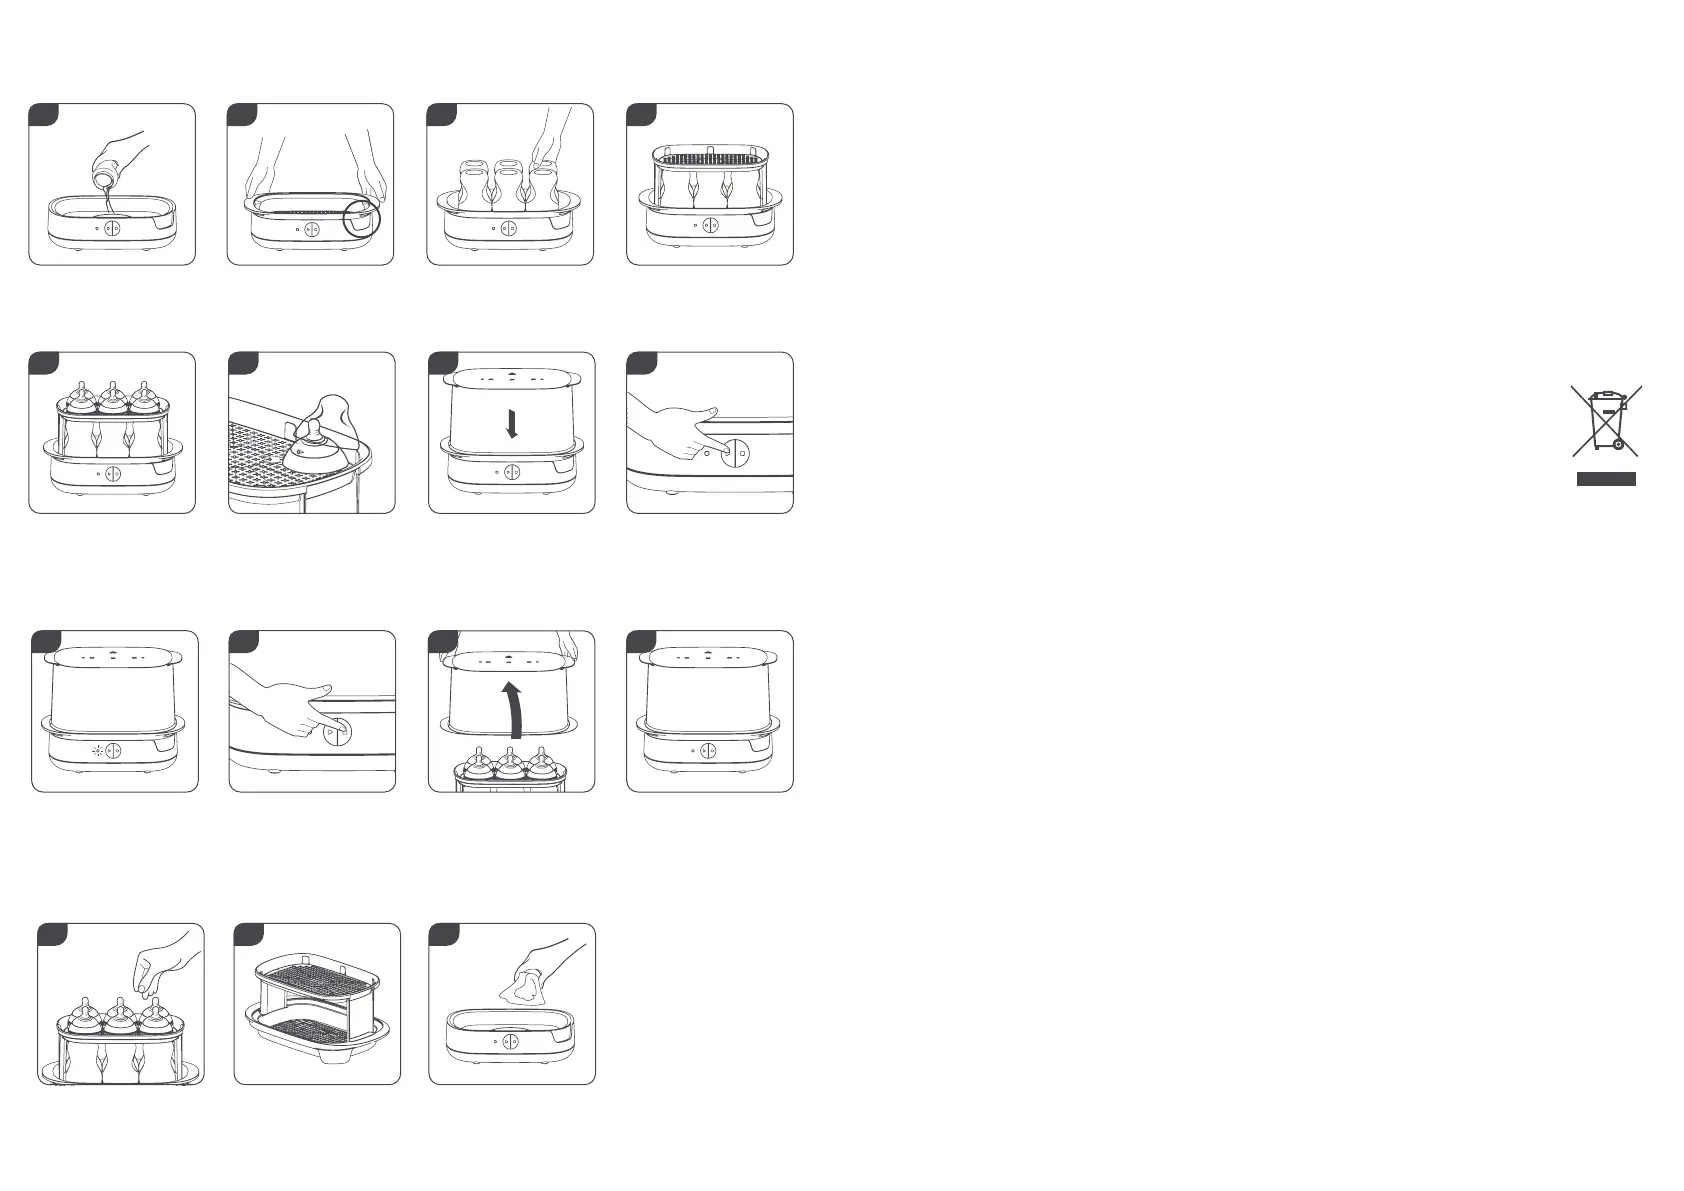
Place on a flat, heat resistant work
surface. Pour exactly 80ml of water
into the steriliser base. Your Tommee
Tippee bottles have a handy 80ml
measure.
Assemble lower tray into the
steriliser base with logo facing
forwards on the right hand side.
Place the bottles neck downwards
into the locators of the removable
tray. This includes locators for
advanced anti-colic valves.
1 2 3
Place the upper tray onto the
lower tray.
4
Place the assembled teat and
screw ring onto the upper tray. It
is important not to have the hoods
fitted onto the teat and screw ring.
Slot the hoods onto the hood
locators of the removable upper
tray so that they hang over the teat
and screw ring but are not fully
assembled.
65
Place the lid onto the steriliser base
and plug the lead into the mains
power.
Press the play button to start the
machine. An amber light will come
on. This shows that the steriliser
is in its warm up phase and will
automatically begin the sterilising
phase when the appropriate
temperature is reached.
7 8
The light will automatically switch
o when the sterilising phase has
finished.
9
The stop button is there in case you
need to manually stop your steriliser
mid cycle. If you do this you will
have to restart the sterilising
process from the beginning as the
contents will not be sterilised.
After the cycle has finished allow
to cool for at least 5 minutes
before opening the steriliser. We
recommend that you hold the lid by
the two side handles, lift vertically
until you have cleared the upper
tray then tilt the lid to an angle away
from you to allow the water to drain.
The contents will remain sterile
for 24 hours if the steriliser is
unopened.
121110
Wash your hands thoroughly before
handling sterilised items. Take care
as the items may be hot. Remove
the sterilised items.
The trays can be used separately
as a drying rack or sterile surface.
To help in the reduction of limescale,
ensure that the unit is drained and
wiped after use once fully cooled.
13 14 15
 Loading...