9
OPERATION METHOD
17
Wet Vacuuming
1. Ensure the tank is completely dry and free
from dust and dirt.
2. Only use the foam lter for wet vacuuming
applications. Ensure you have already tted
the exible hose, extension tubes, and if
required, the oor tool or crevice tool for wet
vacuuming applications.
IMPORTANT: Ensure the foam lter is securely
tted before starting the Wet and Dry Vacuum.
3. Plug the power cord into the mains power
outlet and turn on.
4. To commence vacuum mode operation, press
the “I” on the ON/OFF switch.
5. To turn off vacuum mode, press the “O” on
the ON/OFF switch.
16
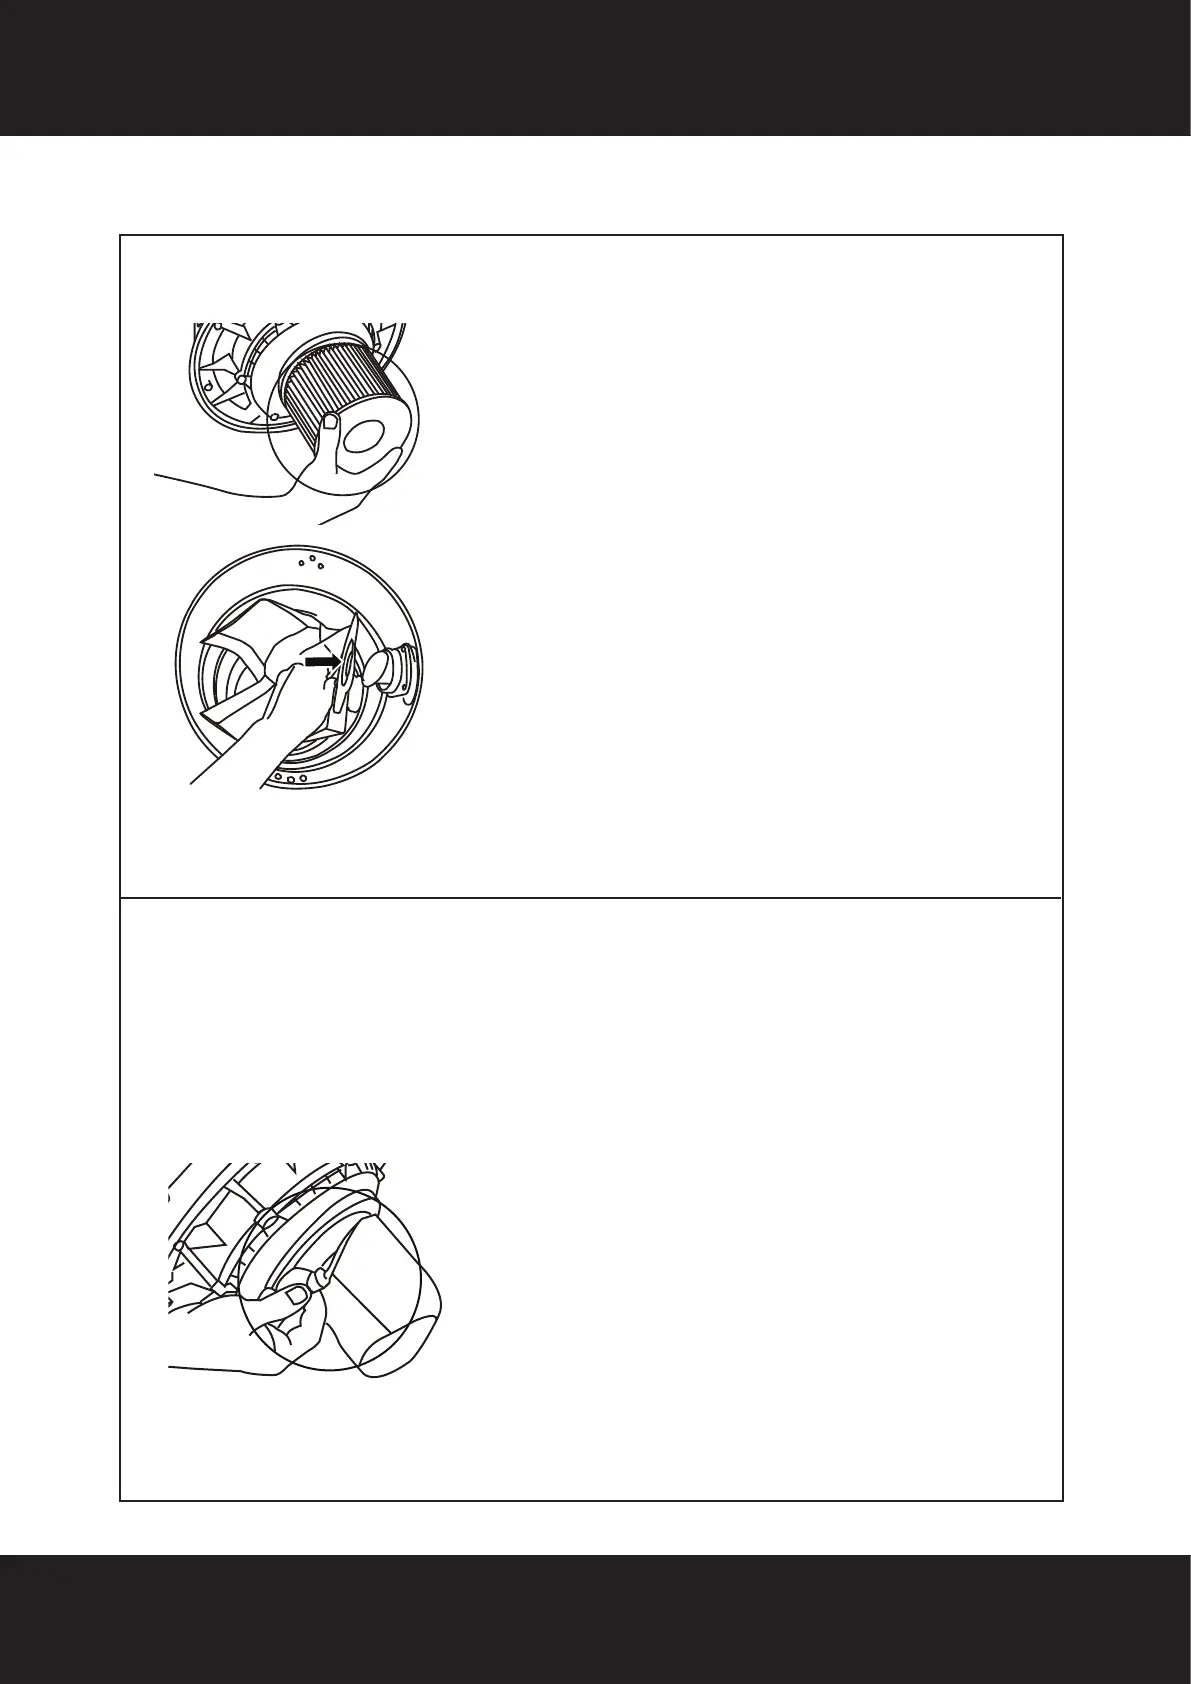
Dry Vacuuming
1. Ensure the tank is completely dry and free
from dust and dirt.
2. Only use the HEPA lter for dry vacuuming
applications. Ensure you have already tted
the exible hose, extension tubes, and if
required, the oor tool or crevice tool for dry
vacuuming applications.
IMPORTANT: Ensure the HEPA lter is securely
tted before starting the Wet and Dry Vacuum.
3. Fit the paper dust bag in the tank if required.
NOTE: The paper dust bag is only for dry
vacuum-cleaning.
4. Plug the power cord into the mains power
outlet and turn on.
5. To commence vacuum mode operation, press
the “I” on the ON/OFF switch.
6. To turn off vacuum mode, press the “O” on the
ON/OFF switch.
WARNING: Never use the vacuum without a lter. Check that the lter is
securely tted at all times.
WARNING: DO NOT use the foam lter for dry vacuuming applications.
WARNING: DO NOT use the HEPA lter for wet vacuuming applications.